Hello Everyone,
This week is a seasonal challenge at the Global Design Project.
The design team as always have made some fantastic projects. See them here

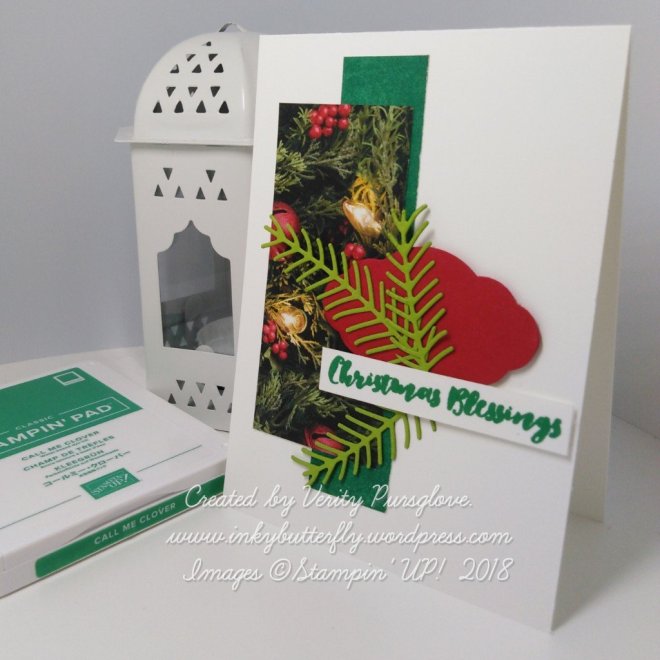
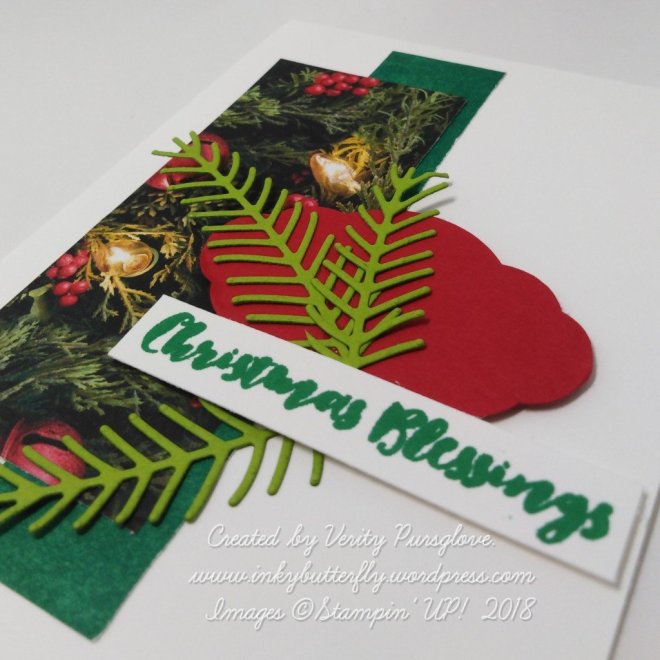
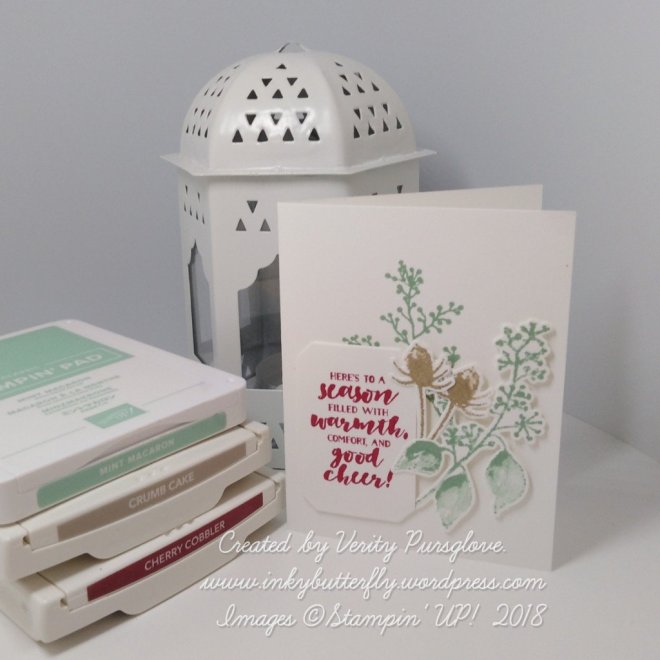
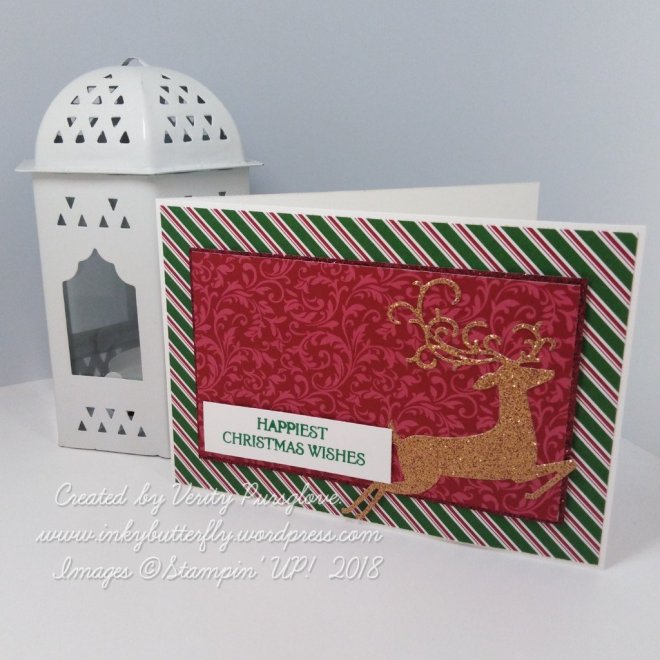
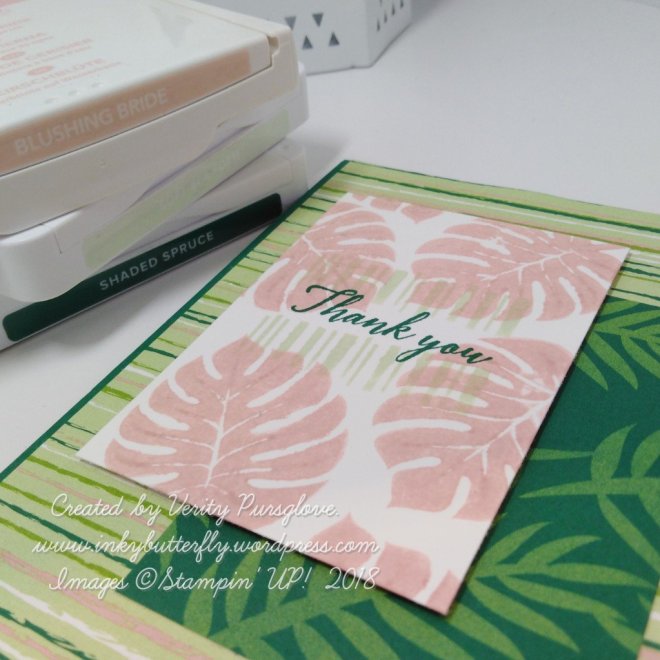
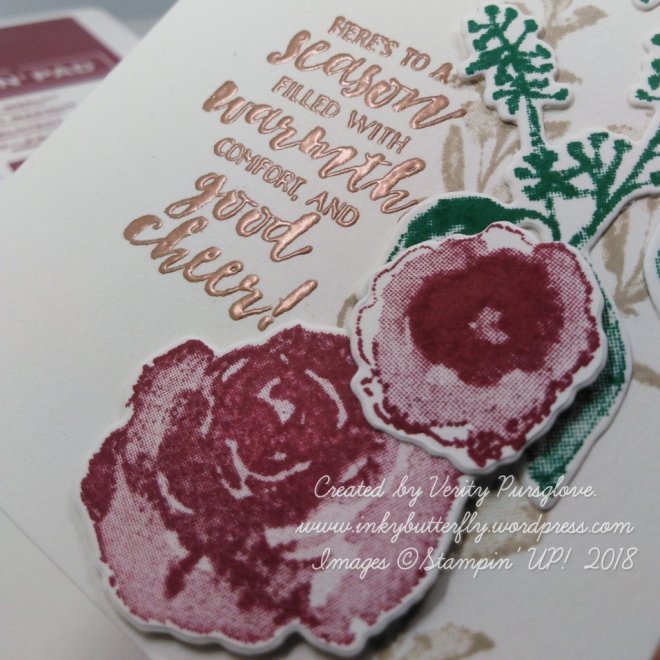
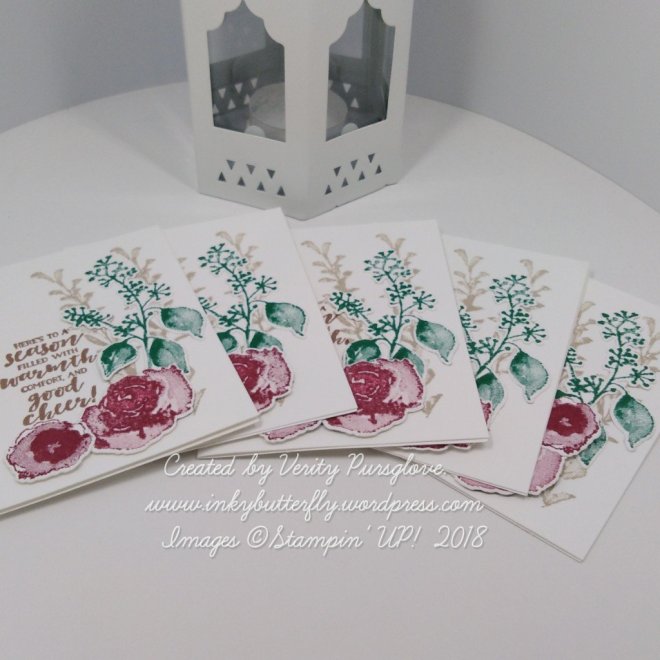
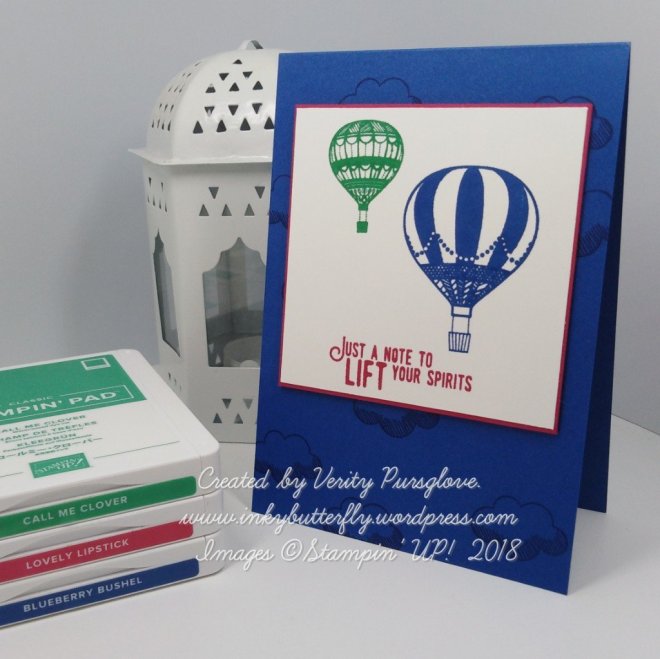
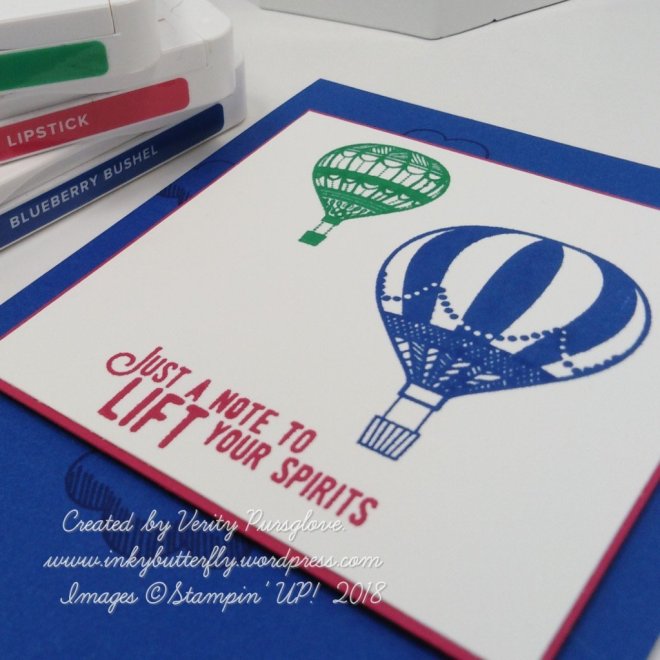
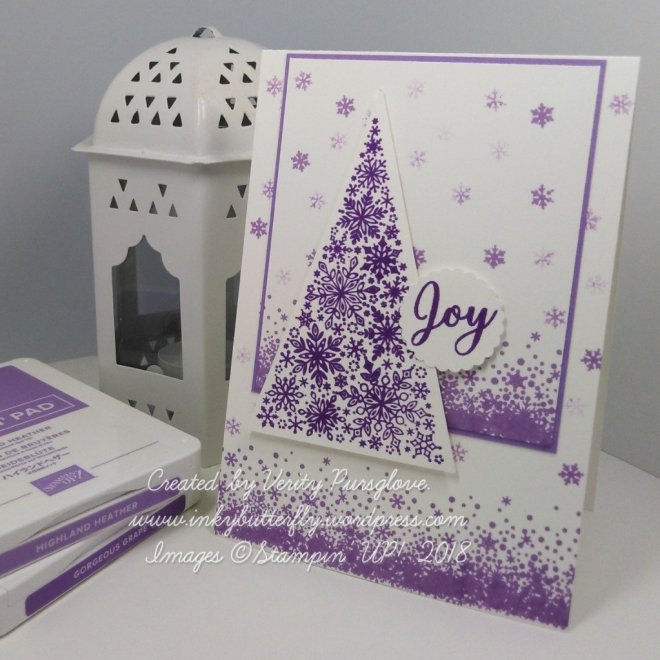
I have kept the design of my card very simple.

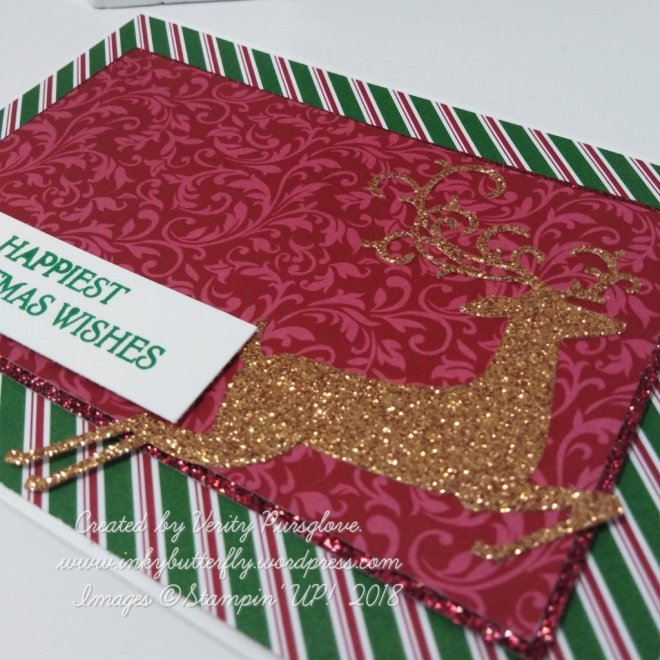
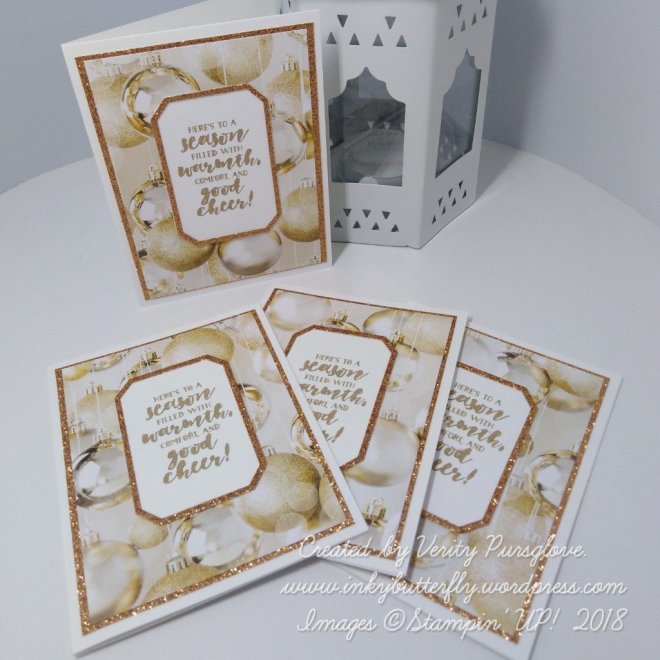
Small Memories and More Cards were layered with glimmer paper and All is Bright Designer Series Paper.
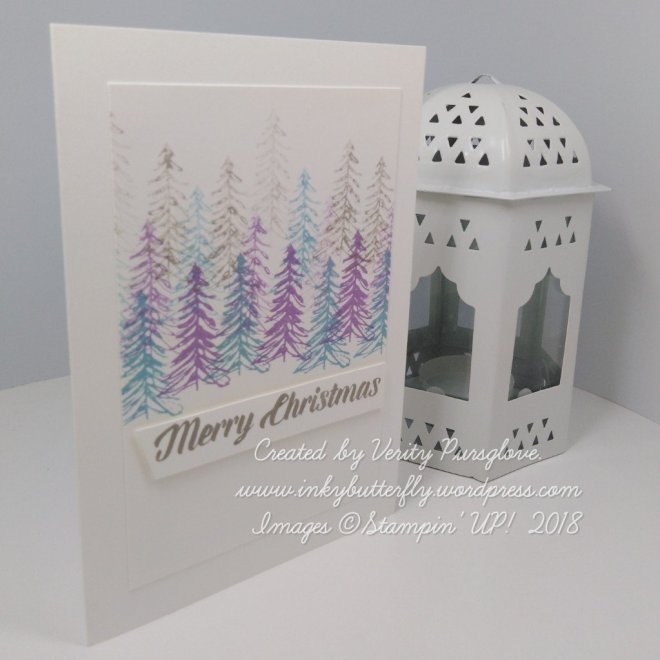
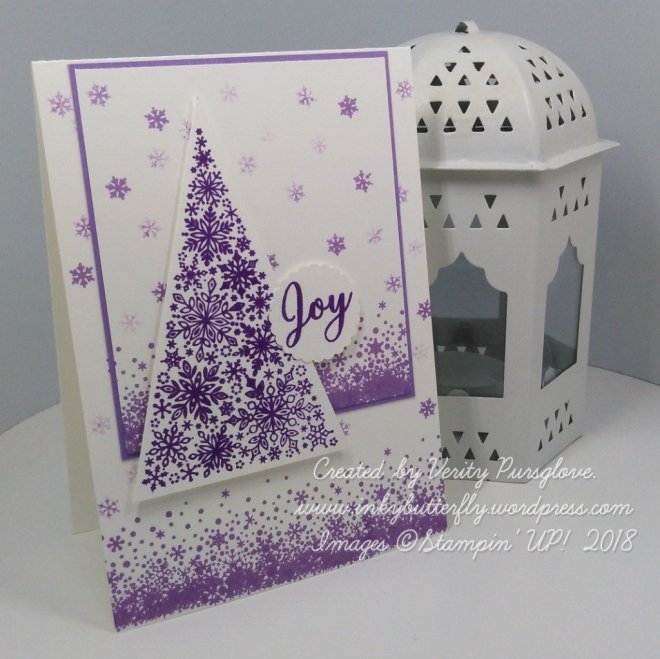
The sentiment was stamped in Crumb Cake innk and die cut. A frame of glimmer paper was added over the top with Multipurpose glue.
I hope you enjoyed this project. The supplies used are listed below.
Thanks for stopping by today and happy Stampin’!
Verity xx
Product List
|
|
|
|
|
|