Hi Everyone,
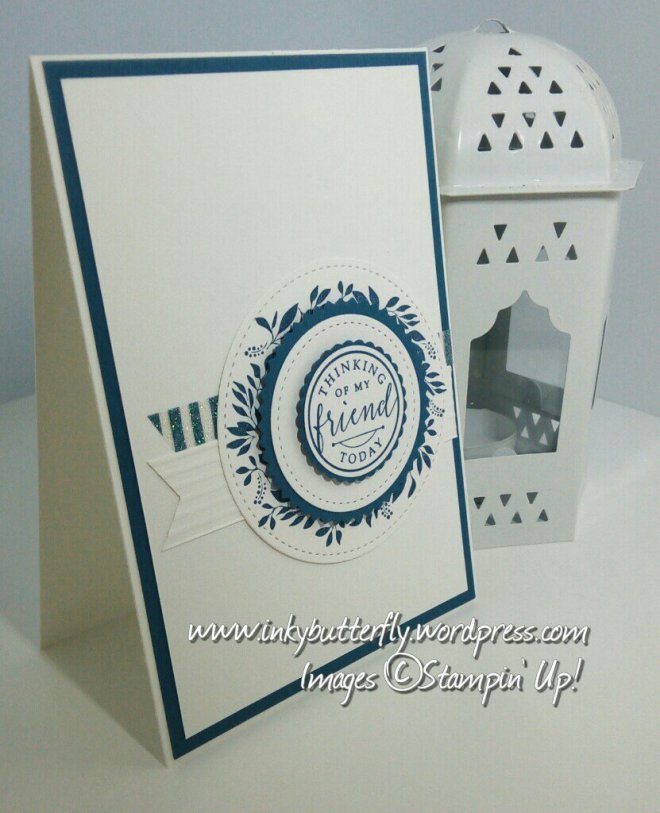
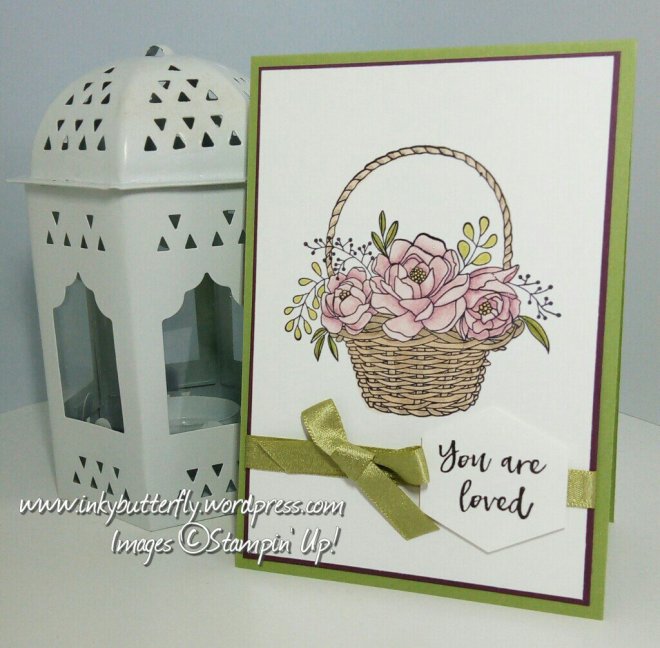
This lovely Blossoming Basket is perfect to let someone know how special they are.
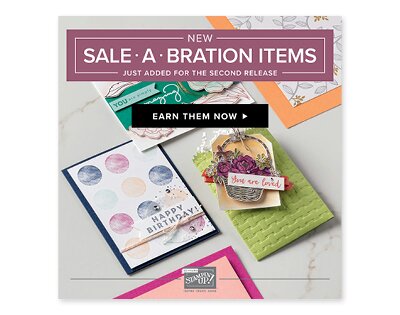
The set is available for free with a qualifying order of £45 during Stampin’ Up!’s Sale-a-bration event which ends 31st March.
For more details click here!

My card has been made by stamping the image with Memento ink on to Whisper White card stock.
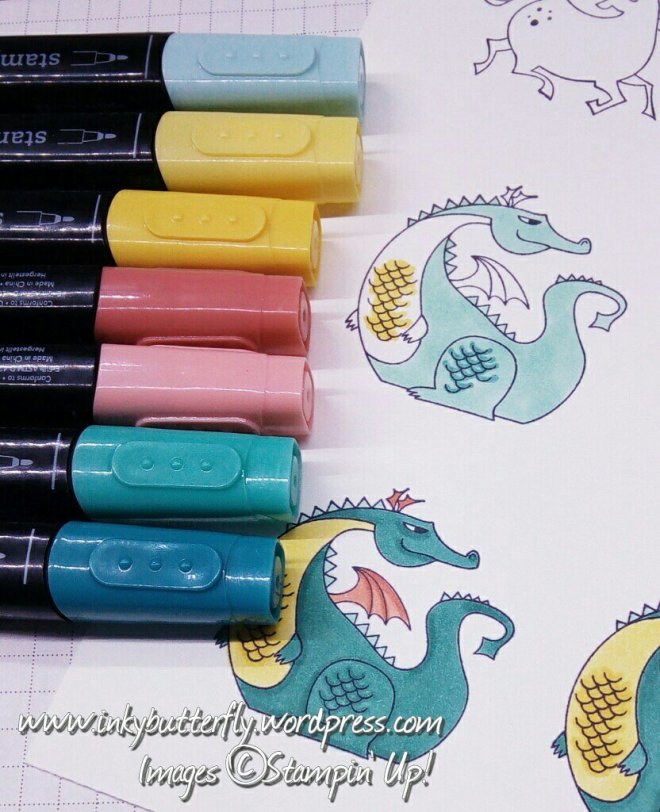
I have used Stampin’ Blends to colour it in. The markers blend beautifully. The flowers use Pink Pirouette and Rich Razzleberry, which give the petals dimension.
The coloured panel was mounted on to dome Fresh Fig card stock.
Pear Pizzazz shimmer ribbon was added to the bottom before adhering to an Old Olive card base.
The sentiment from the set was cut with the Tailored Tag punch to create a hexagon. A small bow was added to finish off.
I hope you enjoyed this project. The supplies used are listed and linked to the online store below.
Thanks for stopping by and happy Stampin’!
Verity x

Product List

|

|
|

|
||

|

|

|