Good Morning Everybody,
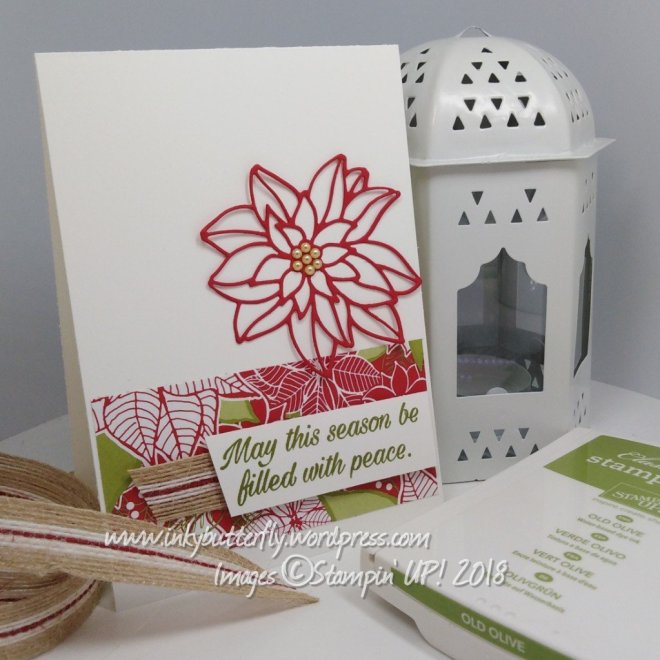
Today’s make is a clean and Simple card.
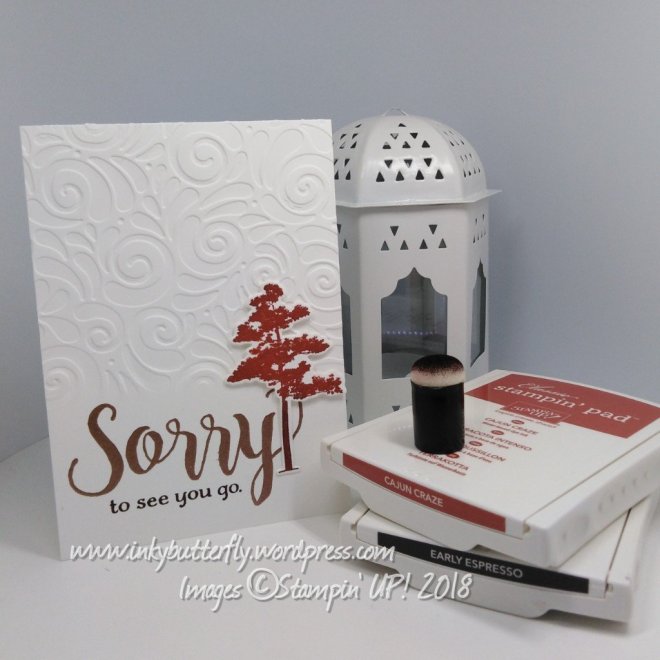
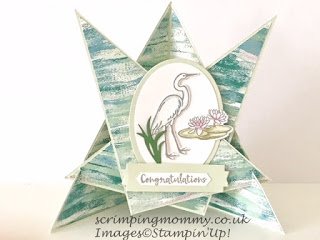
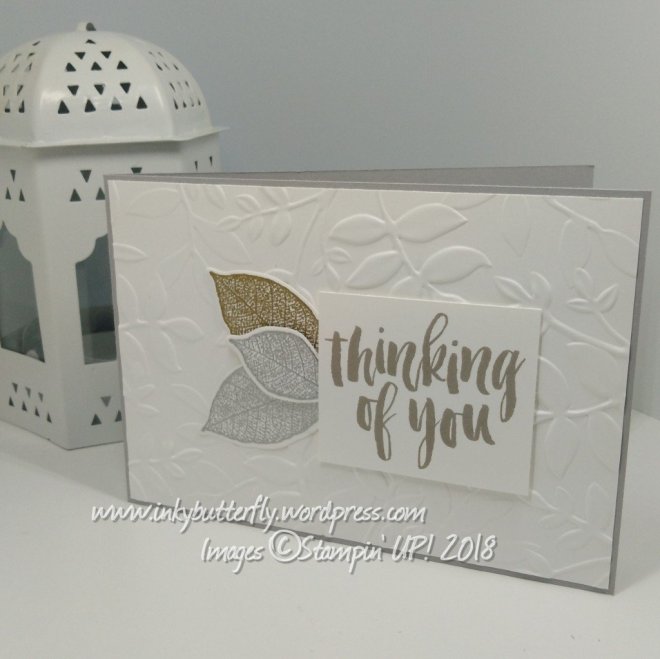
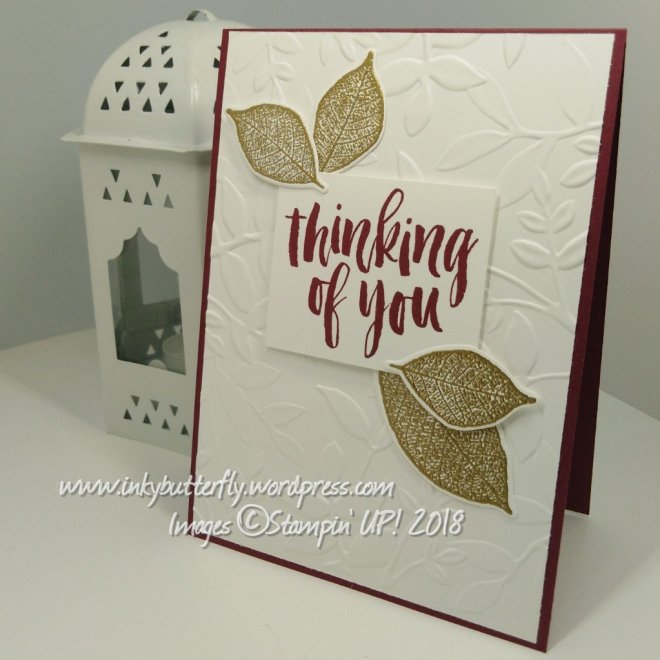
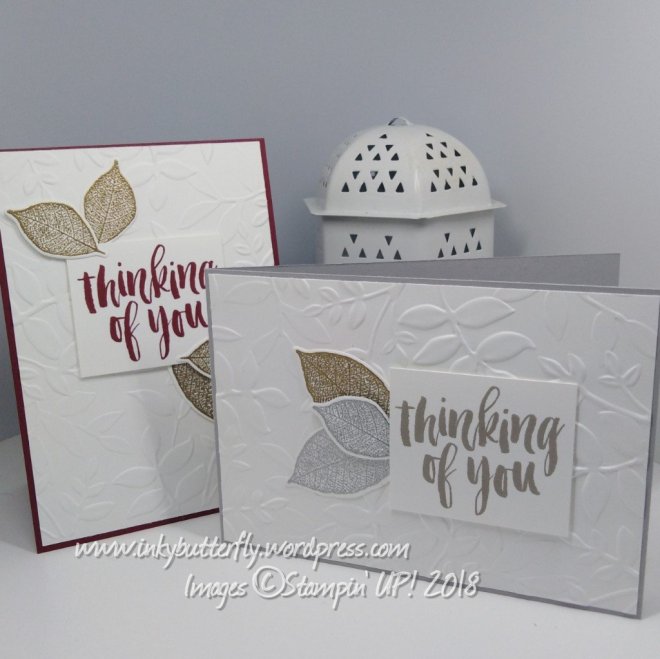
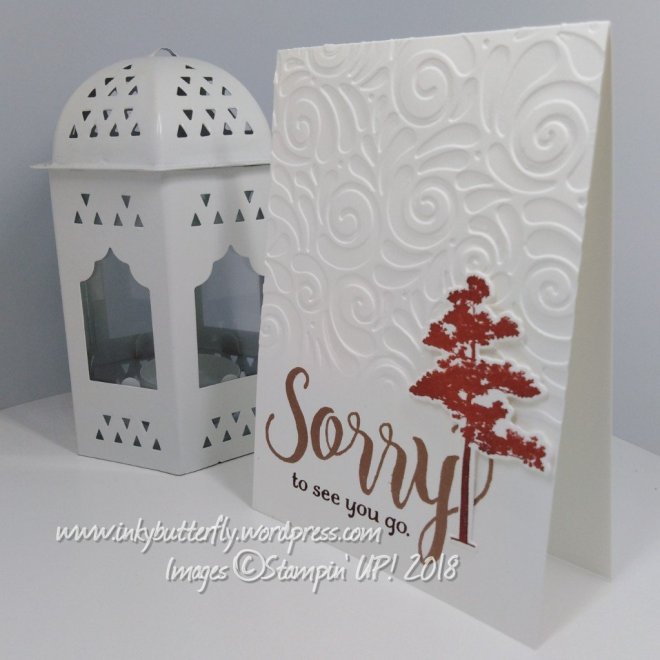
I began by embossing a white card base with the brand new Swirls and Curls embossing folder. The folder was not rolled through all the way, resulting in the bottom of the card remaining flat.
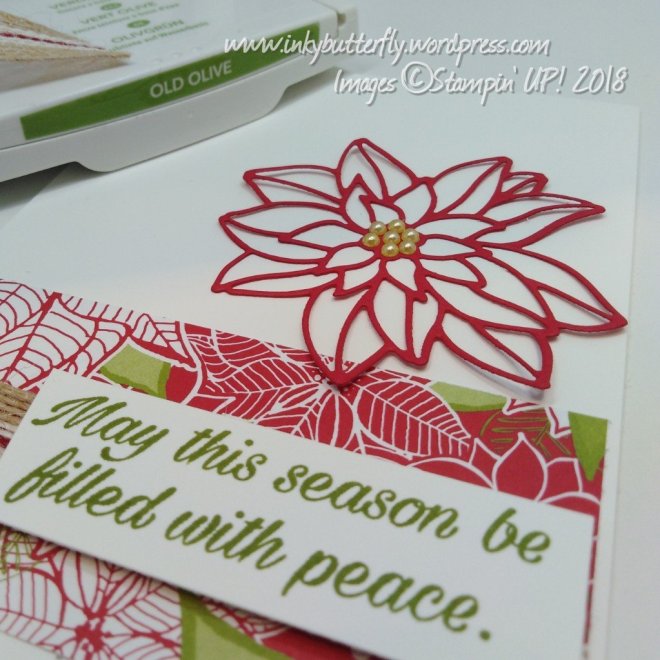
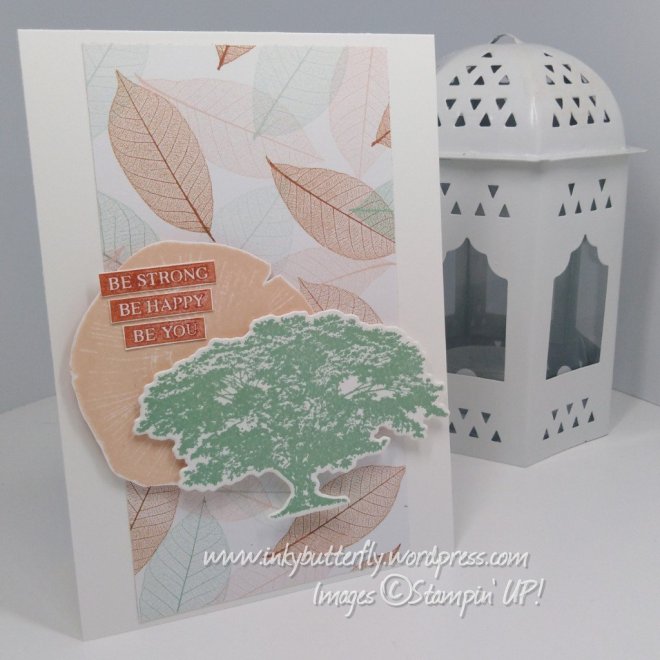
The word “sorry” was stamped with versamark ink and embossed with copper powder.
The partner sentiment was added with Early Espresso ink.
The tree was inked with Cajun Craze, a sponge was used to add some Early Espresso to the trunk. The image was die cut and adhered using mini dimensionals.

I hope you enjoyed this project. The supplies used are listed and linked to the online store below.
Look out for more Autumn Winter catalogue sneek peeks ahead of next week’s launch.
Thanks for stopping by today and happy Stampin’!
Verity xx
Product List

|

|

|

|