Hello Again,
Yesterday’s card was an example of how great cards can be made with minimal supplies. Today, is about adding just a little bit more.
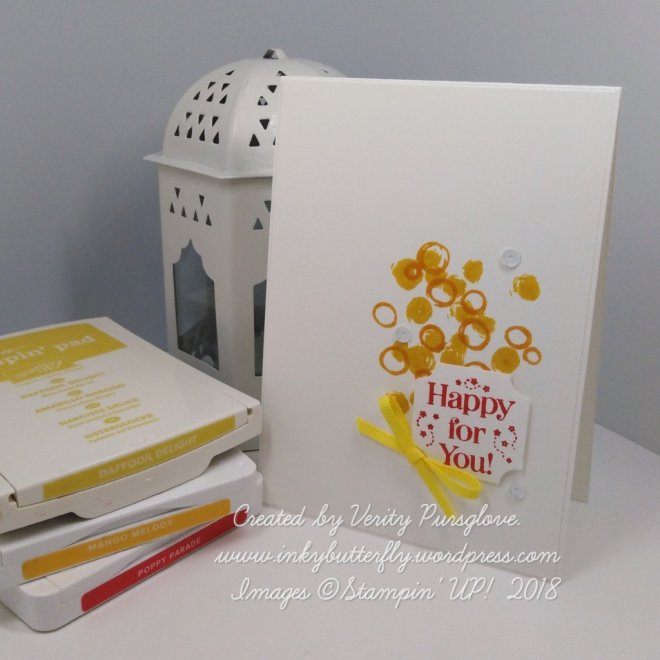
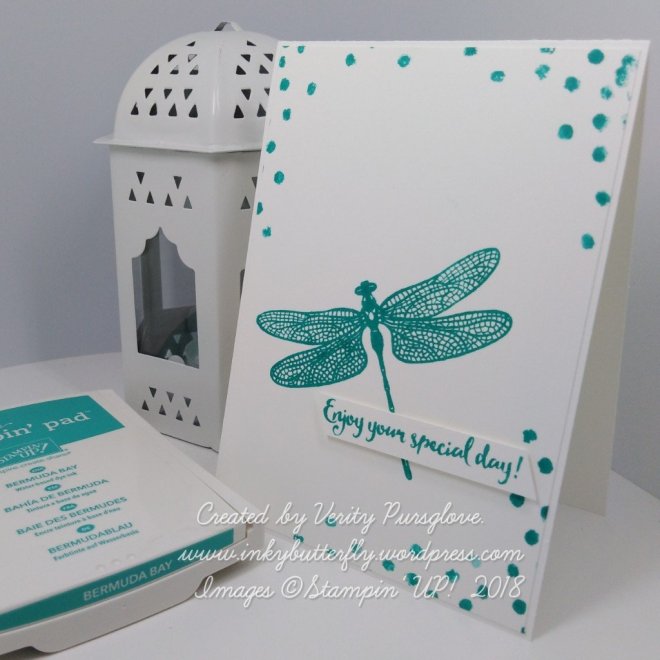
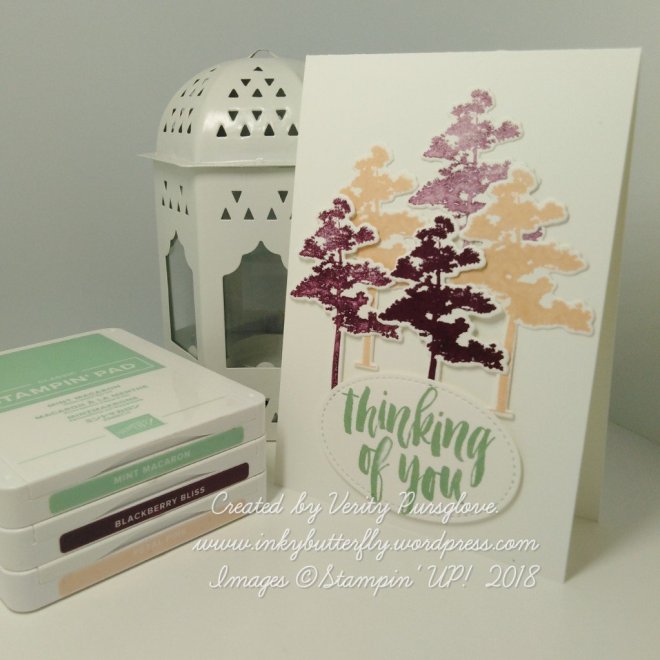
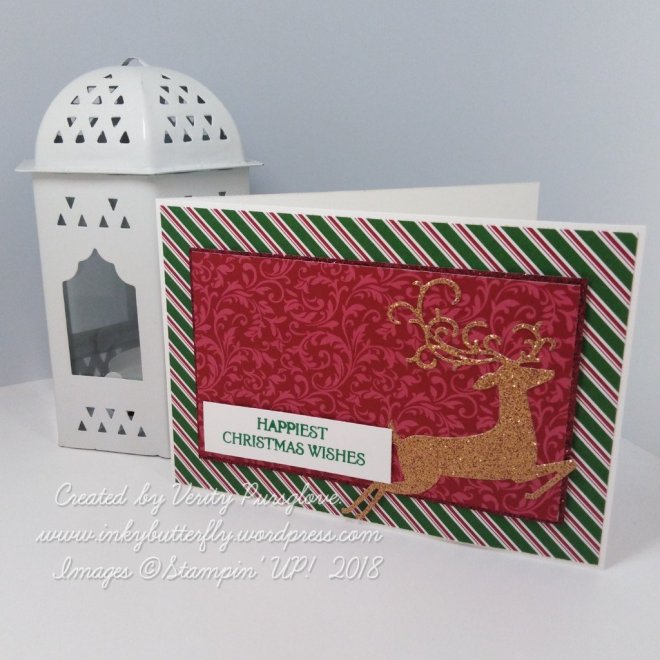
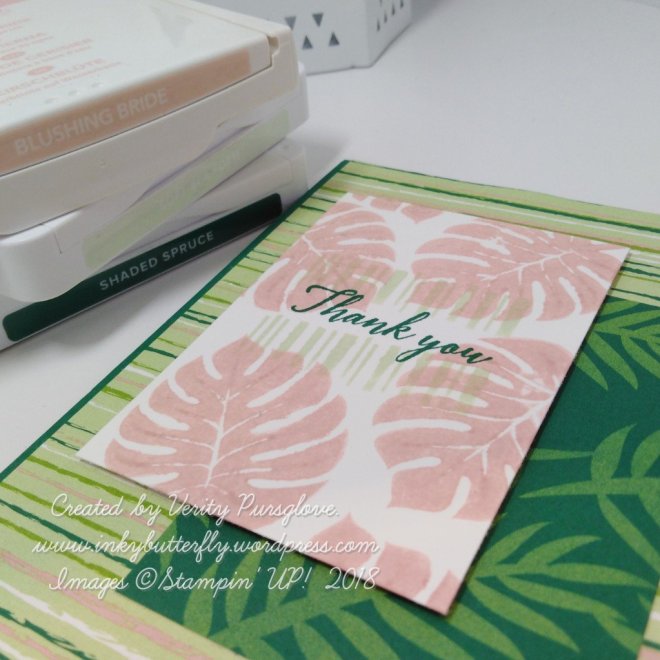
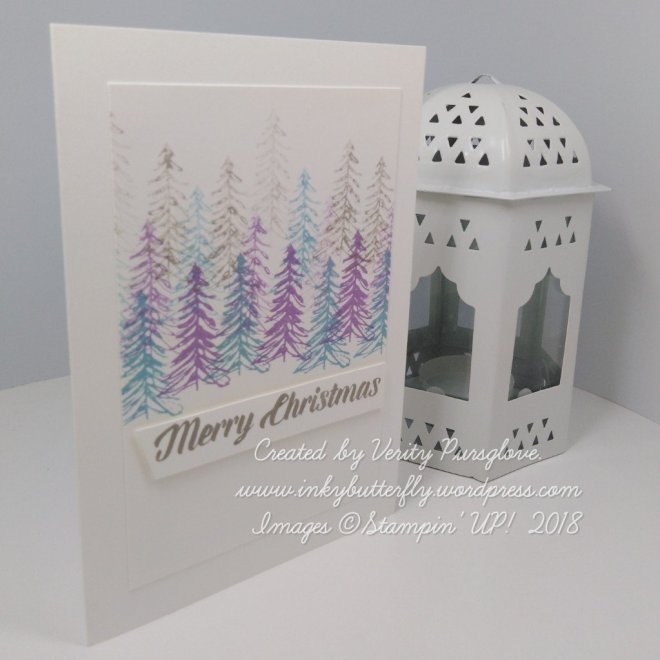
I have used 3 ink colours to make my card, but this could be done a single colour just as easily.
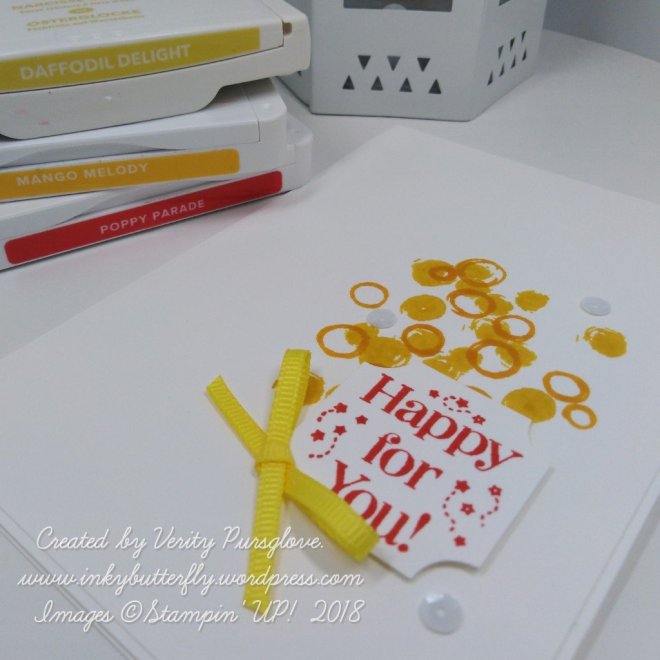
The bubbly backgrounds were stamped first with Daffodil Delight and Mango Melody inks.
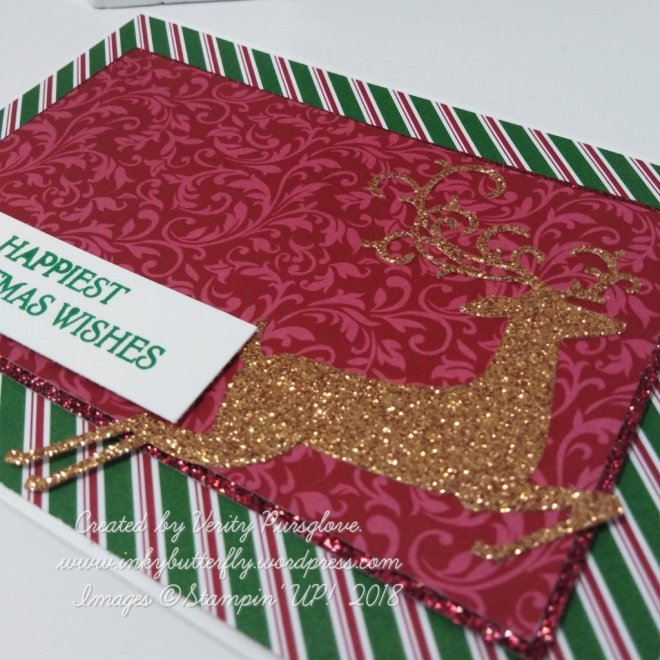
The sentiment was stamped on a separate piece of card, with Poppy Parade ink and punched out. This was adhered with dimensionals.
I added a bow tied from Pineapple Punch ribbon and some white sequins.
I hope you enjoyed this project. The supplies used are listed and linked to the online store below.
I would love to be your demonstrator!
Thanks for stopping by today and happy Stampin’!
Verity xx
Product List

|

|
|

|

|