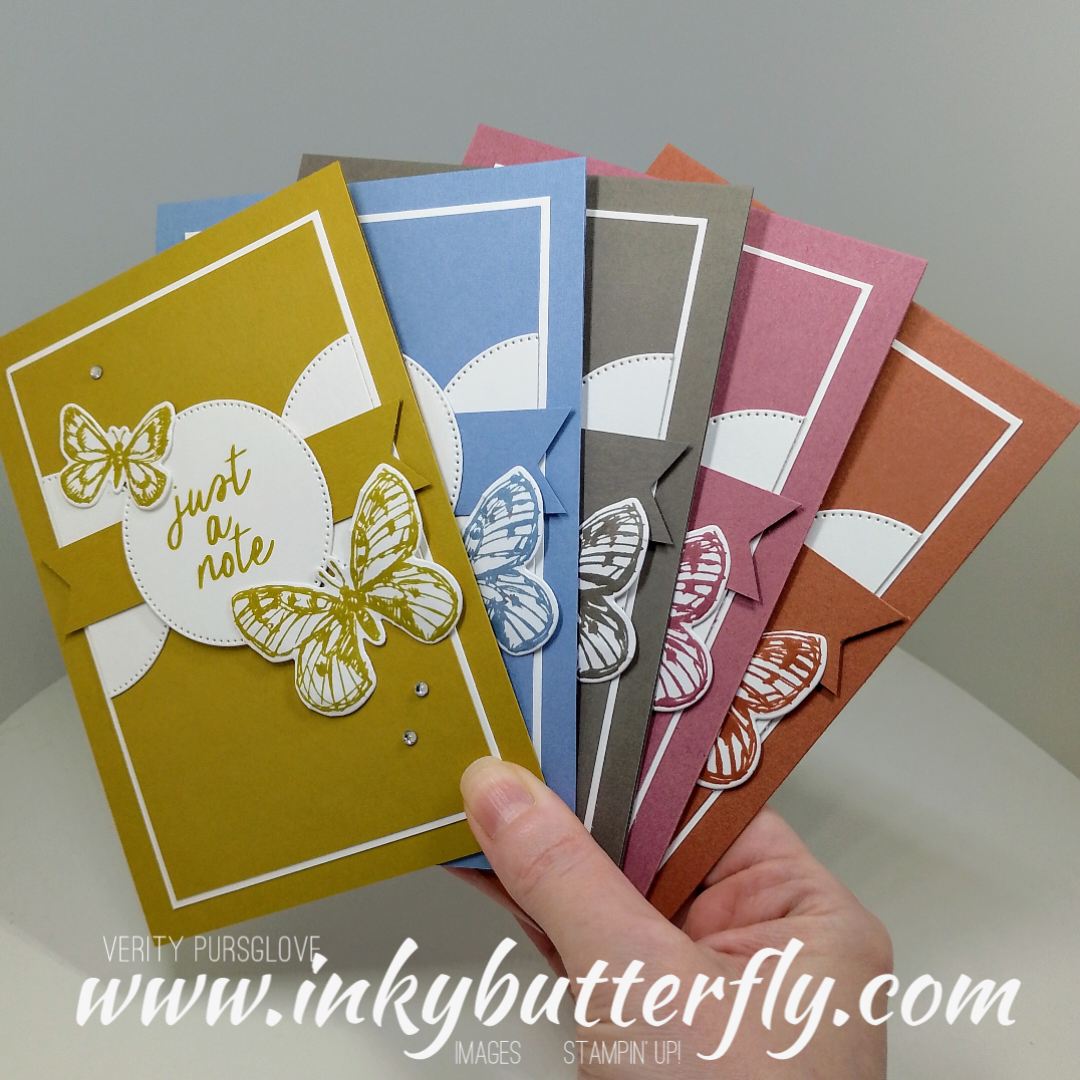
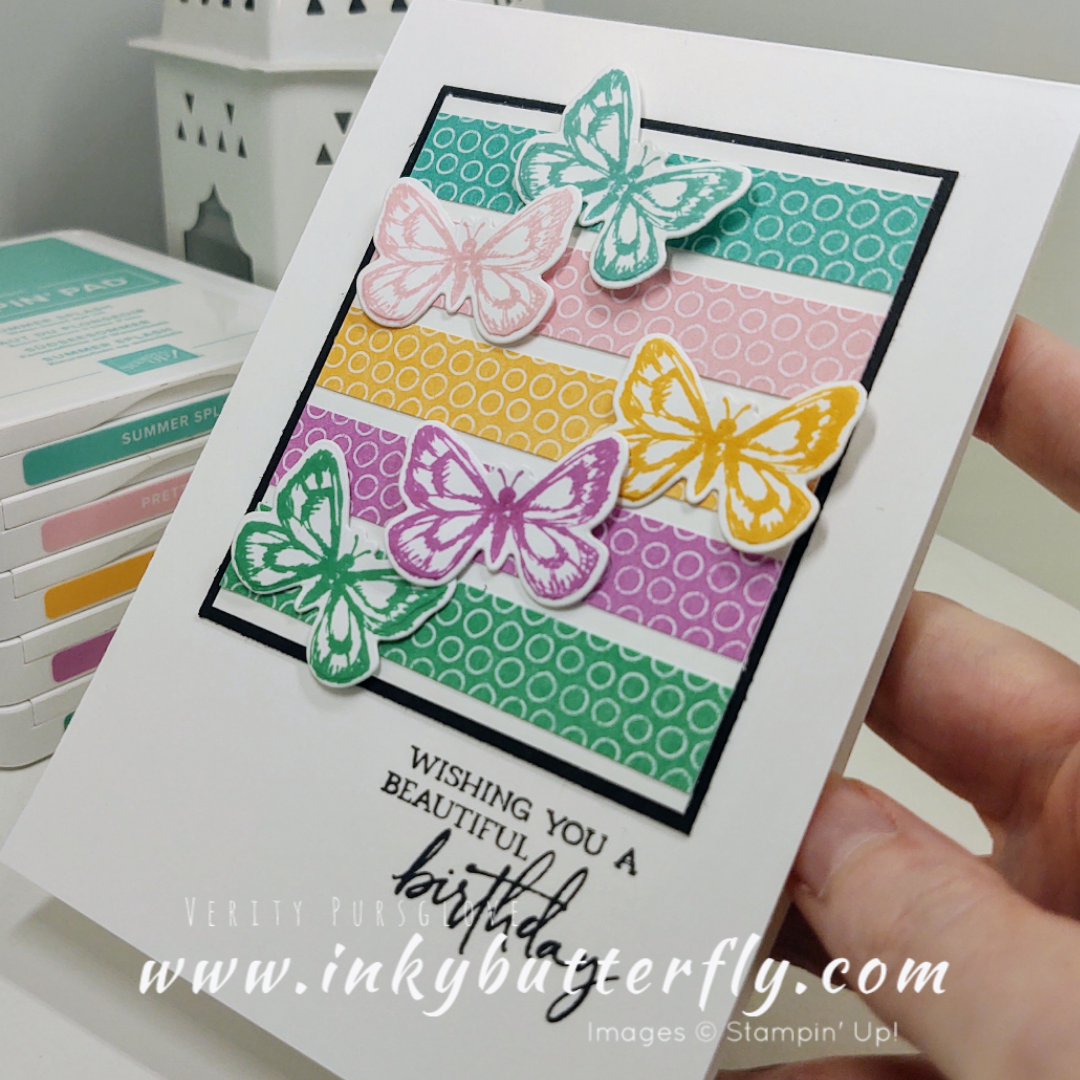
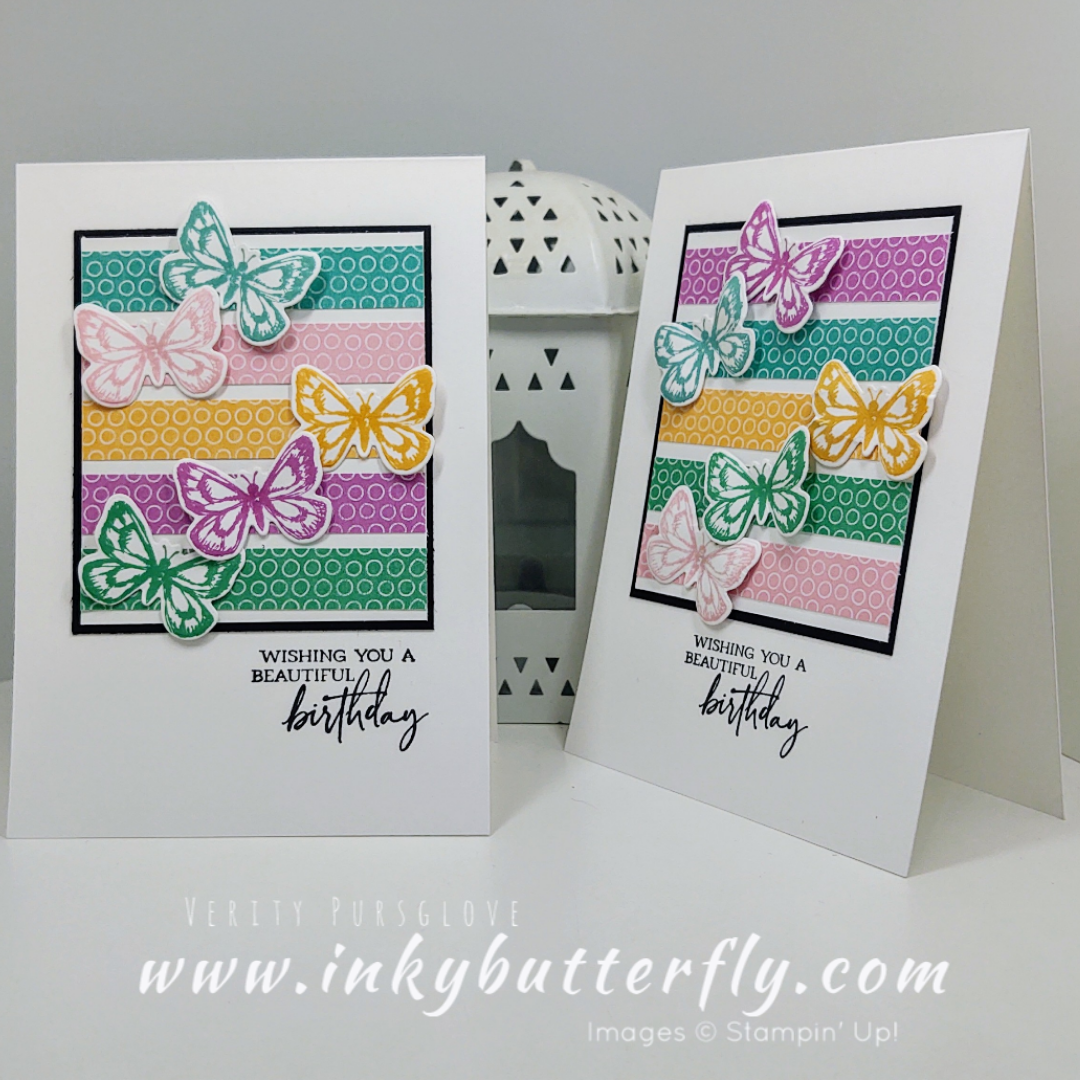
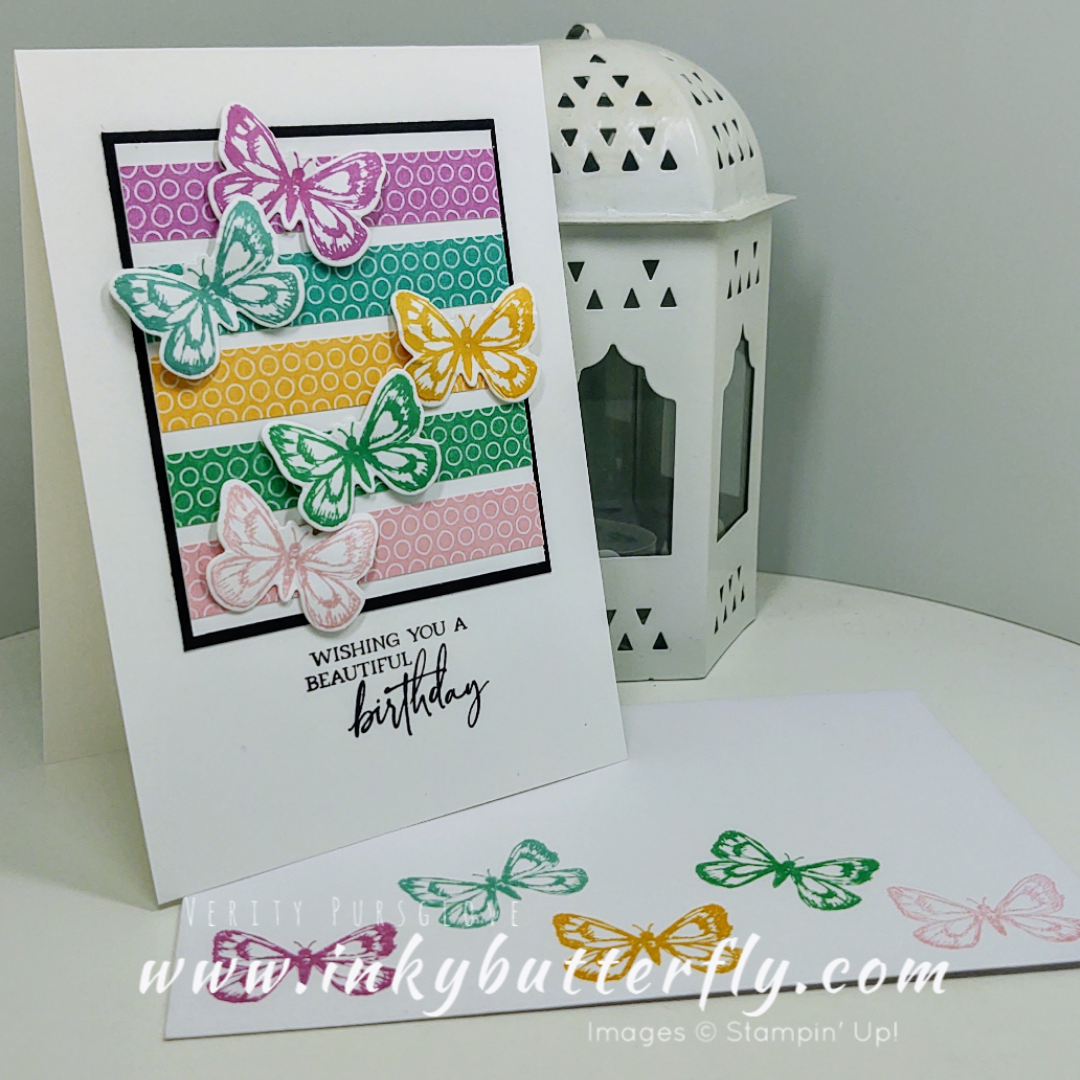
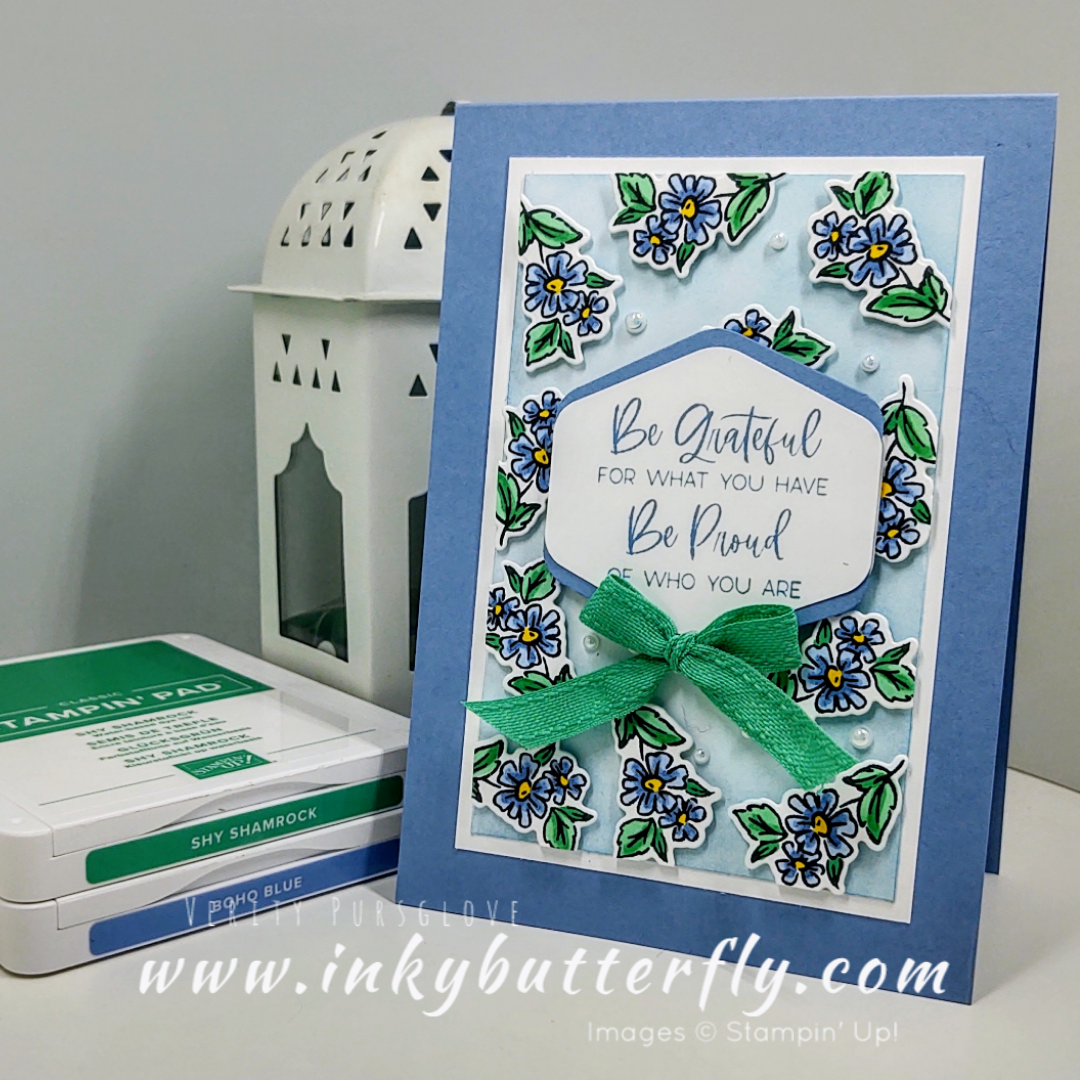
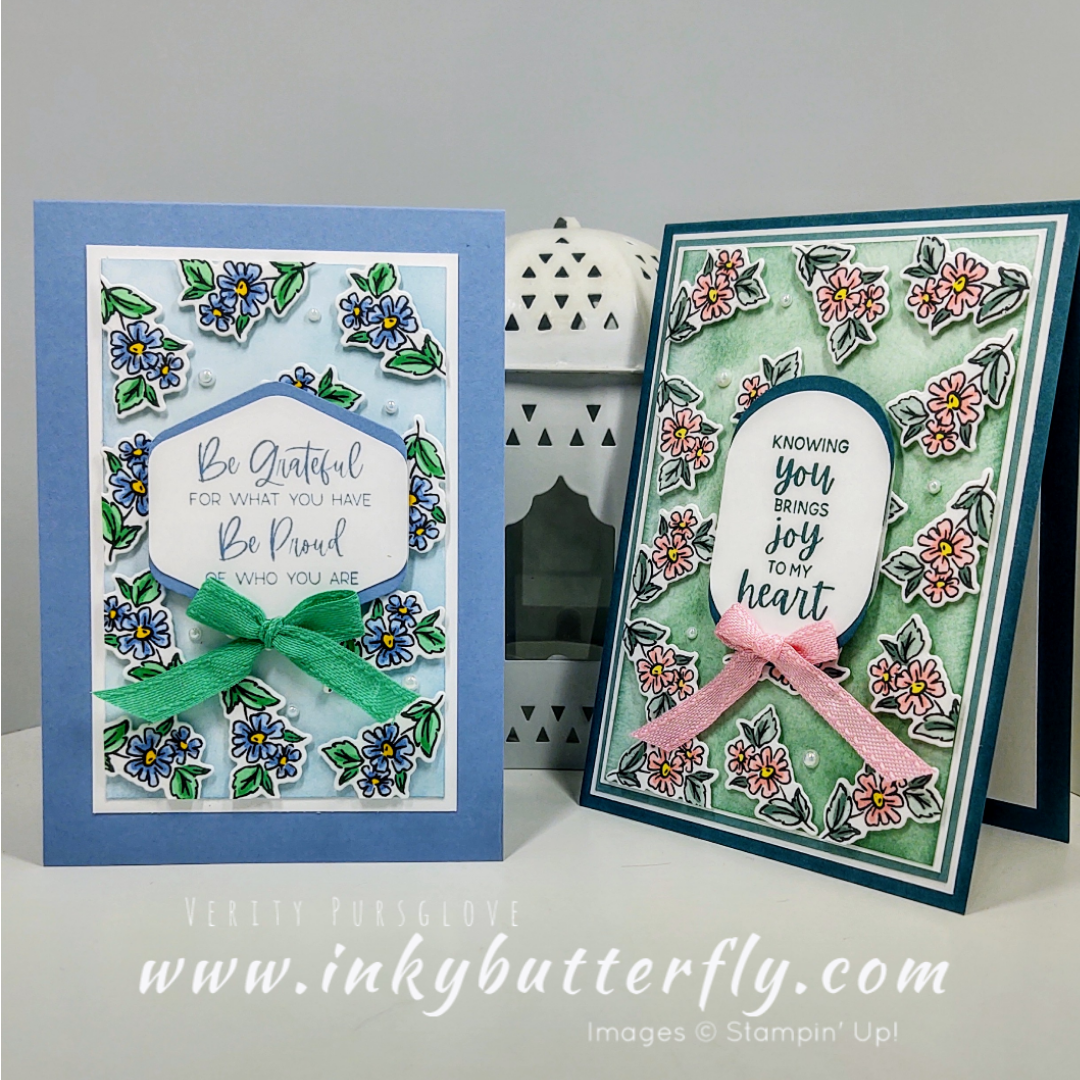
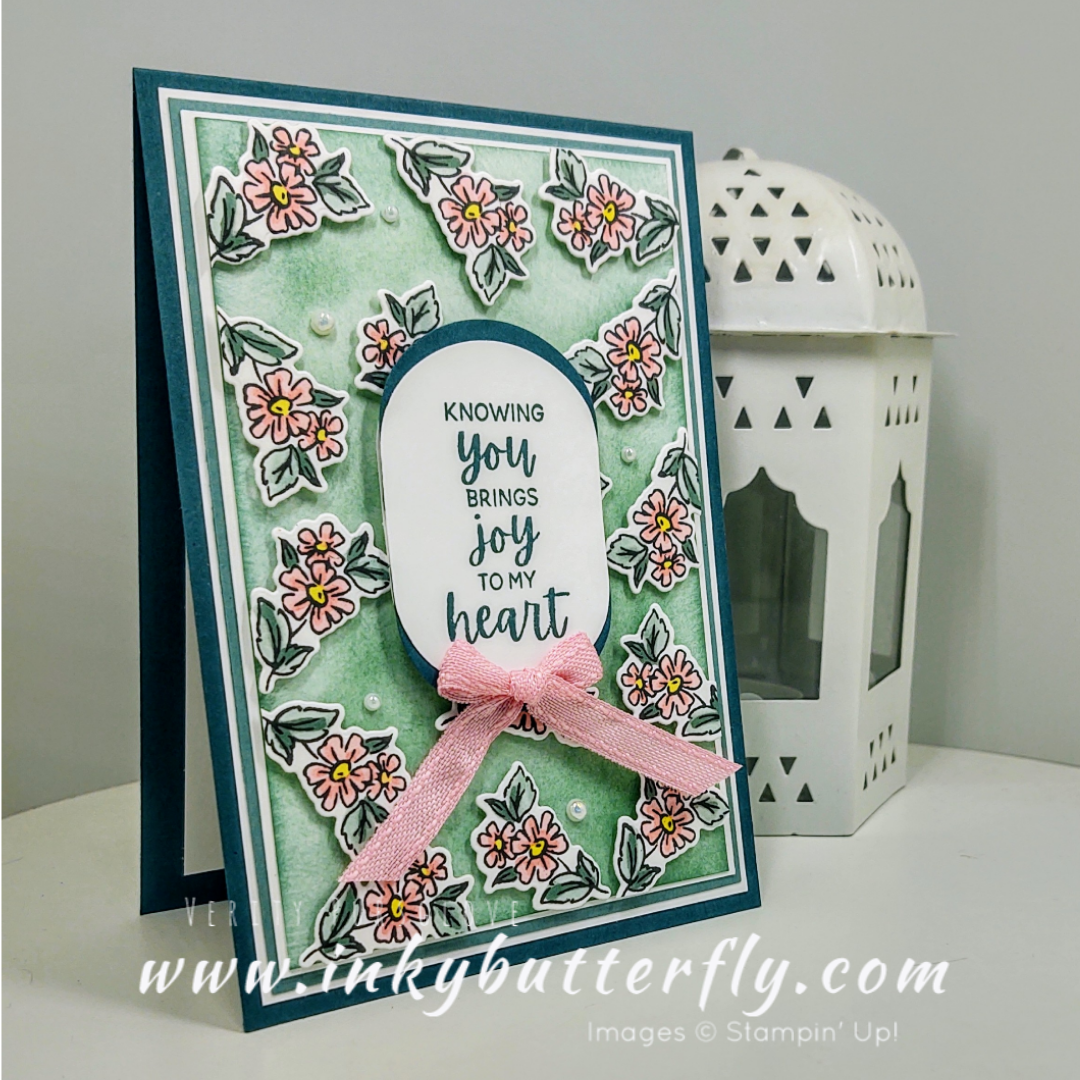
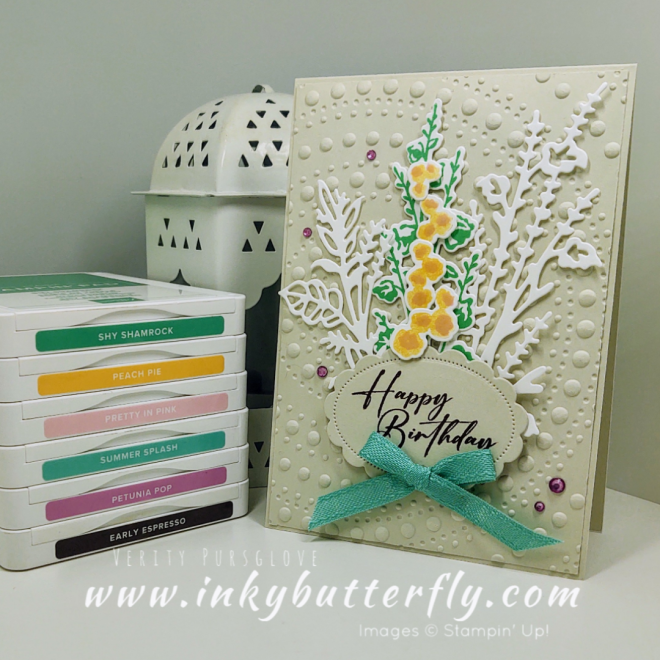
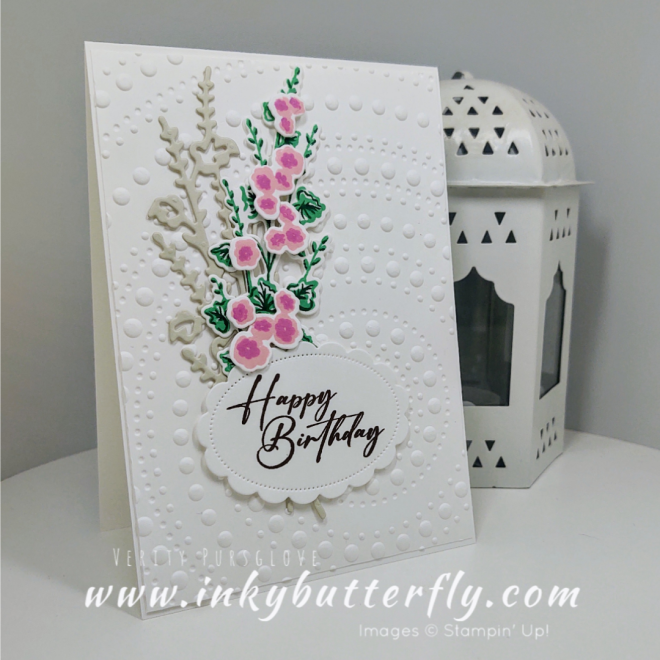
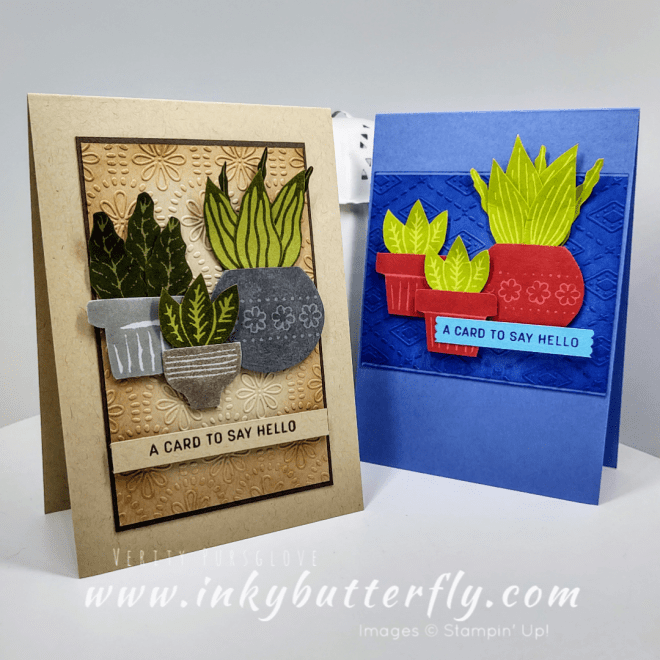
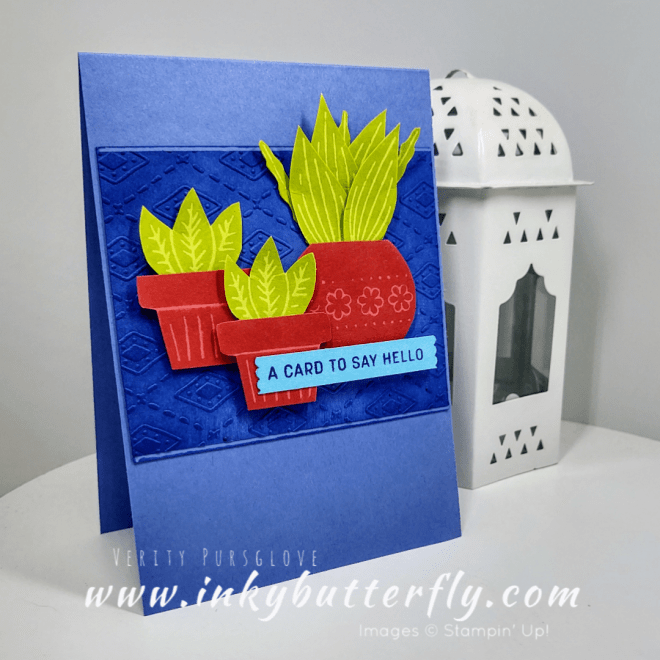
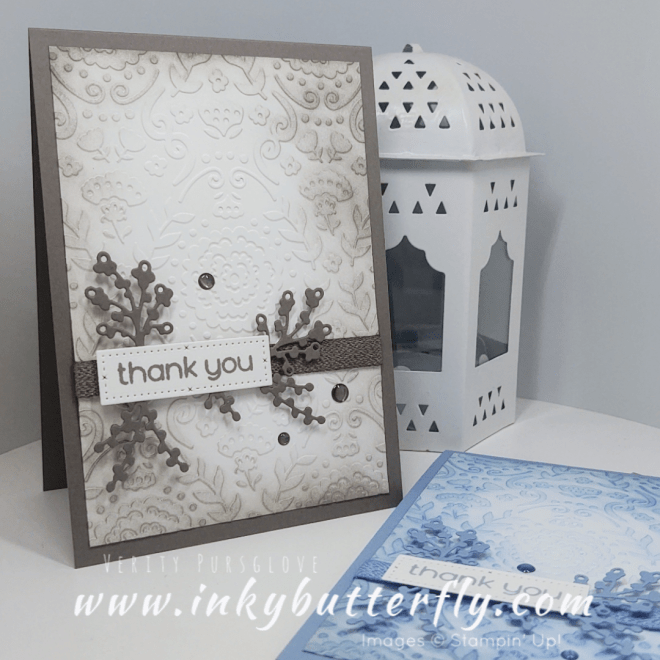
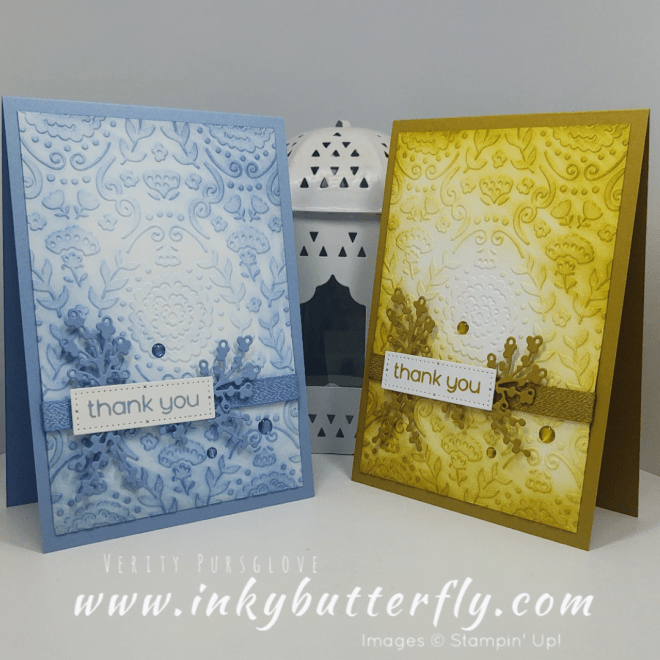
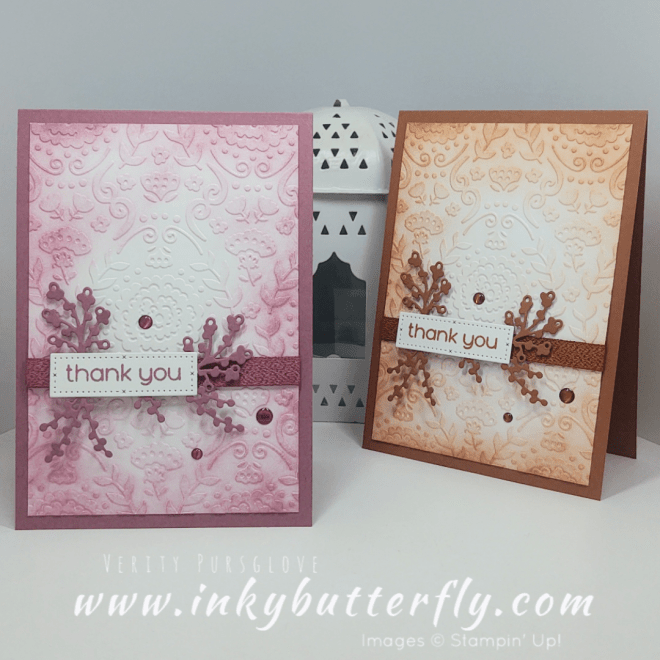
I love making my own backgrounds, and today I’m adding dimension too!
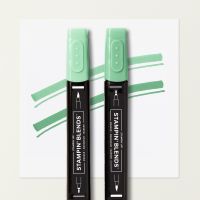
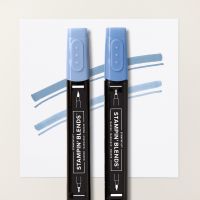
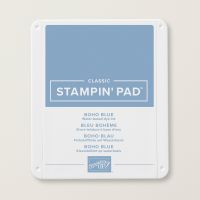
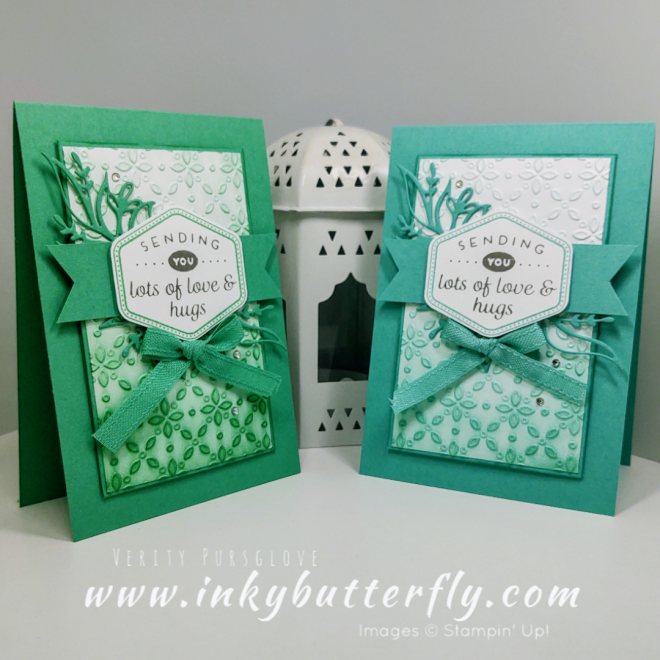
I’m working with Boho Blue and Shy Shamrock, In Colours from both collections – they worked together better than I thought they would!
You can see how I made this card in my video tutorial….
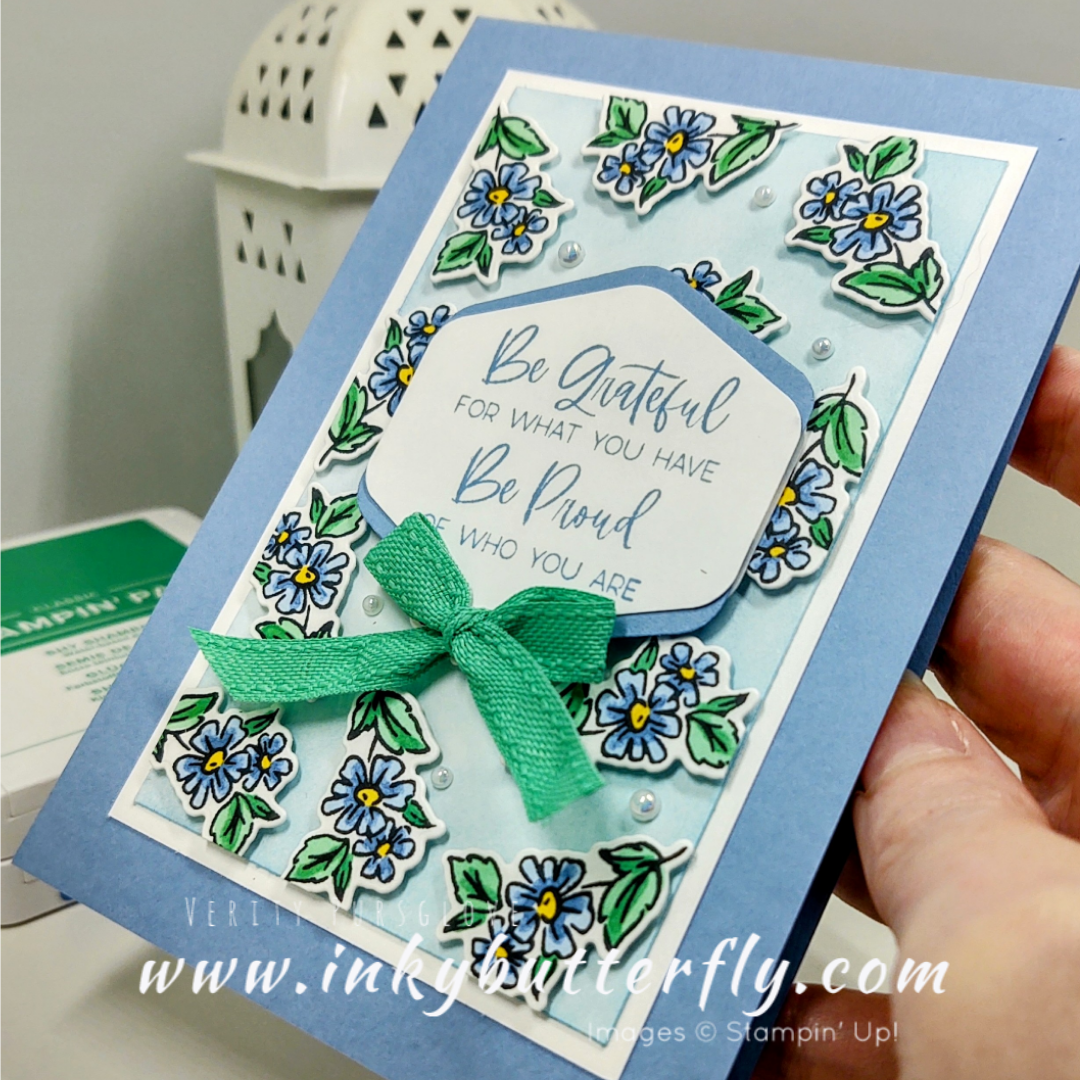
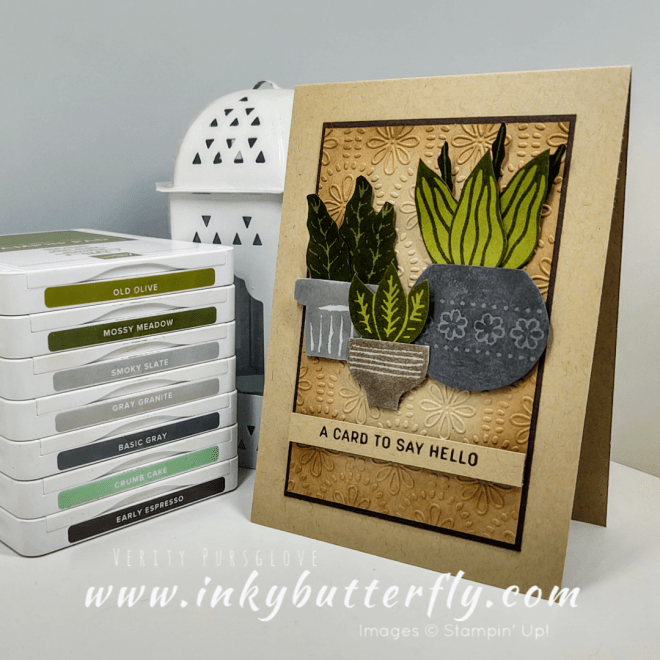
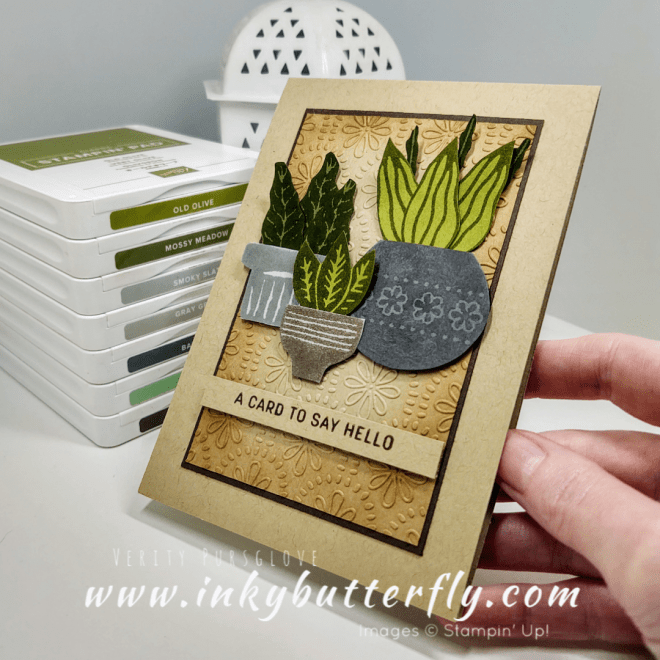
The small image from the Layers of Beauty stamp set was was stamped, coloured and die cut…. I used 12 in the end…. Then added them to the card panel with dimensionals.
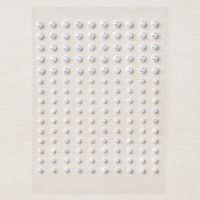
Punched pieces were layered together to create the sentiment feature and embellished with Bordered Ribbon and Iridescent Pearls.
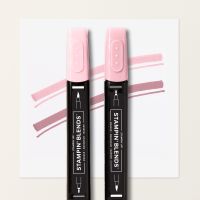
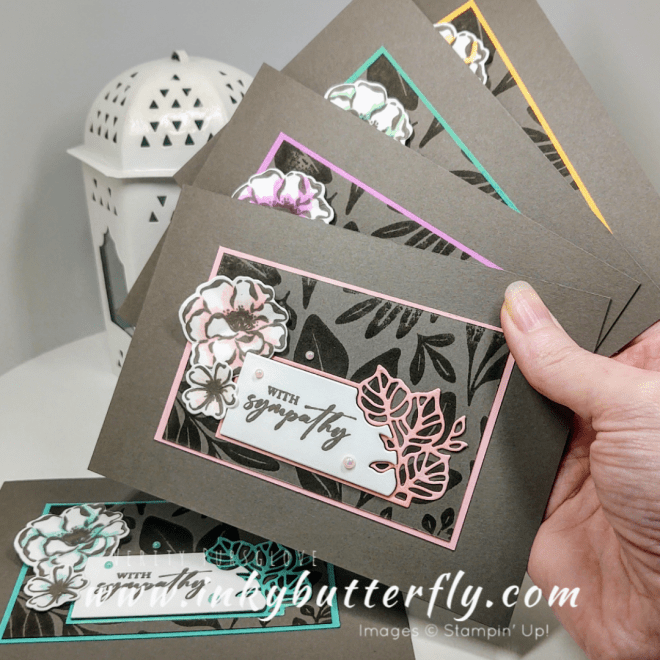
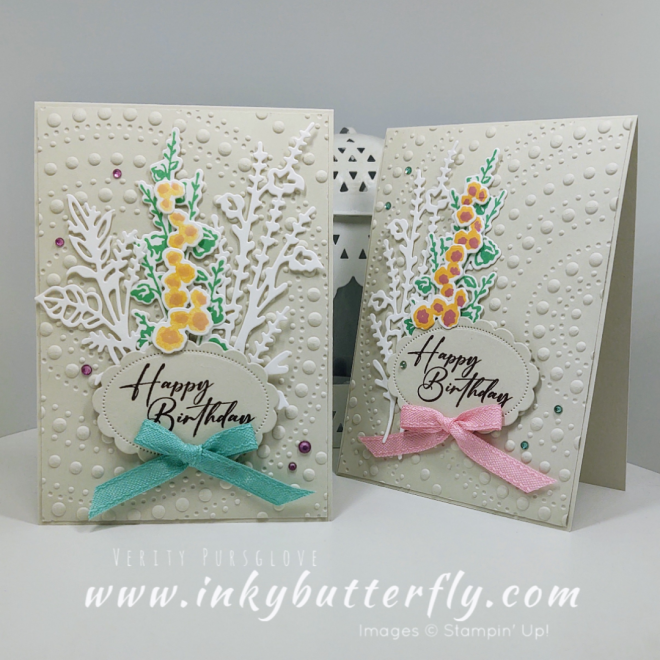
Here’s another version using Pretty in Pink, Lost Lagoon and Pretty Peacock!
The supplies used are listed and linked to the online store below.
Today I’m bringing you sneaky perks at some upcoming products that will be available to customers in May when the new Annual Catalogue goes live!
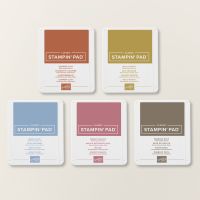
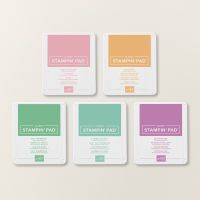
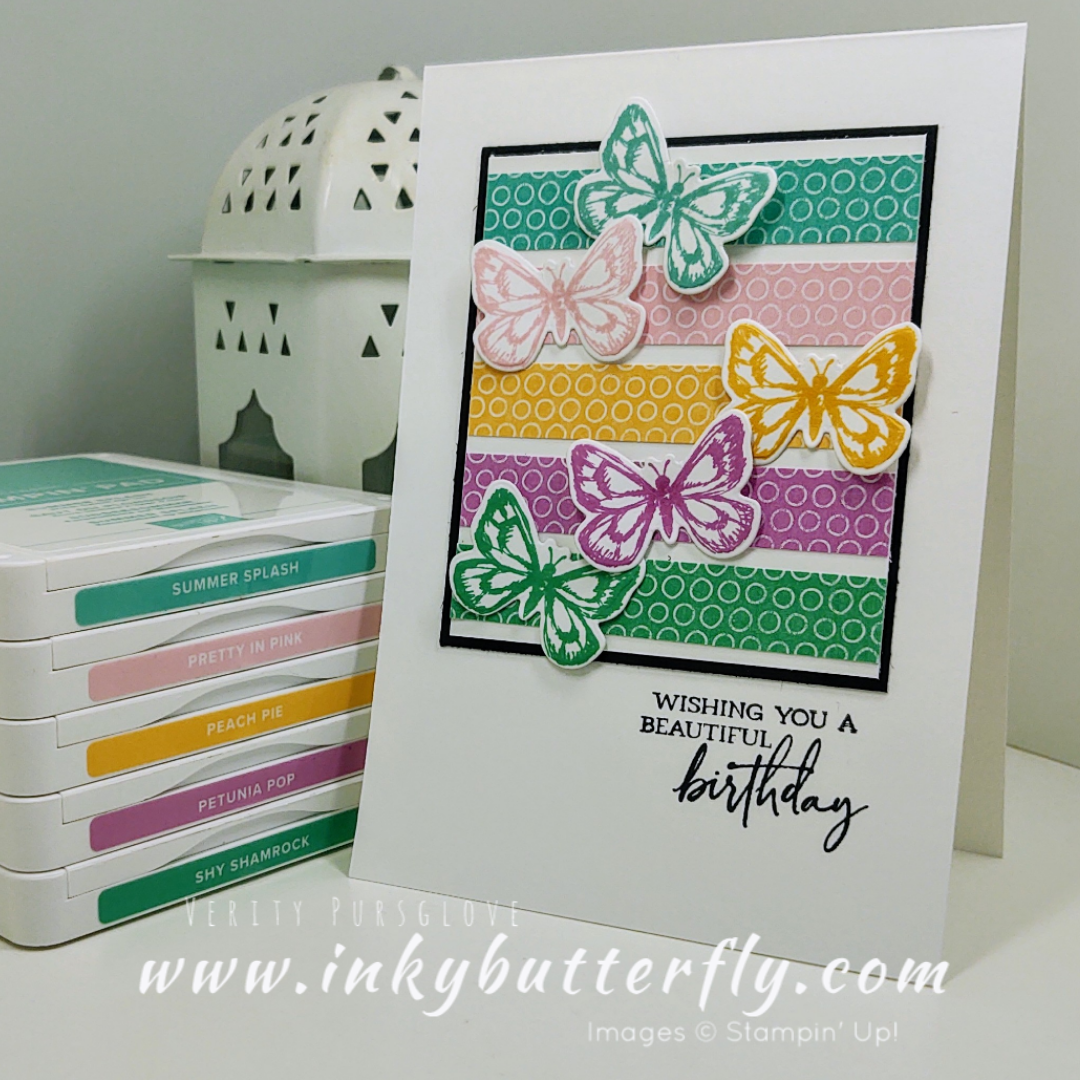
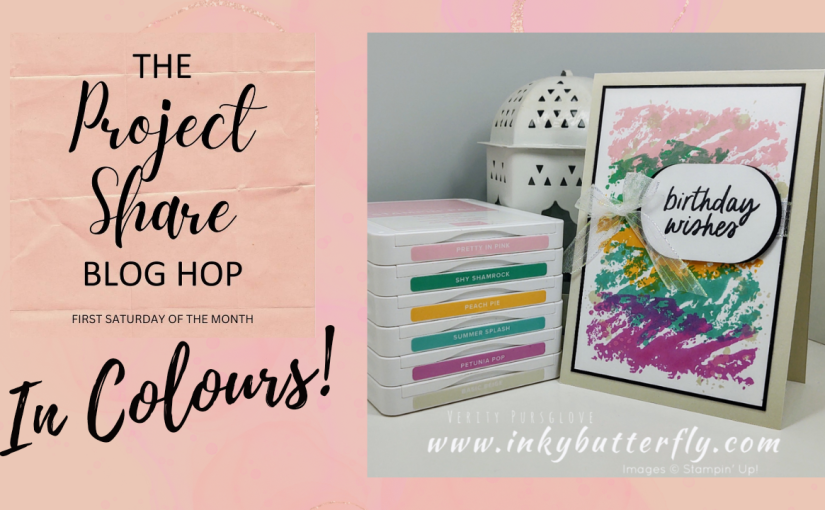
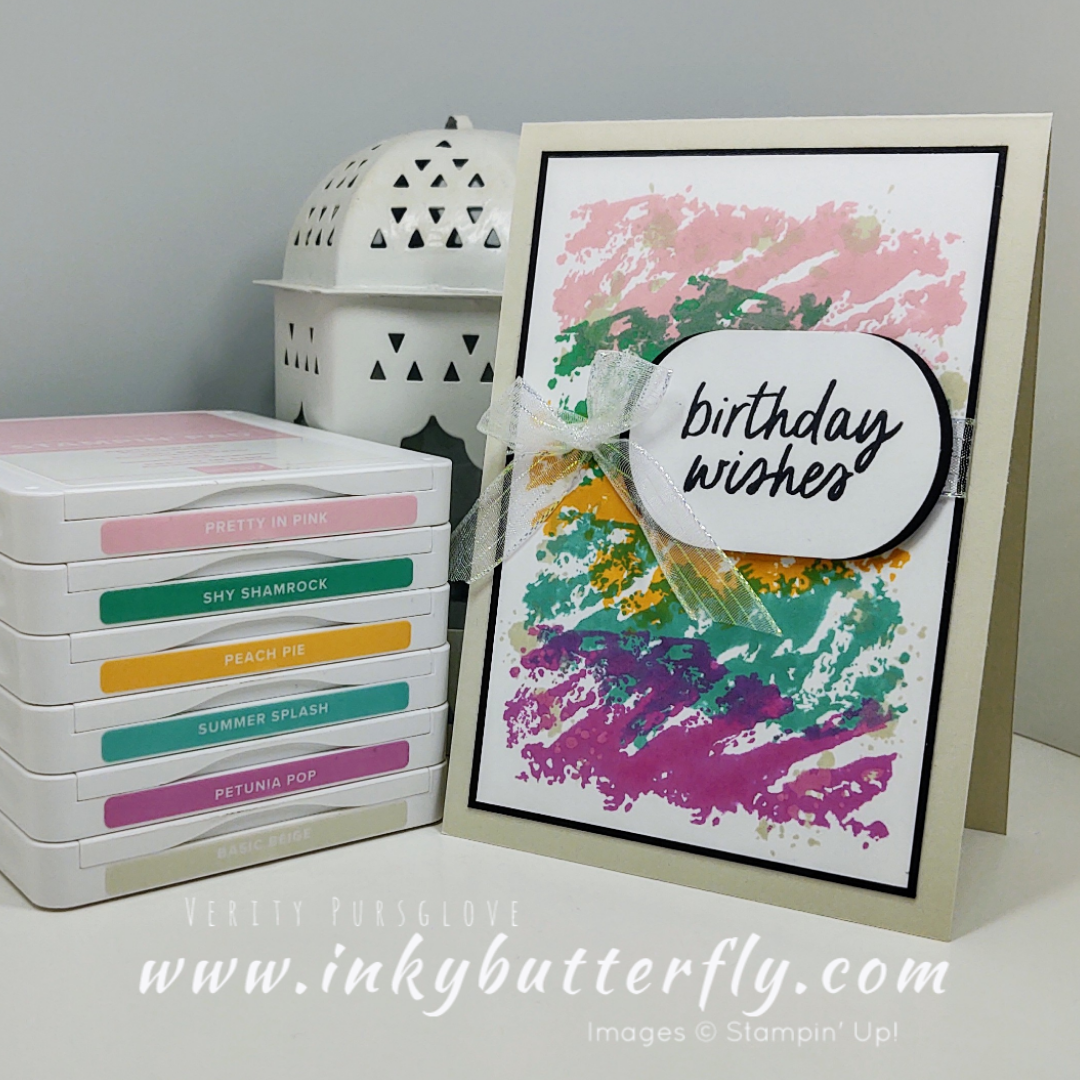
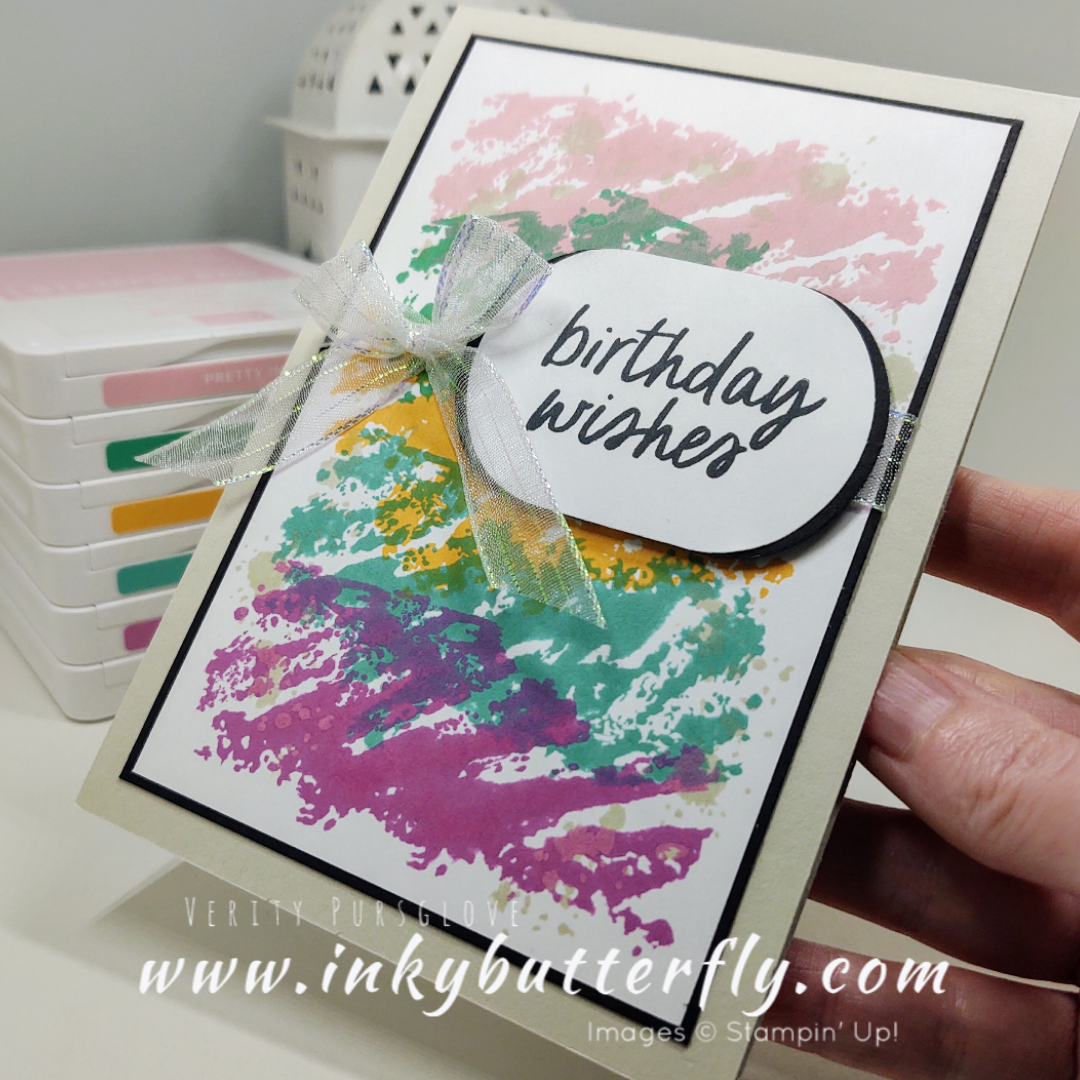
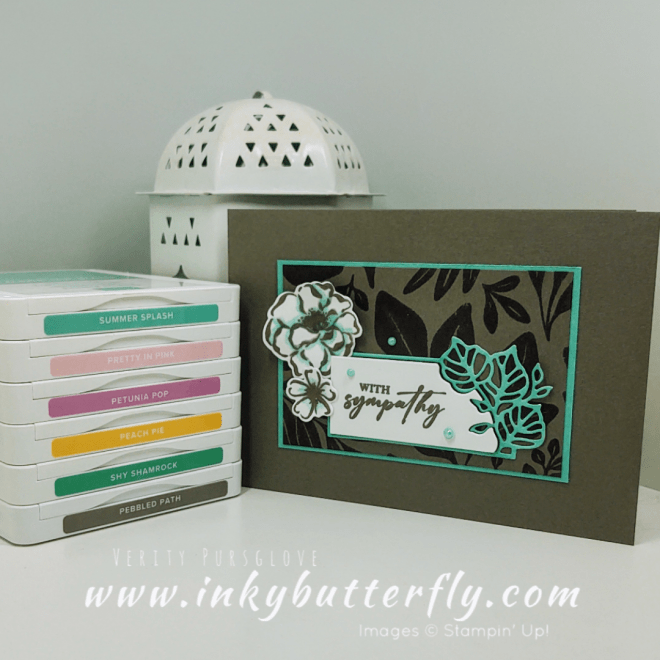
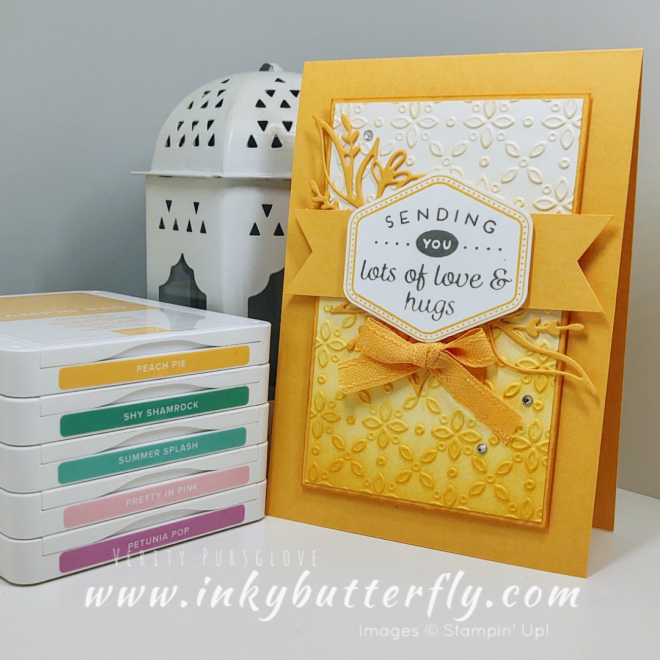
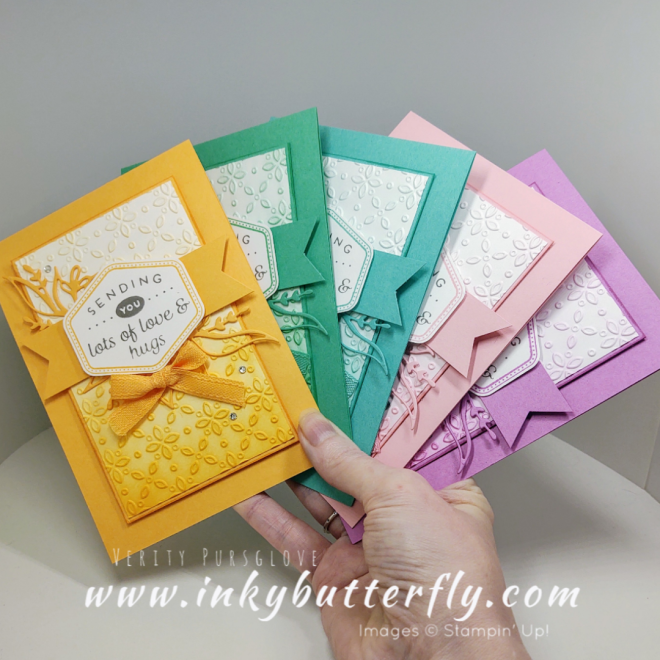
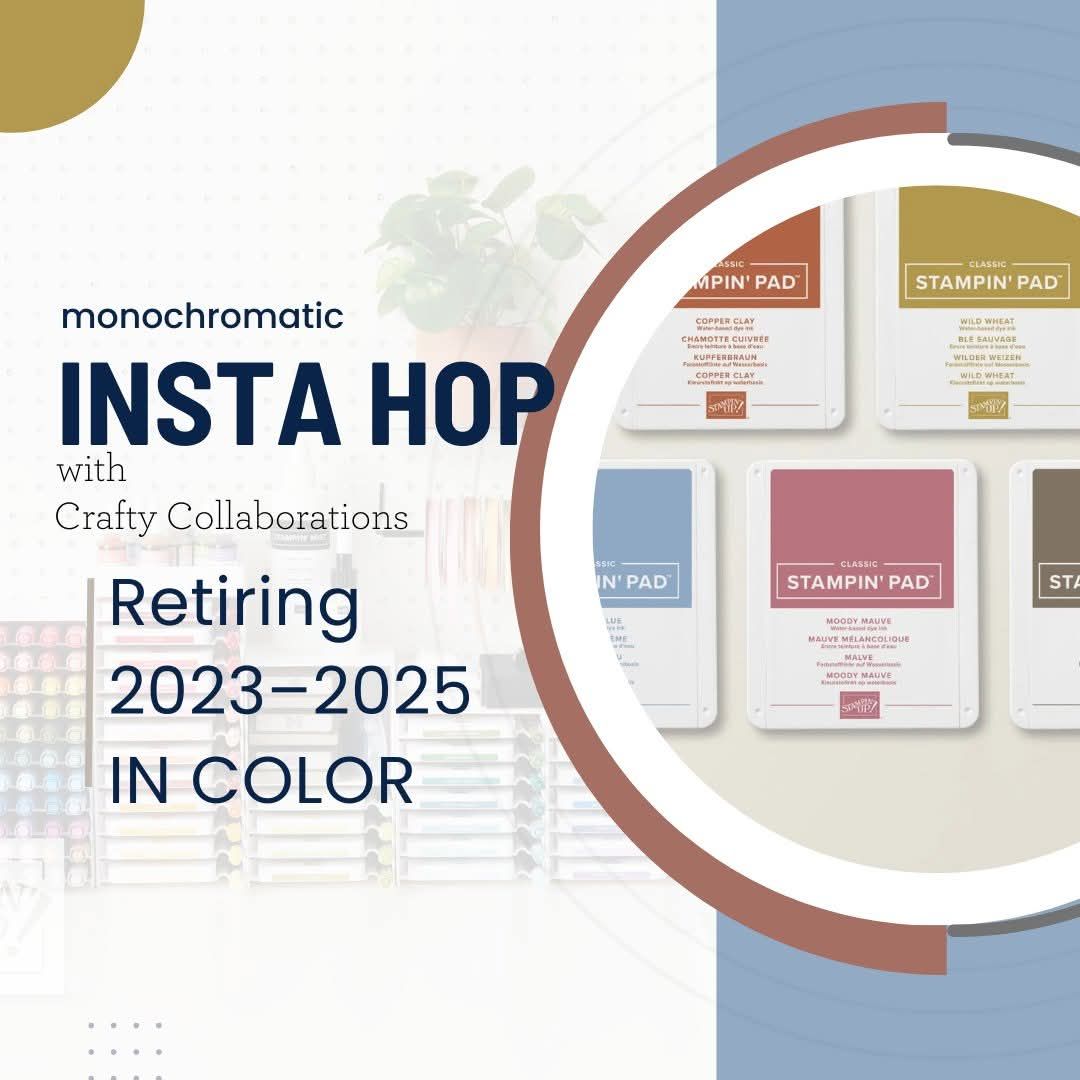
We have 5 new In Colours (left to right);
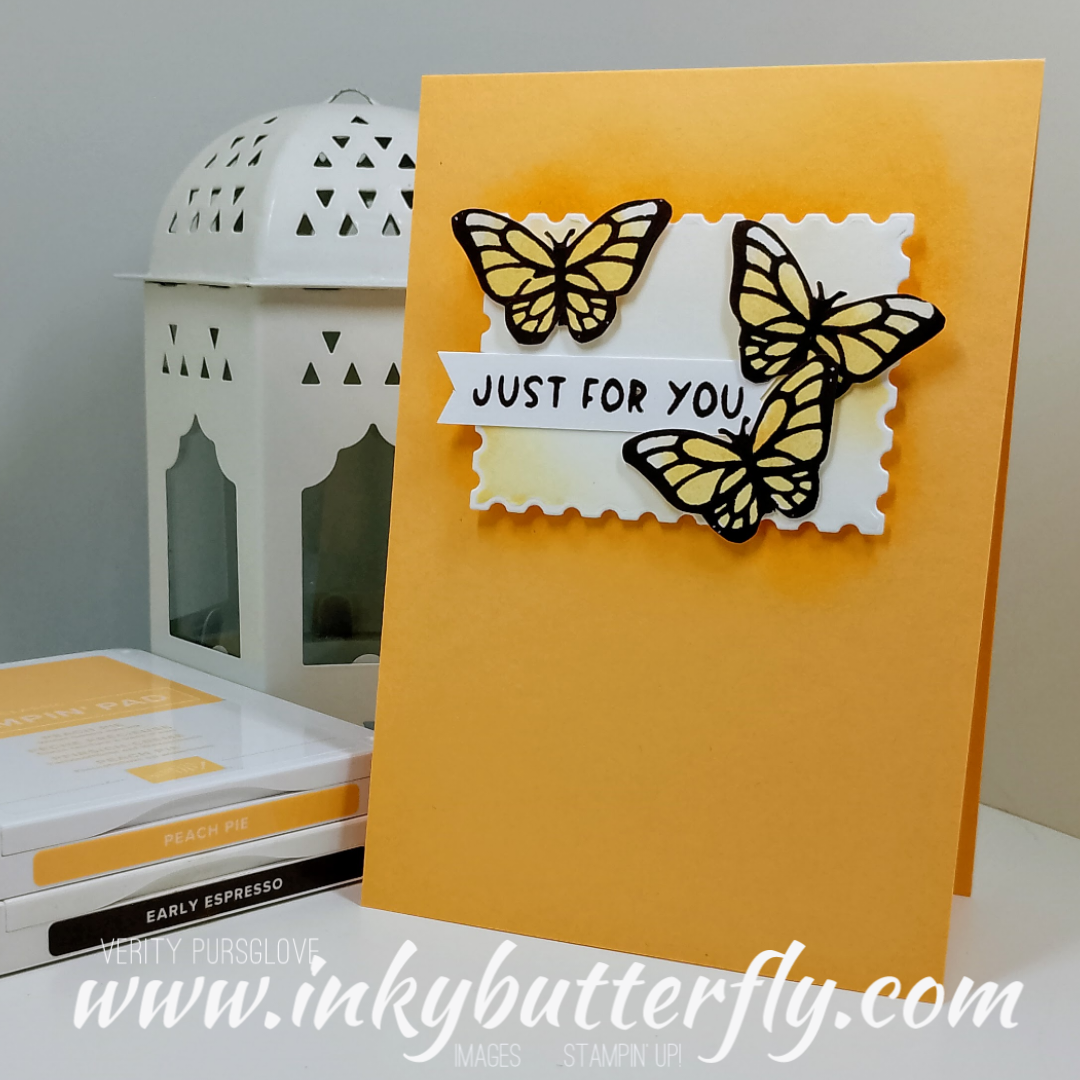
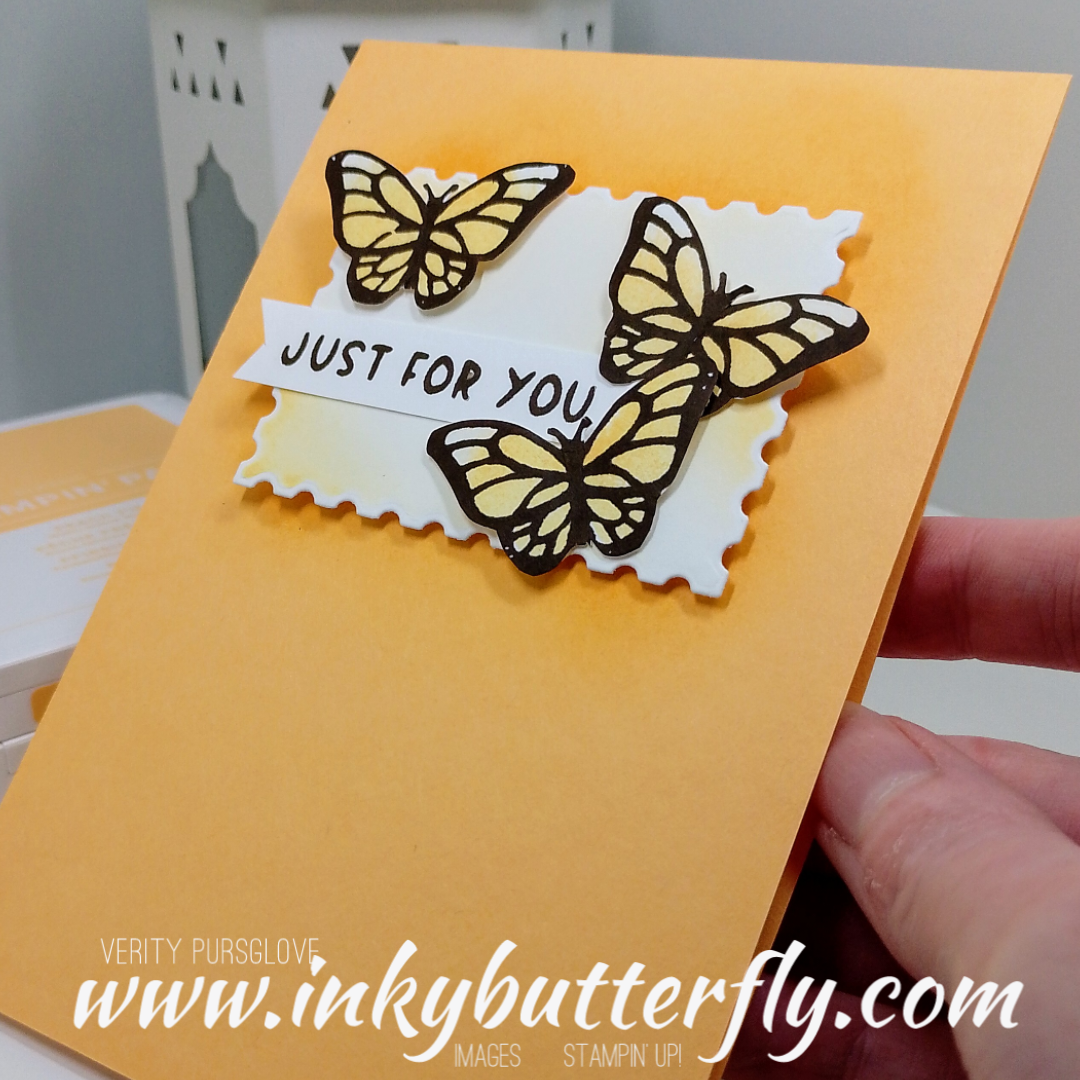
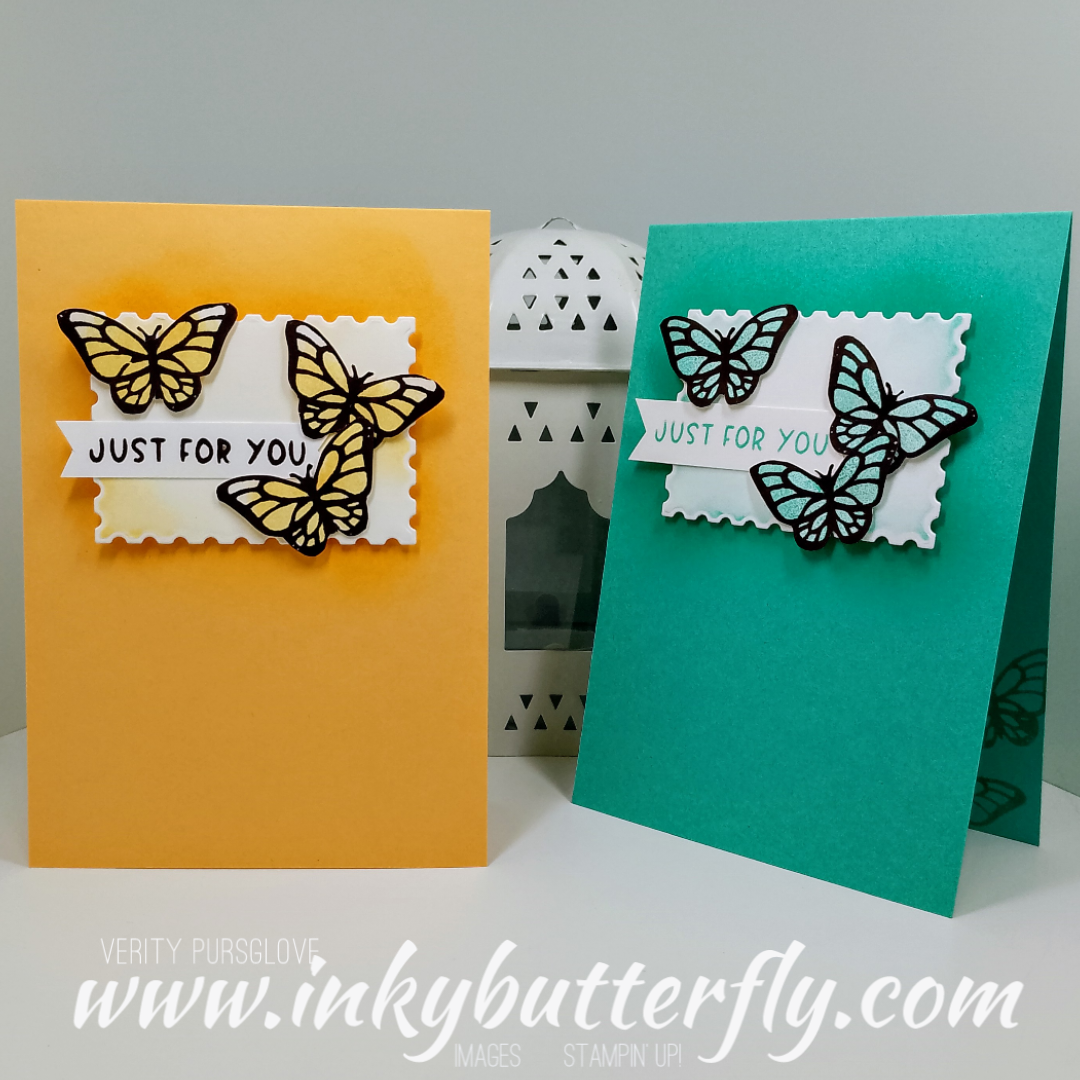
Peach Pie
Shy Shamrock
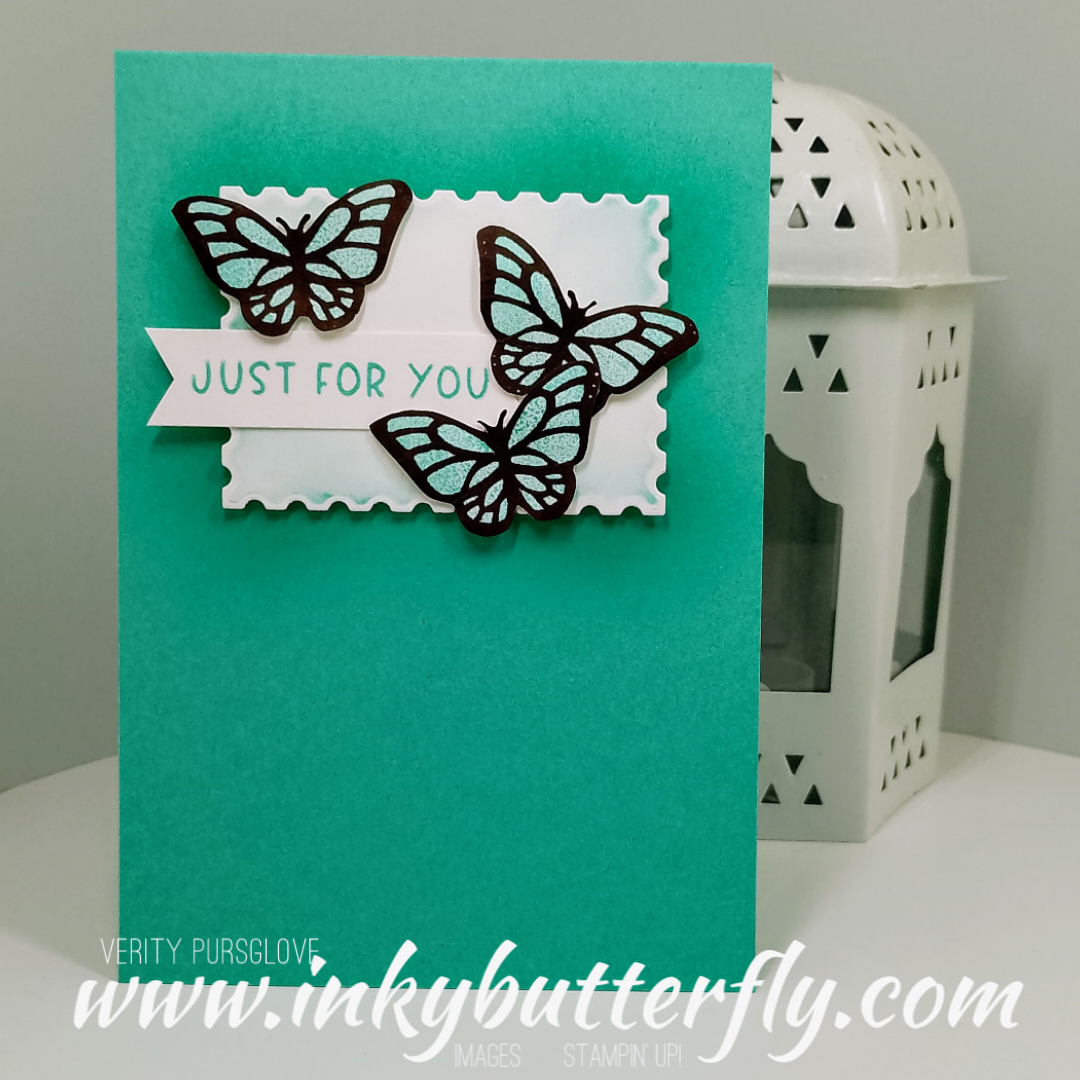
Summer Splash
Pretty in Pink
Petunia Pop
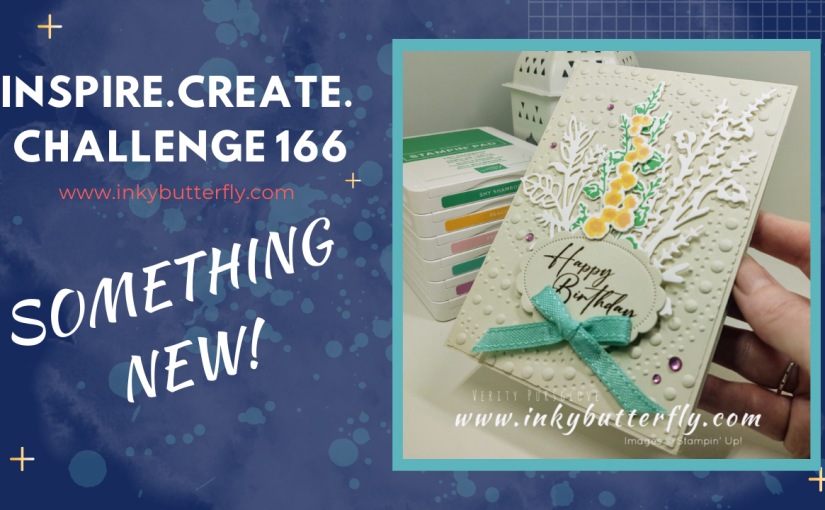
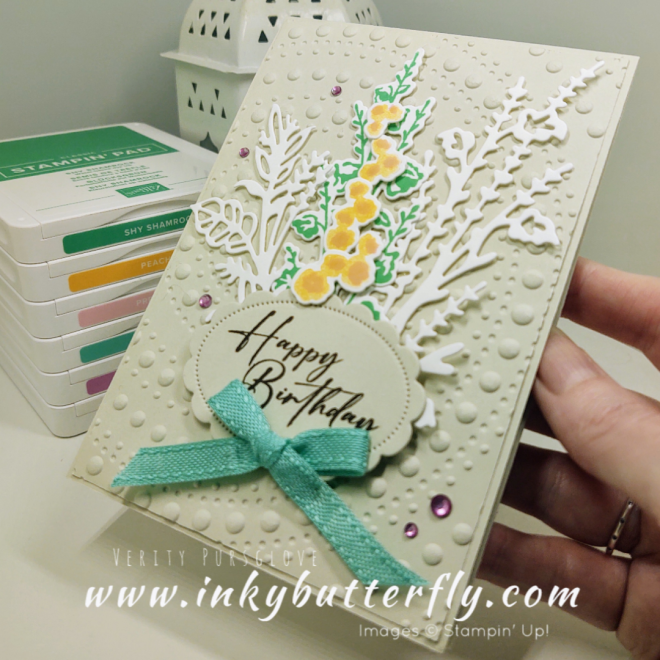
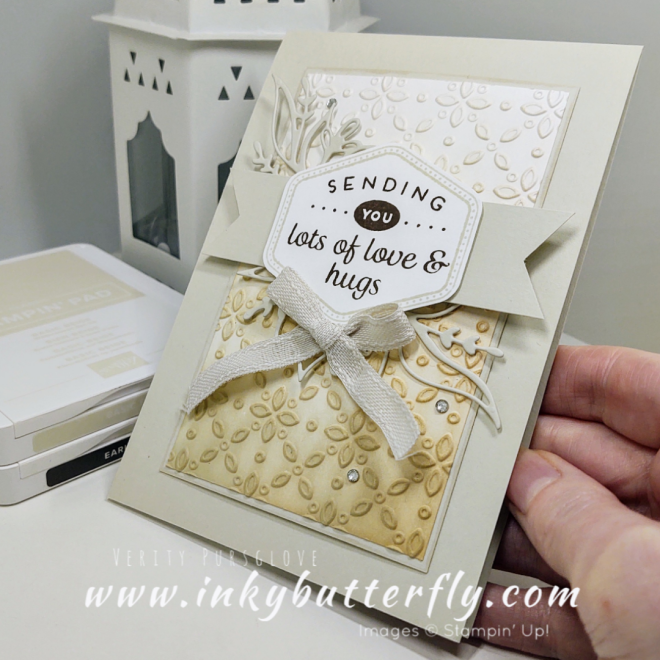
I used a new 3D embossing folder too, this is called Eyelet. I added coordinating ink to create an ombre look to the background.
I used the Heartfelt Hexagon stamp set and punch for the sentiment.
There is a stunning die cut peeking out from behind the sentiment banner… I am going to be using these dies a lot I suspect! 😂
The In Colour ribbon is lovely and soft and ties into a bow very easily.
We have another colour joining the core range too…. Basic Beige! Sounds boring? I know…. But this is going to be so versatile… I think I’ll need to get another pack!
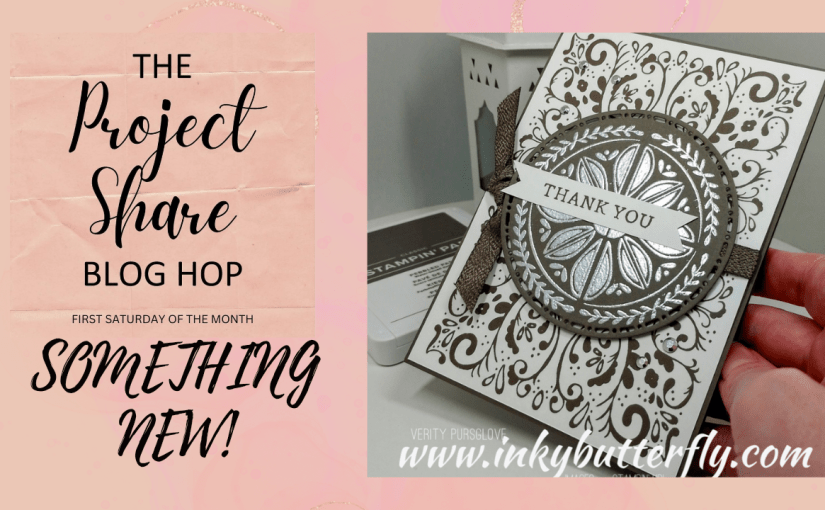
And look how beautifully it goes with Early Espresso!
I hope you enjoyed this project.
The supplies used are listed and linked to the online store below.
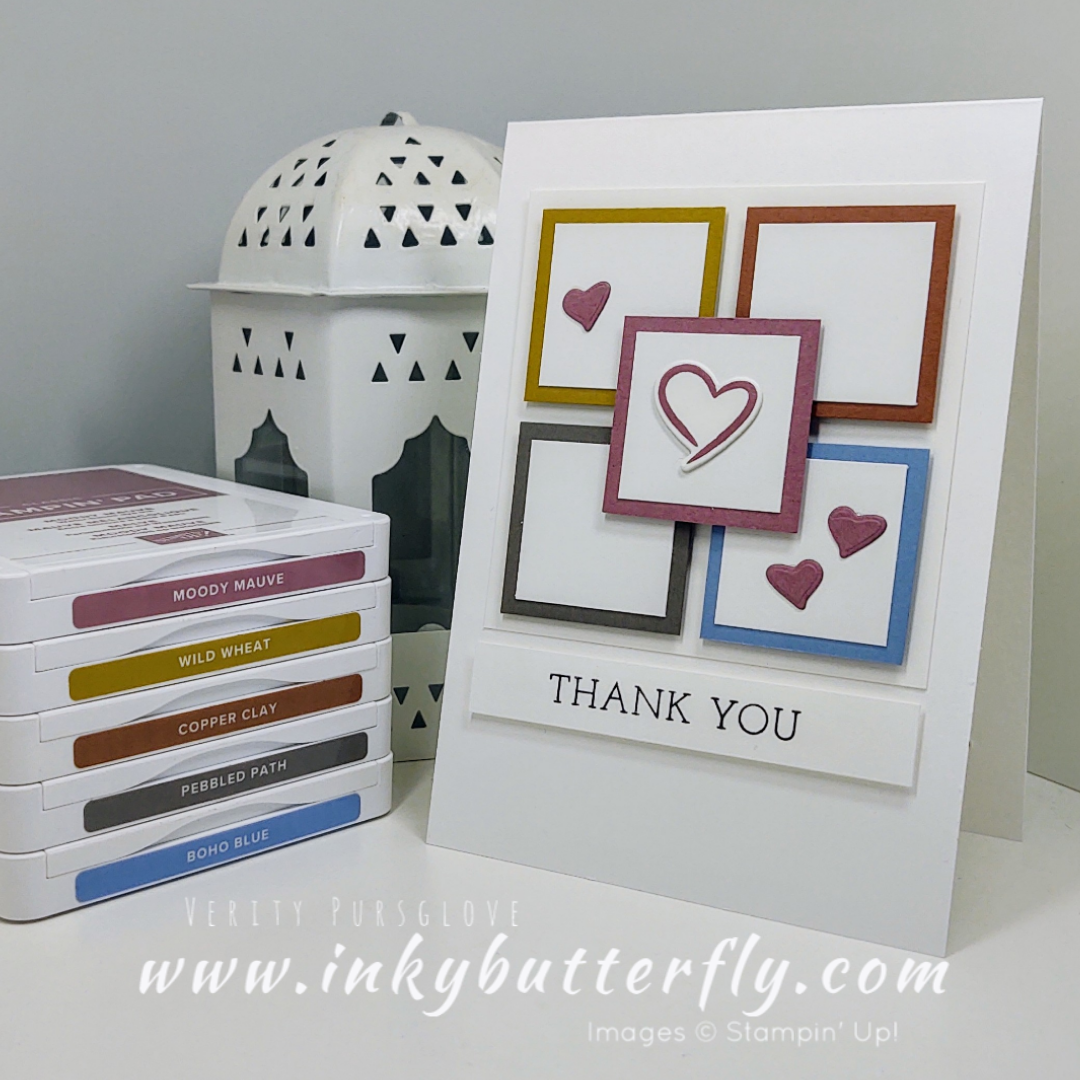
It is so exciting to be able to use these fabulous new Stampin’ Up! In Colours!
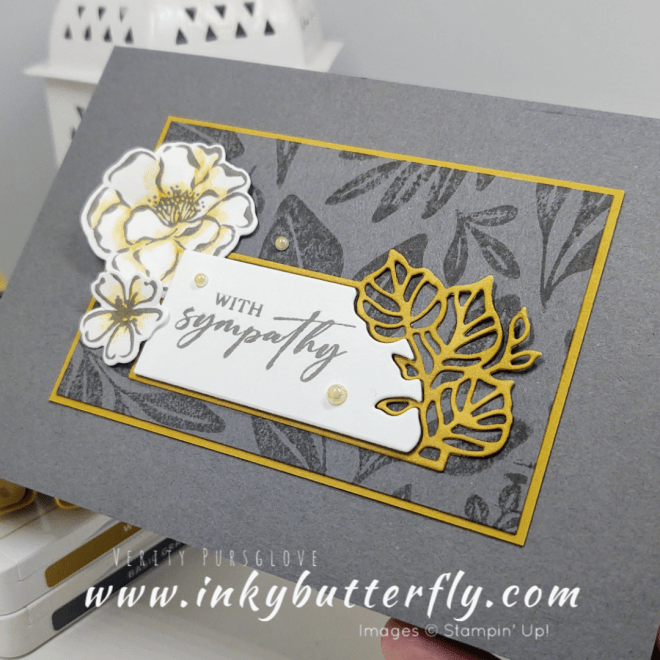
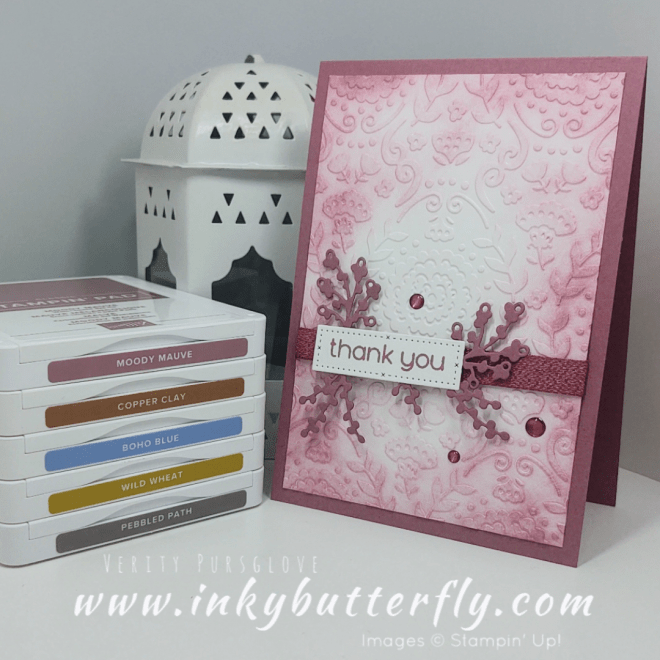
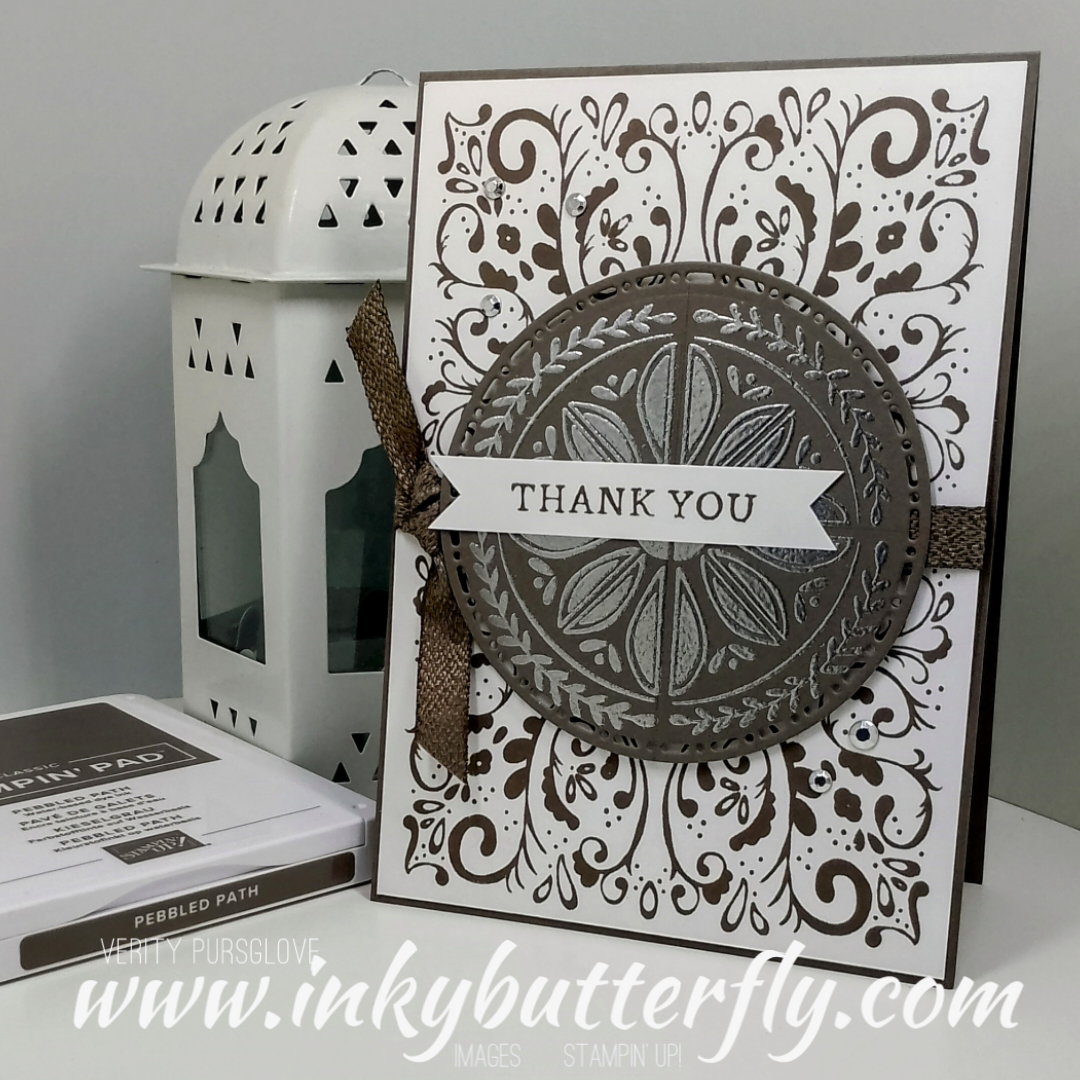
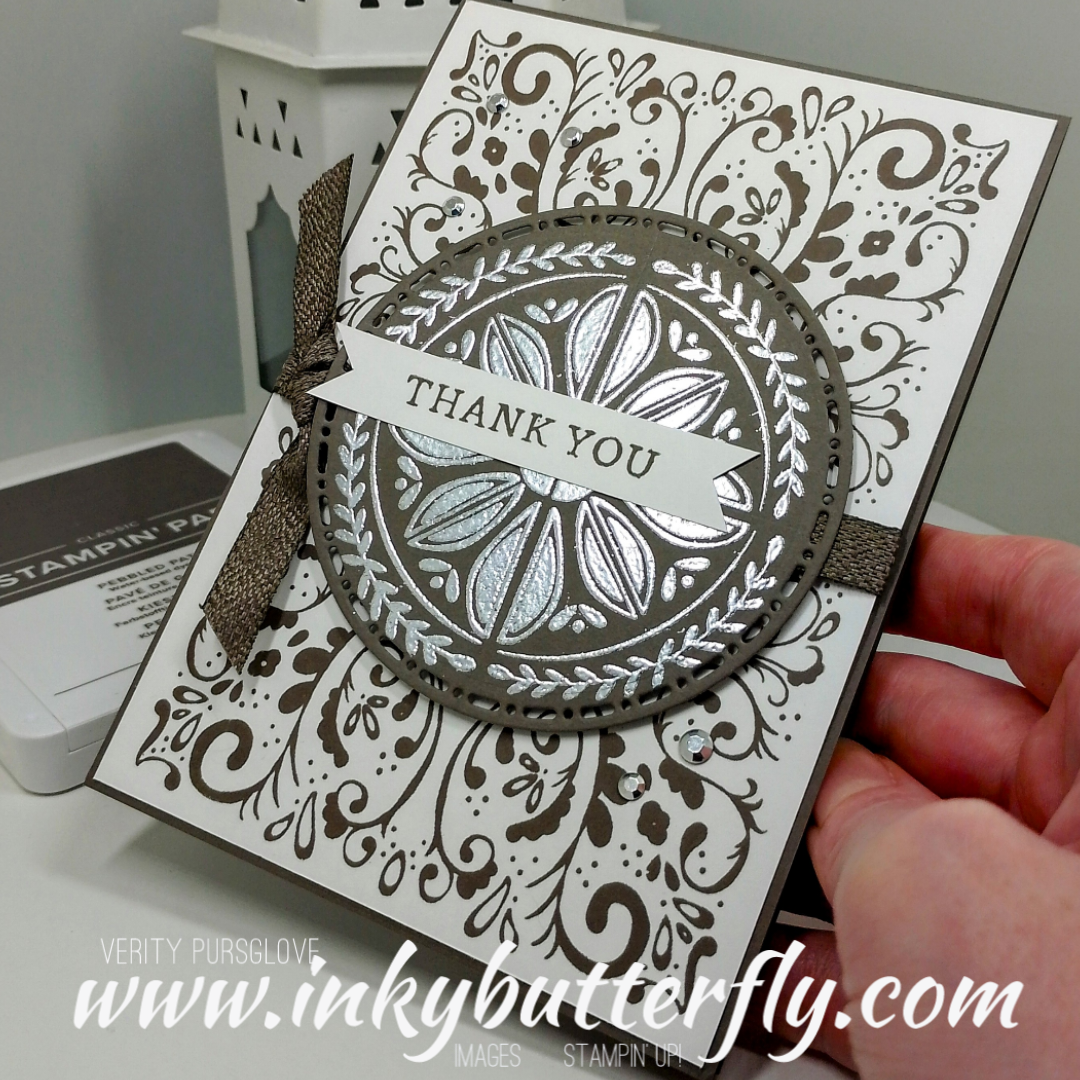
These are earthier tones than we have had in recent years and I can see Pebbled Path being a versatile neutral.
In Colour products are not yet available to customers, these will launch when the new catalogue goes live in May. If just can’t wait, you can join Stampin’ Up! now and add them to a Starter Kit!
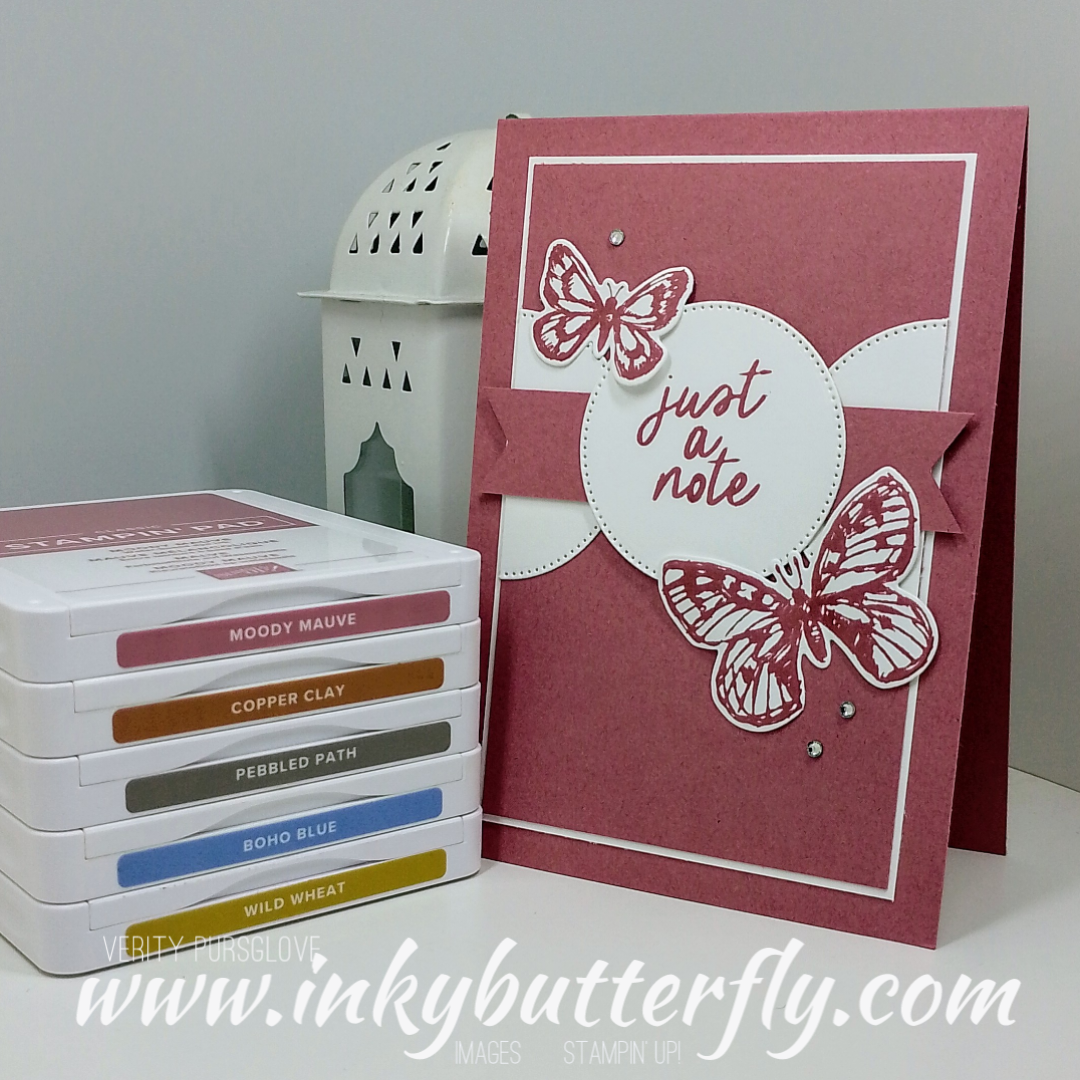
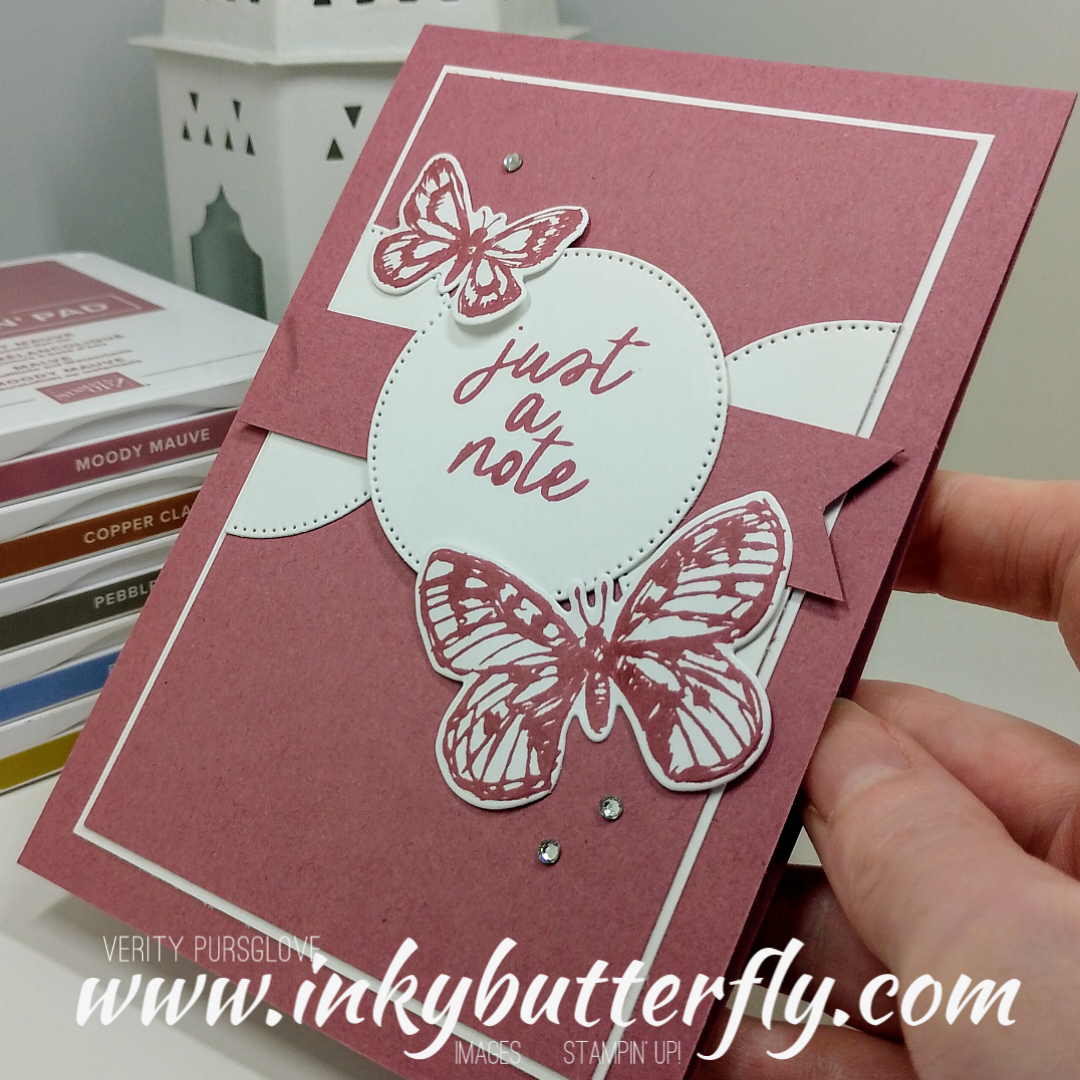
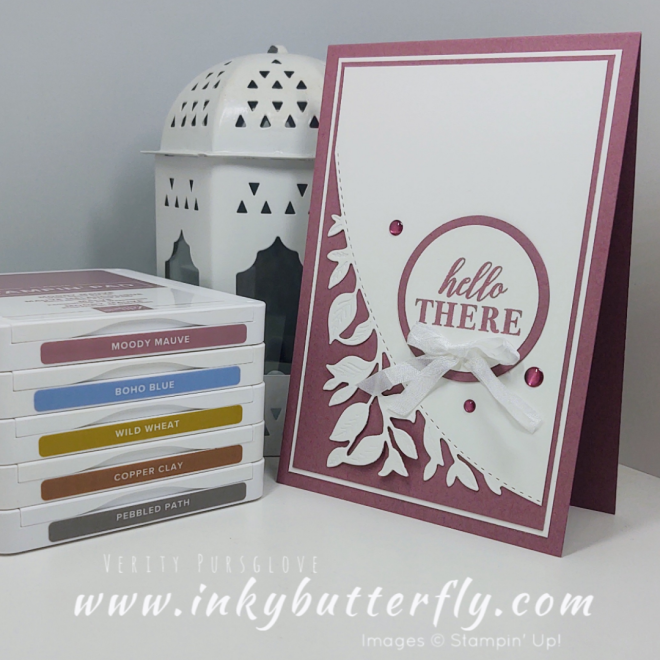
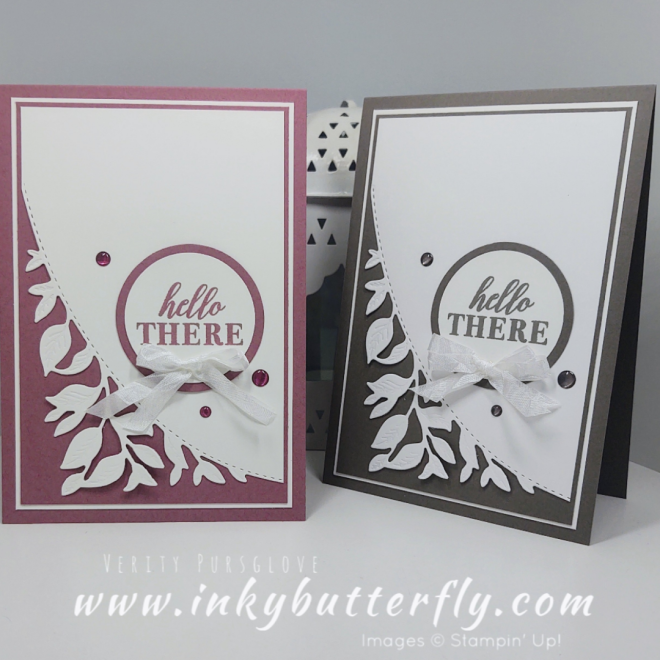
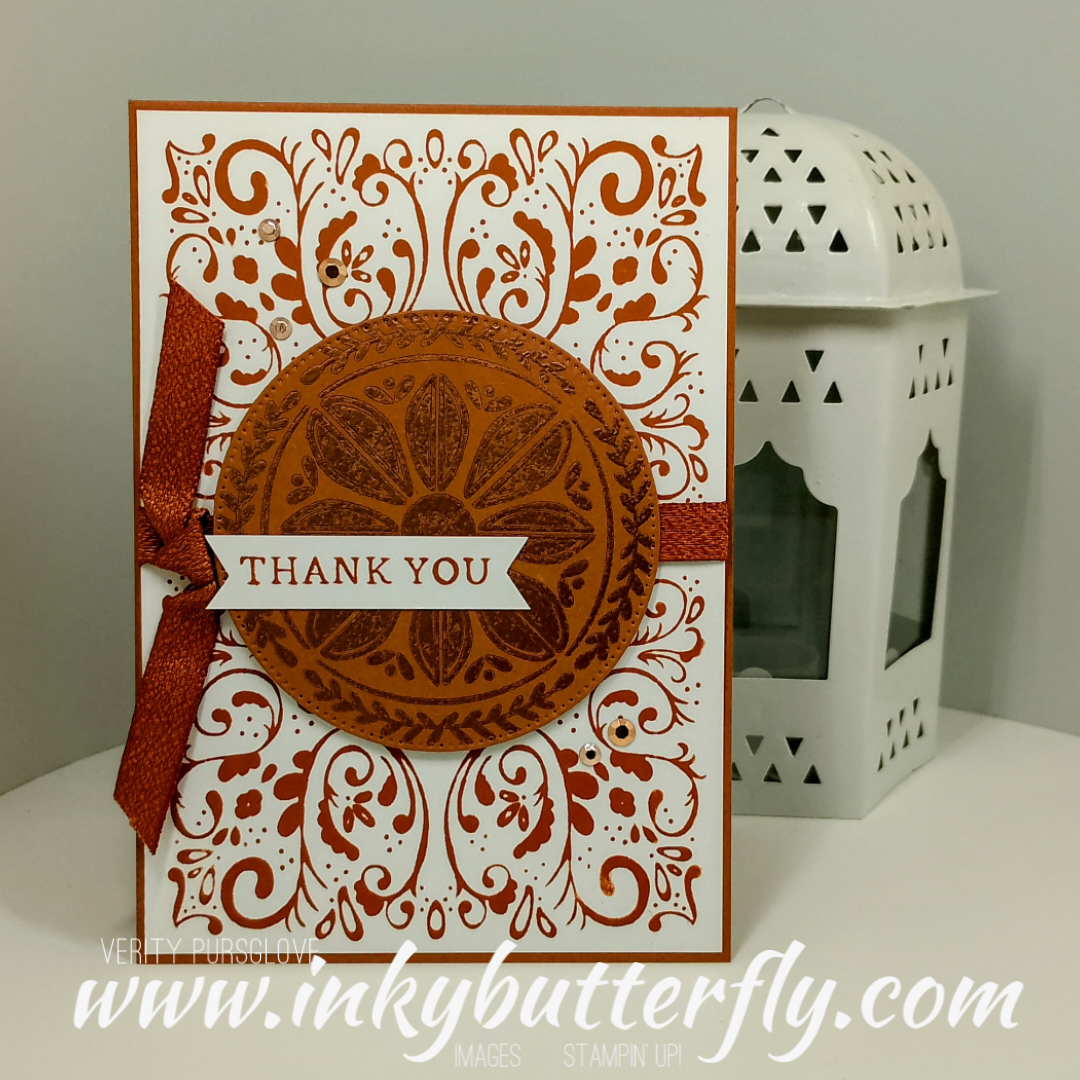
For today’s project, I am using the Around the Bend stamps and dies.
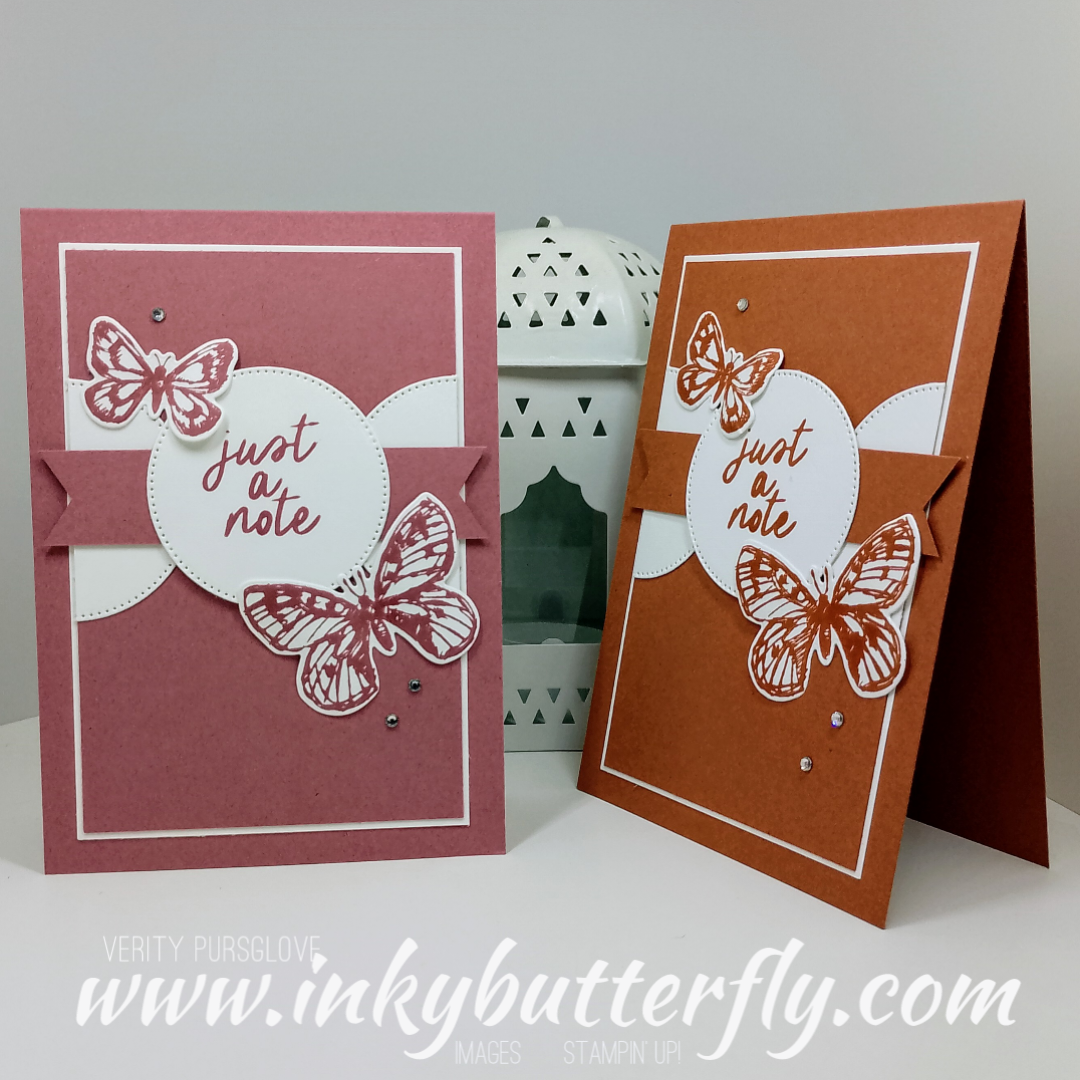
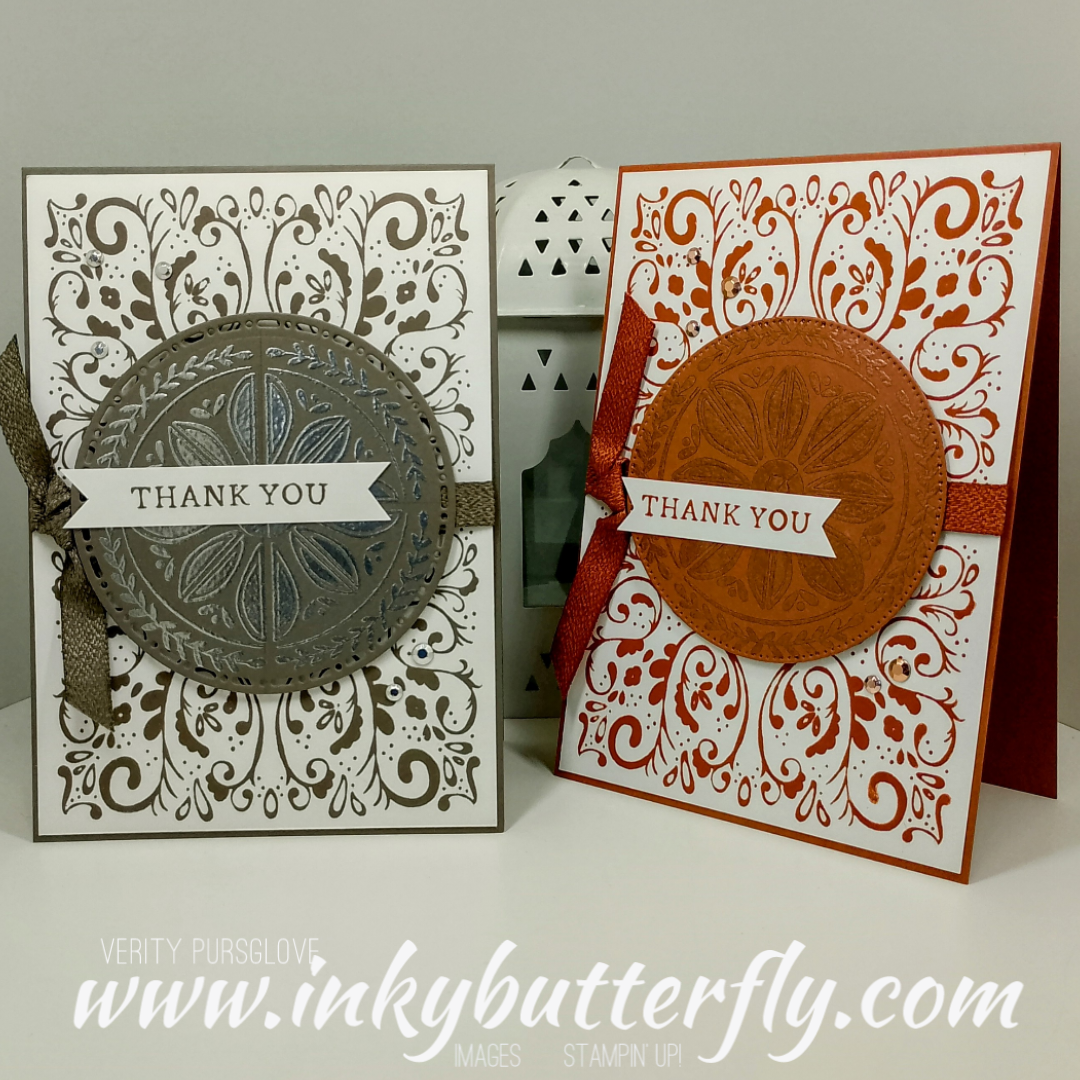
Here is Moody Mauve and Pebbled Path.
You can see how I made these cards in my video tutorial …
Circle punches are available as online exclusives and layer together perfectly.
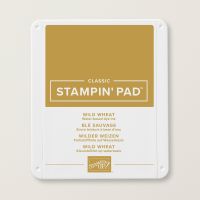
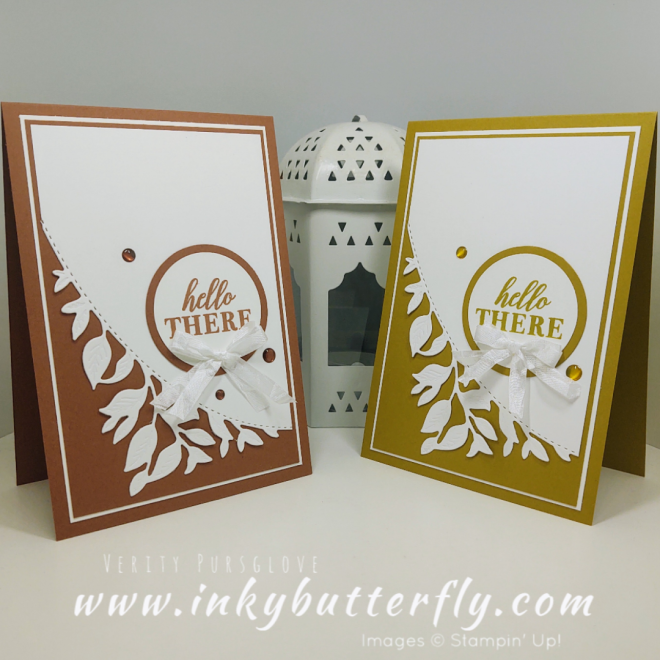
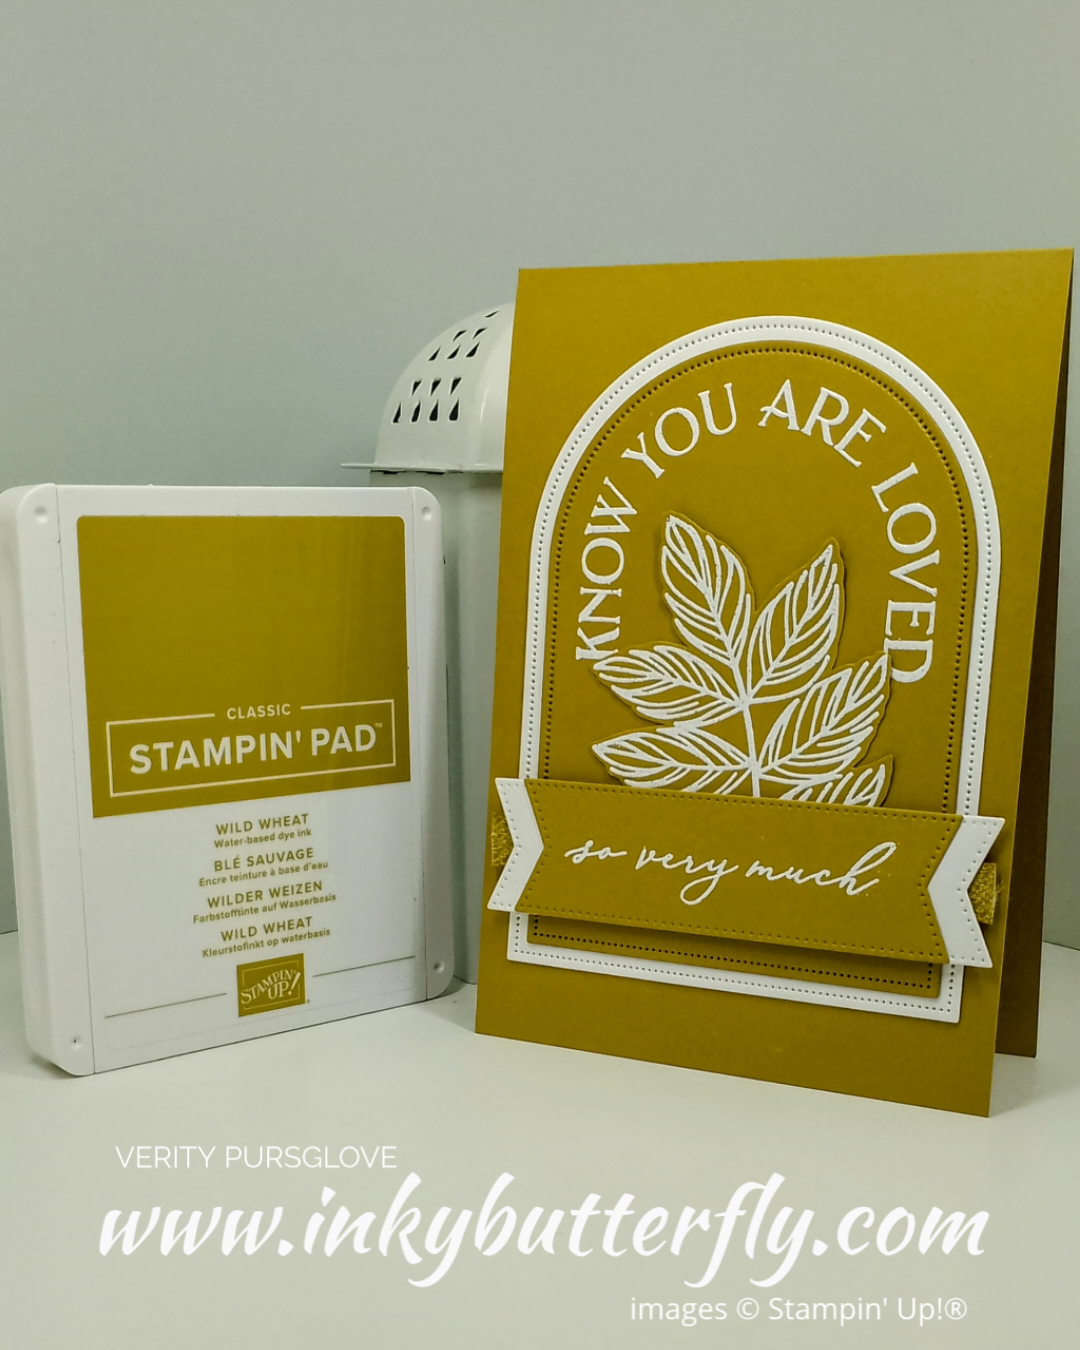
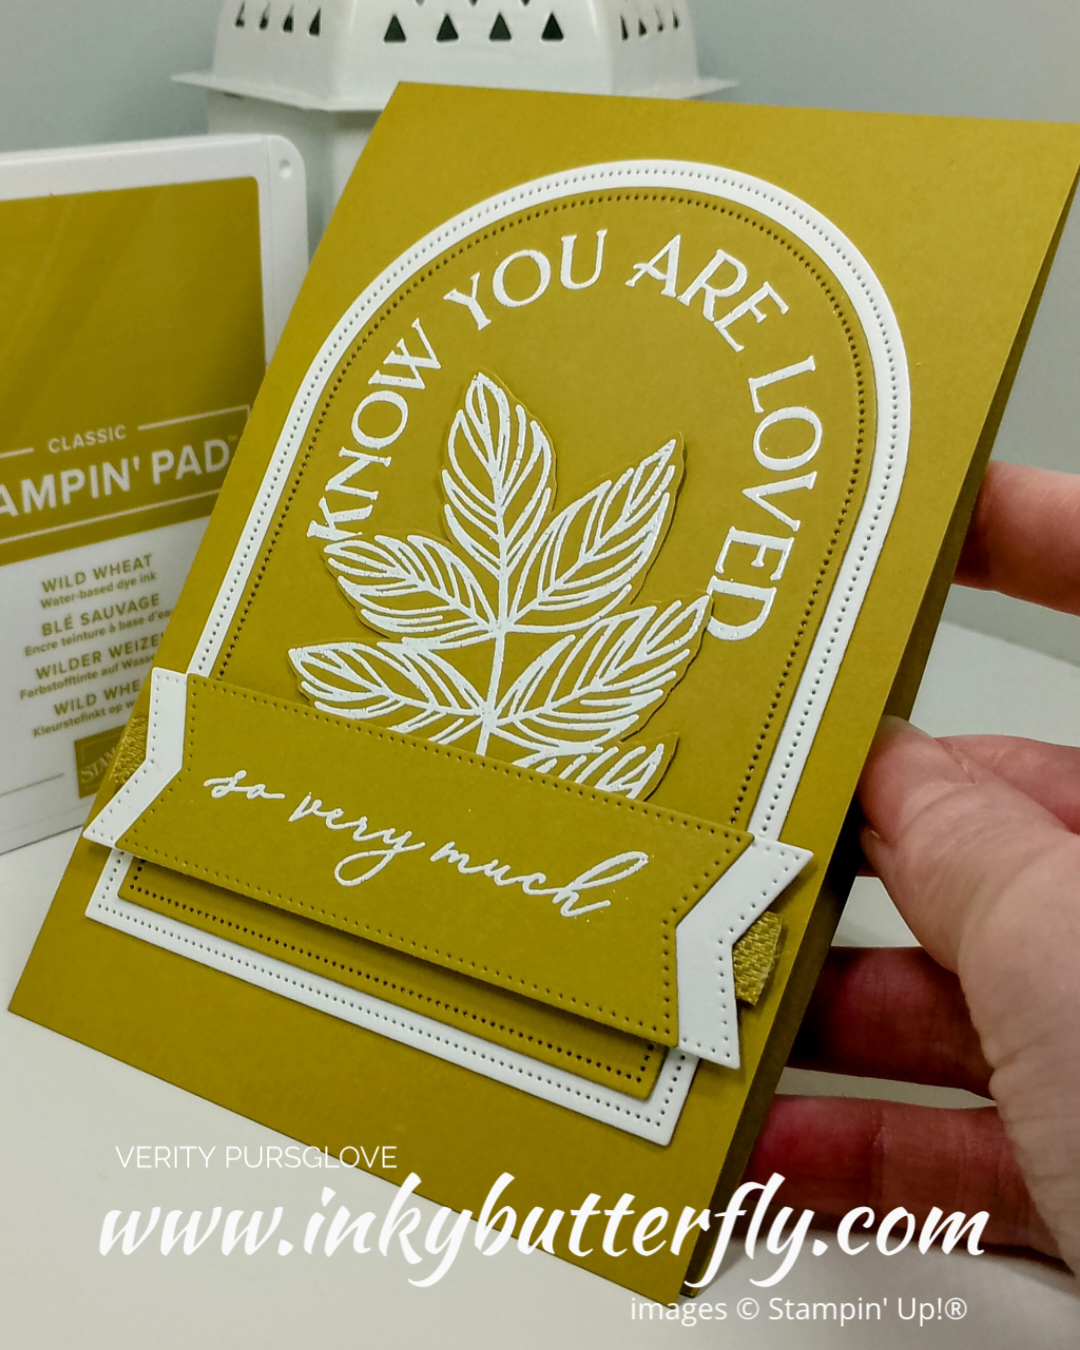
Here is Copper Clay and Wild Wheat.
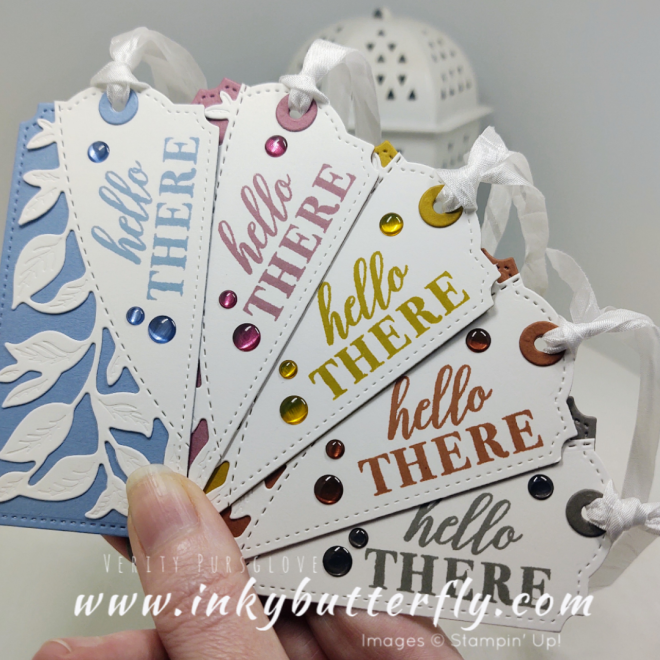
And finally, this is Boho Blue.
I think they look great together as a collection!
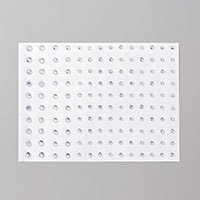
The coordinating embellishments are really pretty and catch the light so well.
Tailor Made Tags dies were used for these additional elements.
I was able to make the card and two tags from a ingle A4 sheet of cardstock with just a few scraps left over!
I hope you enjoyed this project.
The supplies used are listed and linked to the online store below.
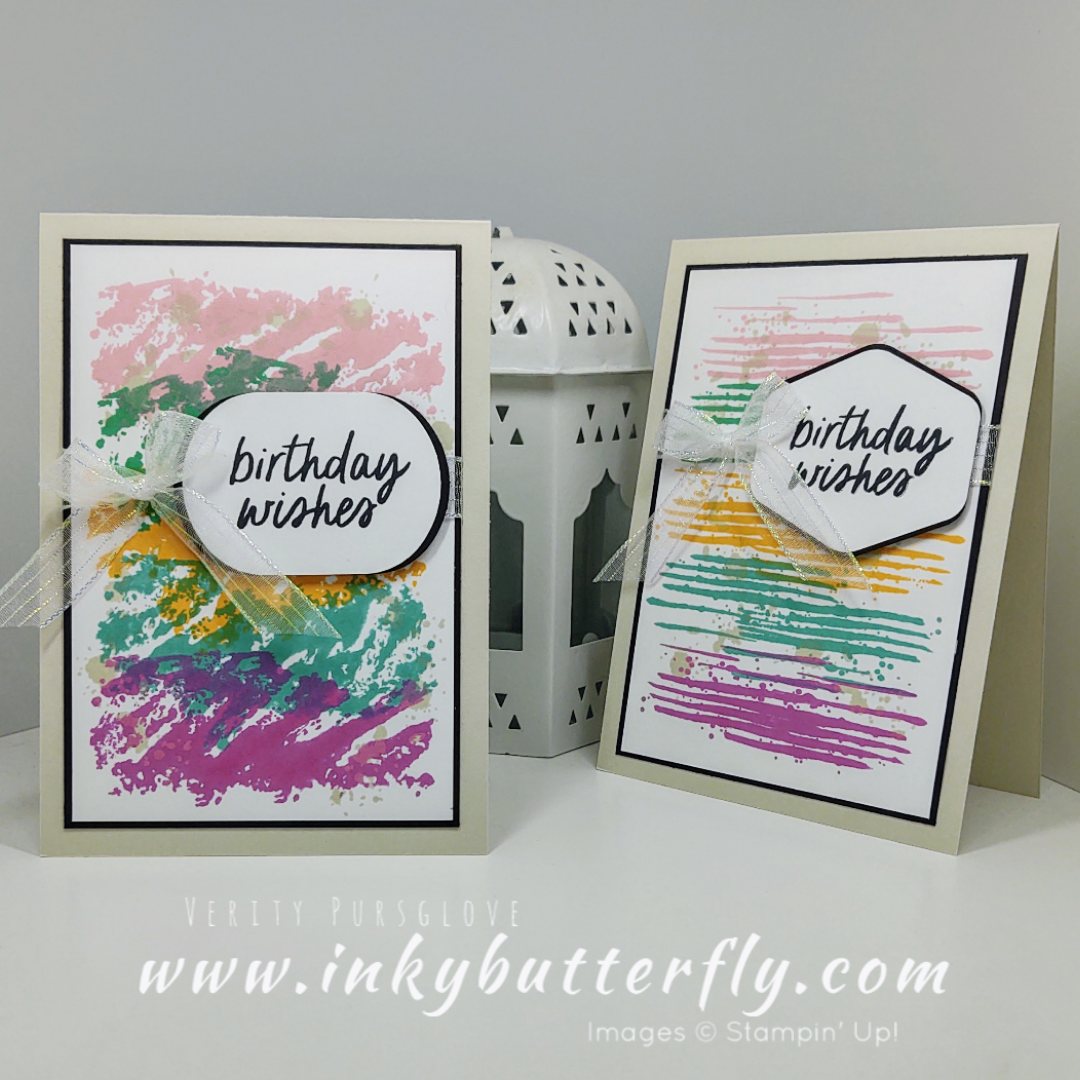
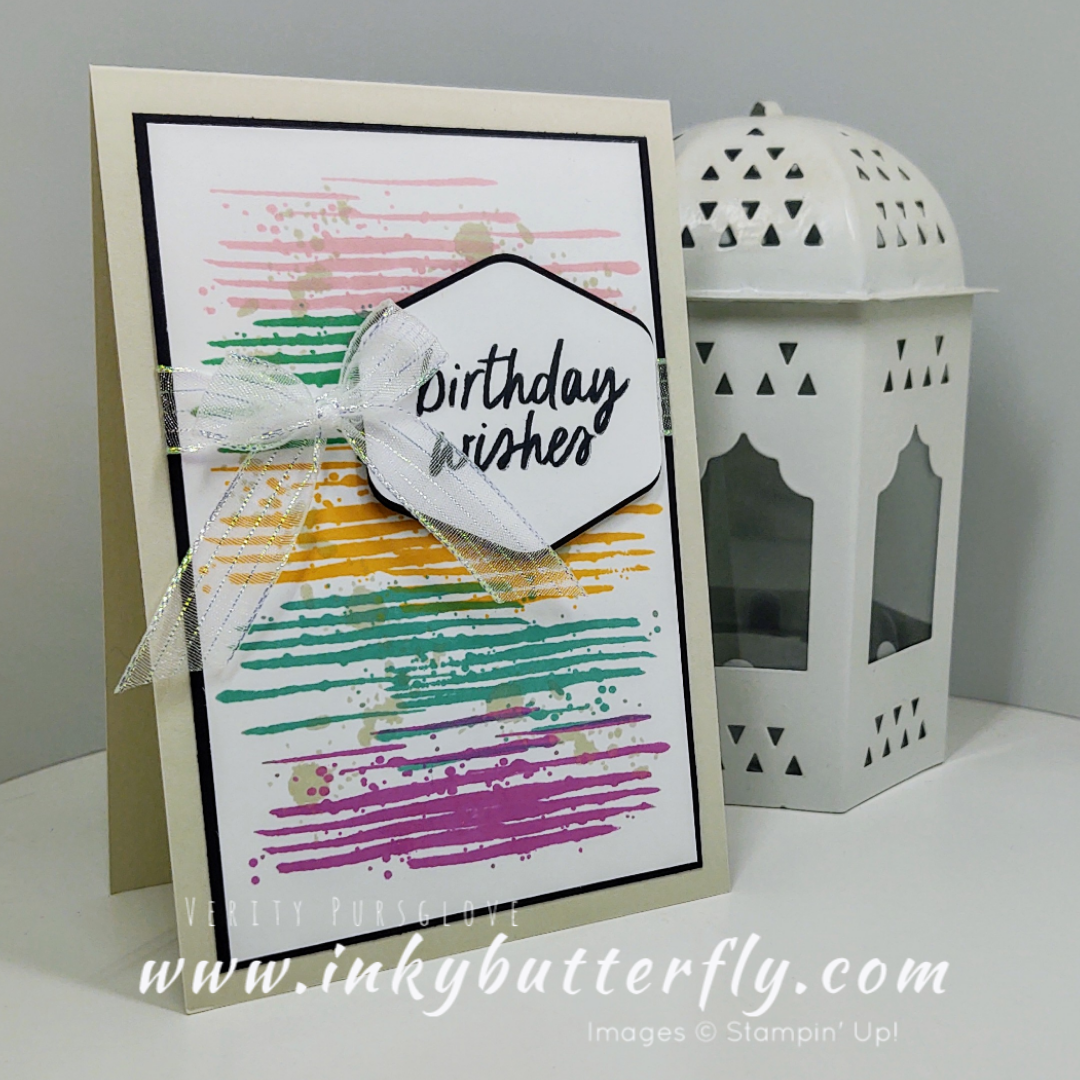
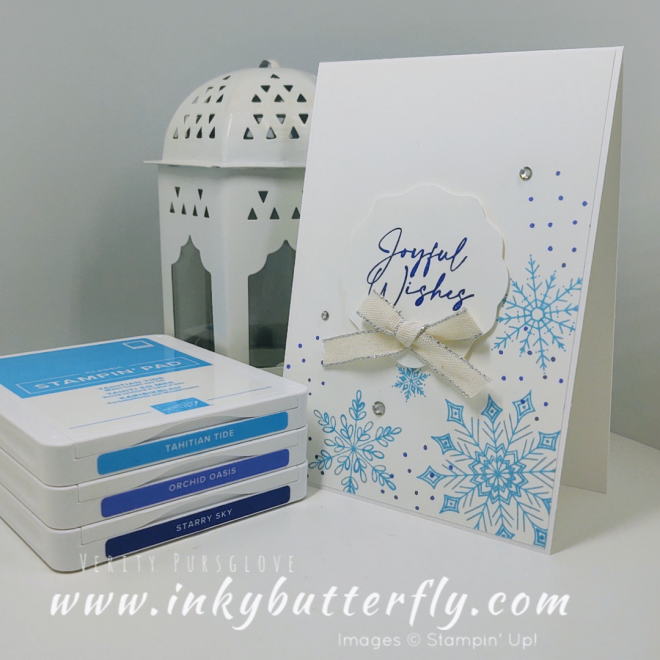
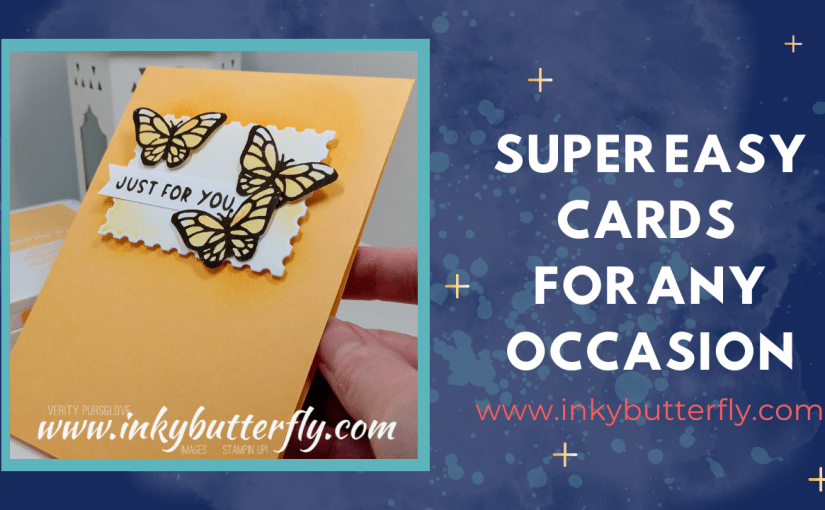
I have super quick and easy cards to share today. These were designed with batch making in mind ready for the festive season that will soon be here!
All the colour I’ve used are in the 2022 in colours, but you coul swap these out for Night of Navy, Pacific Point and Balmy Blue…. Or any other combination of colours you want!
You can see how I made this card in my video tutorial….
I finished my cards with some ribbon and rhinestones!
I hope you enjoyed this project.
The supplies used are listed and linked to the online store below.
![Everyday Arches Bundle (English) [ 164630 ]](https://assets1.tamsnetwork.com/images/EC042017NF/164630s.jpg "Everyday Arches Bundle (English) [ 164630 ]")
![Natural Botanicals Photopolymer Stamp Set [ 164831 ]](https://assets1.tamsnetwork.com/images/EC042017NF/164831s.jpg "Natural Botanicals Photopolymer Stamp Set [ 164831 ]")
![Stylish Shapes Dies [ 159183 ]](https://assets1.tamsnetwork.com/images/EC042017NF/159183s.jpg "Stylish Shapes Dies [ 159183 ]")
![Wild Wheat A4 Cardstock [ 161734 ]](https://assets1.tamsnetwork.com/images/EC042017NF/161734s.jpg "Wild Wheat A4 Cardstock [ 161734 ]")
![Basic White A4 Cardstock [ 159228 ]](https://assets1.tamsnetwork.com/images/EC042017NF/159228s.jpg "Basic White A4 Cardstock [ 159228 ]")
![Stampin' Cut & Emboss Machine [ 149653 ]](https://assets1.tamsnetwork.com/images/EC042017NF/149653s.jpg "Stampin' Cut & Emboss Machine [ 149653 ]")
![Versamark Pad [ 102283 ]](https://assets1.tamsnetwork.com/images/EC042017NF/102283s.jpg "Versamark Pad [ 102283 ]")
![Basics Wow! Embossing Powder [ 165679 ]](https://assets1.tamsnetwork.com/images/EC042017NF/165679s.jpg "Basics Wow! Embossing Powder [ 165679 ]")
![Heat Tool - Uk Plug [ 129054 ]](https://assets1.tamsnetwork.com/images/EC042017NF/129054s.jpg "Heat Tool - Uk Plug [ 129054 ]")
![Paper Snips [ 103579 ]](https://assets1.tamsnetwork.com/images/EC042017NF/103579s.jpg "Paper Snips [ 103579 ]")
![Stampin' Seal [ 152813 ]](https://assets1.tamsnetwork.com/images/EC042017NF/152813s.jpg "Stampin' Seal [ 152813 ]")
![Stampin' Dimensionals [ 104430 ]](https://assets1.tamsnetwork.com/images/EC042017NF/104430s.jpg "Stampin' Dimensionals [ 104430 ]")



![Pebbled Path Classic Stampin' Pad [ 161648 ]](https://assets1.tamsnetwork.com/images/EC042017NF/161648s.jpg "Pebbled Path Classic Stampin' Pad [ 161648 ]")
![Pebbled Path A4 Cardstock [ 161731 ]](https://assets1.tamsnetwork.com/images/EC042017NF/161731s.jpg "Pebbled Path A4 Cardstock [ 161731 ]")

![Copper Clay Classic Stampin' Pad [ 161647 ]](https://assets1.tamsnetwork.com/images/EC042017NF/161647s.jpg "Copper Clay Classic Stampin' Pad [ 161647 ]")
![Copper Clay A4 Cardstock [ 161730 ]](https://assets1.tamsnetwork.com/images/EC042017NF/161730s.jpg "Copper Clay A4 Cardstock [ 161730 ]")
![Metallics Wow! Embossing Powder [ 165678 ]](https://assets1.tamsnetwork.com/images/EC042017NF/165678s.jpg "Metallics Wow! Embossing Powder [ 165678 ]")
![Spotlight On Nature Dies [ 163580 ]](https://assets1.tamsnetwork.com/images/EC042017NF/163580s.jpg "Spotlight On Nature Dies [ 163580 ]")
![Multipurpose Liquid Glue [ 154974 ]](https://assets1.tamsnetwork.com/images/EC042017NF/154974s.jpg "Multipurpose Liquid Glue [ 154974 ]")



![Labeled With Love Photopolymer Stamp Set (English) [ 163564 ]](https://assets1.tamsnetwork.com/images/EC042017NF/163564s.jpg "Labeled With Love Photopolymer Stamp Set (English) [ 163564 ]")
![Perennial Postage Dies [ 162607 ]](https://assets1.tamsnetwork.com/images/EC042017NF/162607s.jpg "Perennial Postage Dies [ 162607 ]")
![Peach Pie A4 Cardstock [ 163800 ]](https://assets1.tamsnetwork.com/images/EC042017NF/163800s.jpg "Peach Pie A4 Cardstock [ 163800 ]")
![Summer Splash A4 Cardstock [ 163798 ]](https://assets1.tamsnetwork.com/images/EC042017NF/163798s.jpg "Summer Splash A4 Cardstock [ 163798 ]")
![Peach Pie Classic Stampin Pad [ 163810 ]](https://assets1.tamsnetwork.com/images/EC042017NF/163810s.jpg "Peach Pie Classic Stampin Pad [ 163810 ]")
![Summer Splash Classic Stampin Pad [ 163809 ]](https://assets1.tamsnetwork.com/images/EC042017NF/163809s.jpg "Summer Splash Classic Stampin Pad [ 163809 ]")
![Early Espresso Classic Stampin' Pad [ 147114 ]](https://assets1.tamsnetwork.com/images/EC042017NF/147114s.jpg "Early Espresso Classic Stampin' Pad [ 147114 ]")
![Blending Brushes [ 153611 ]](https://assets1.tamsnetwork.com/images/EC042017NF/153611s.jpg "Blending Brushes [ 153611 ]")
![Mini Stampin' Dimensionals [ 144108 ]](https://assets1.tamsnetwork.com/images/EC042017NF/144108s.jpg "Mini Stampin' Dimensionals [ 144108 ]")