Pootlers Colour Challenge feat. Timeless Arrangements

Hello Everyone,

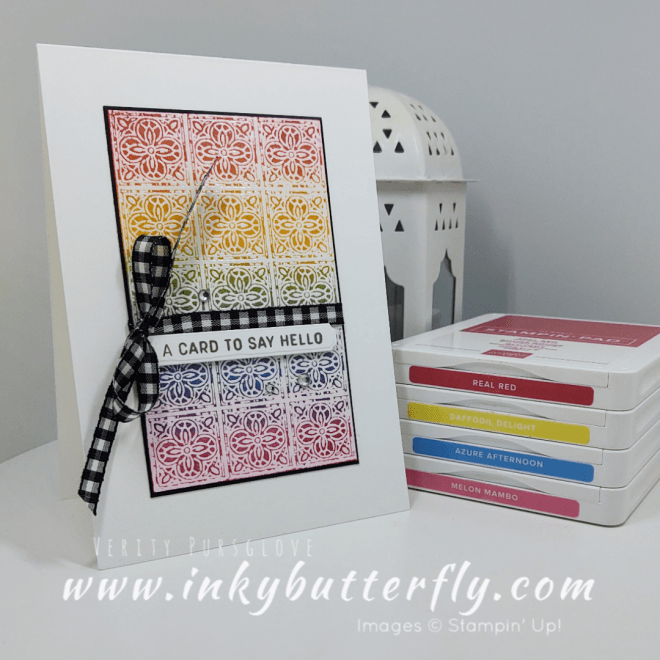
From time to time, my upline will set some little challenges as sources of inspiration…. So here is a fun colour challenge….

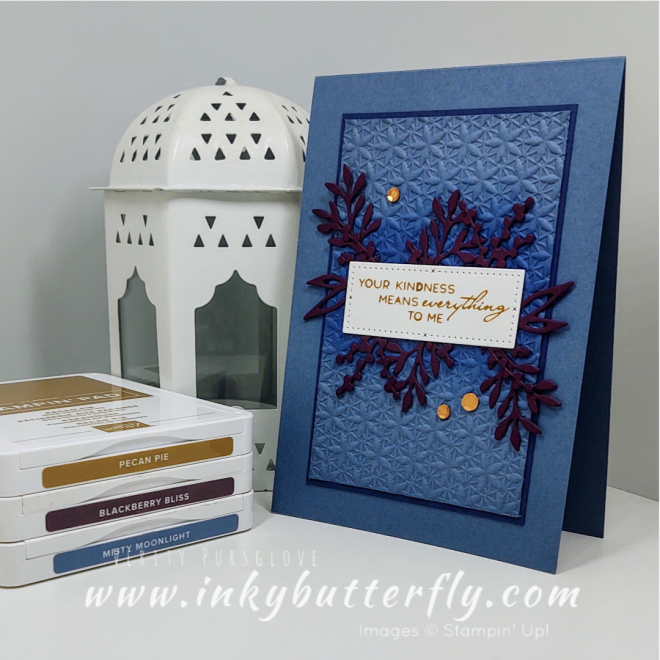
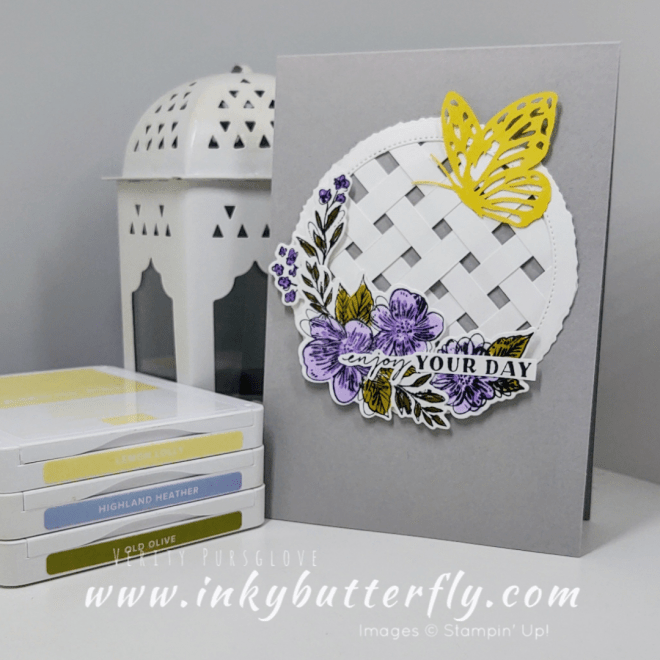
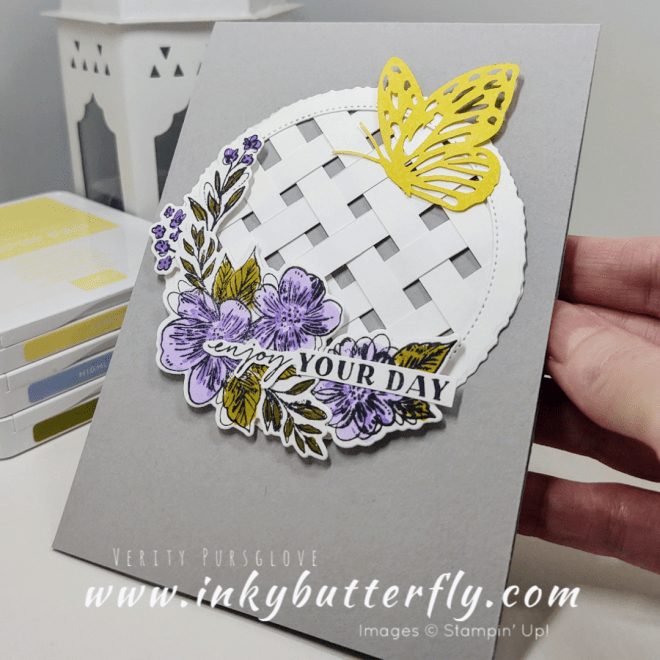
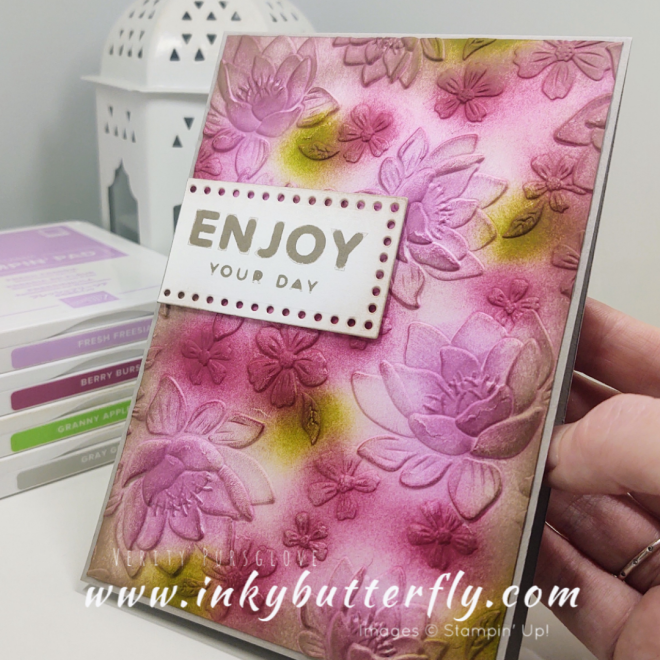
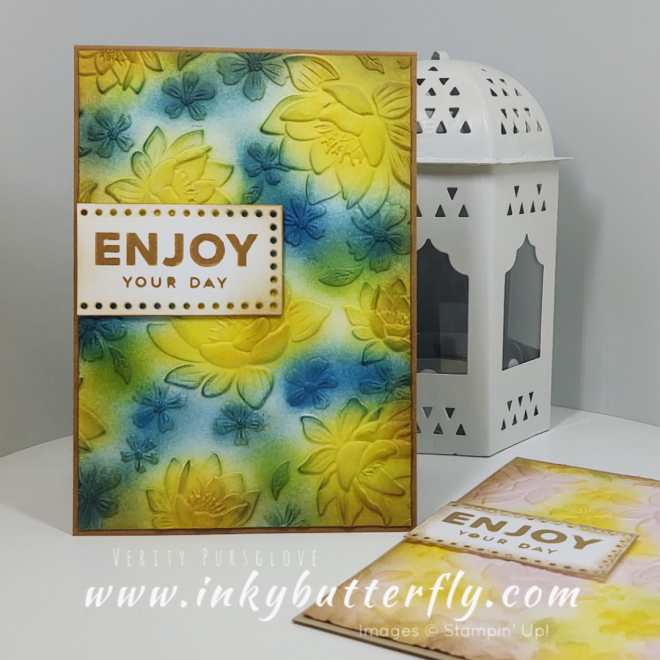
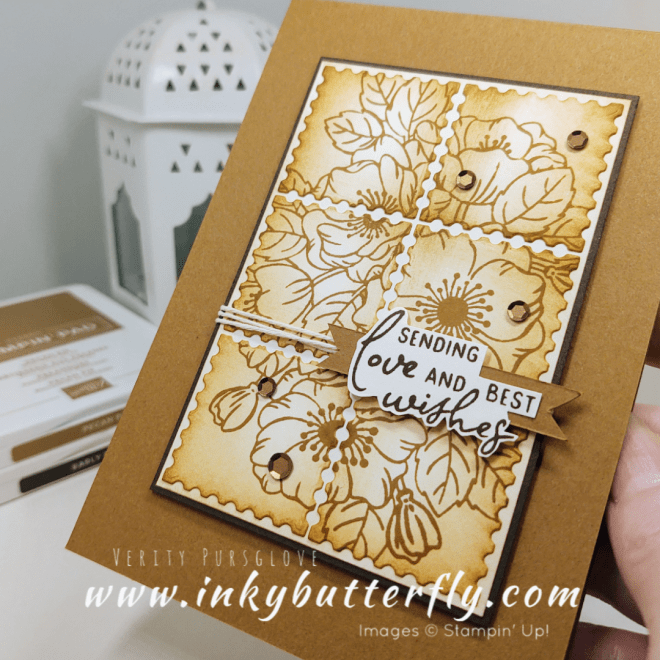
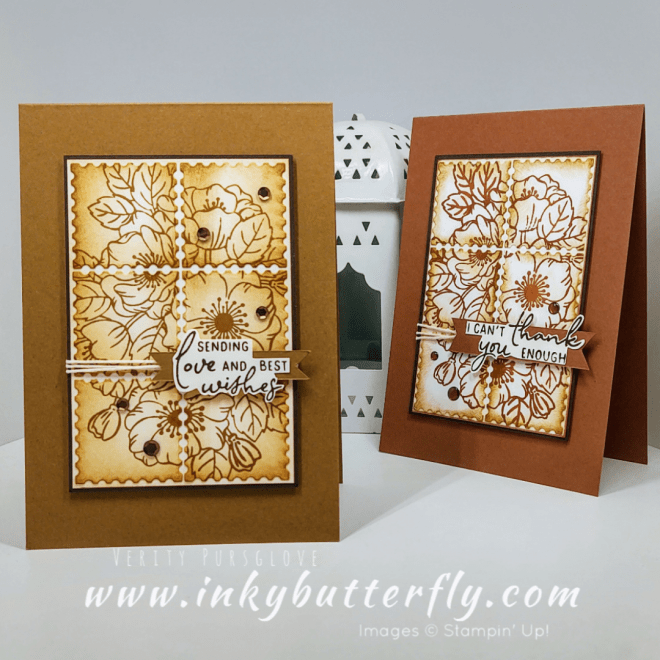
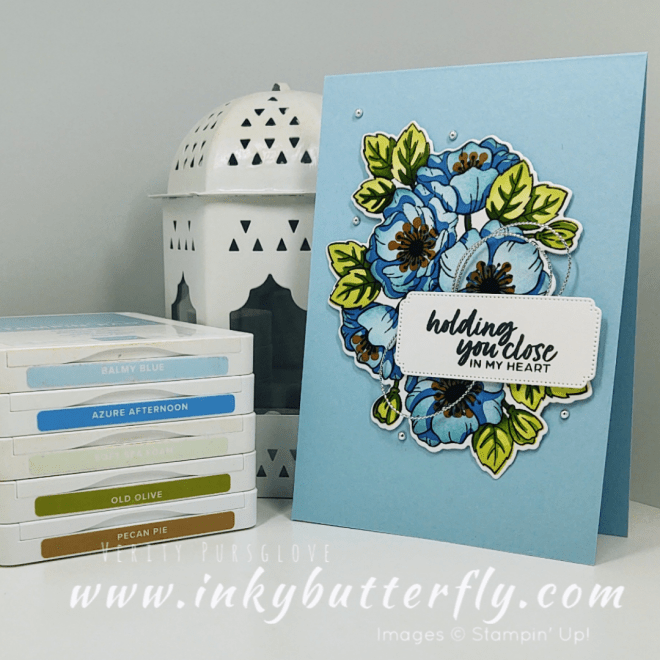
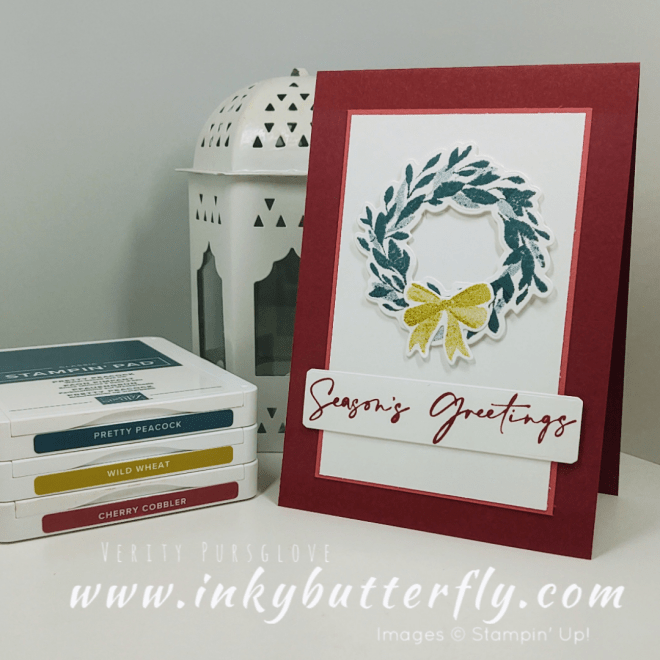
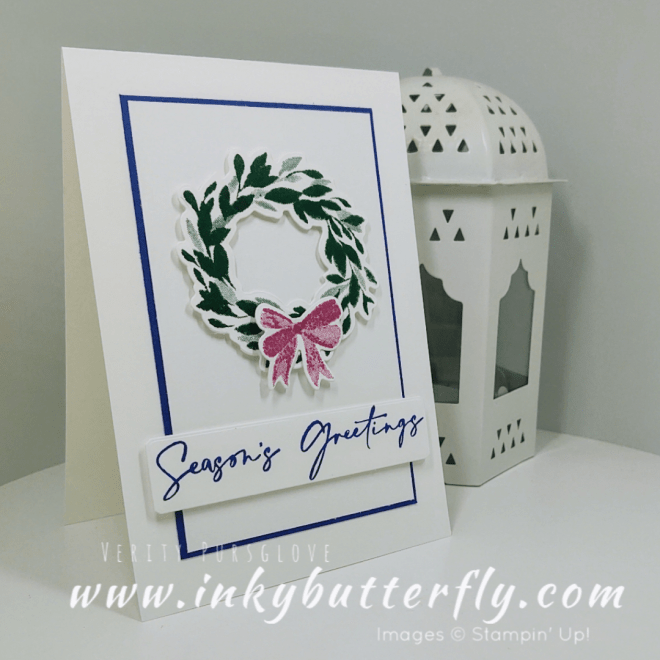
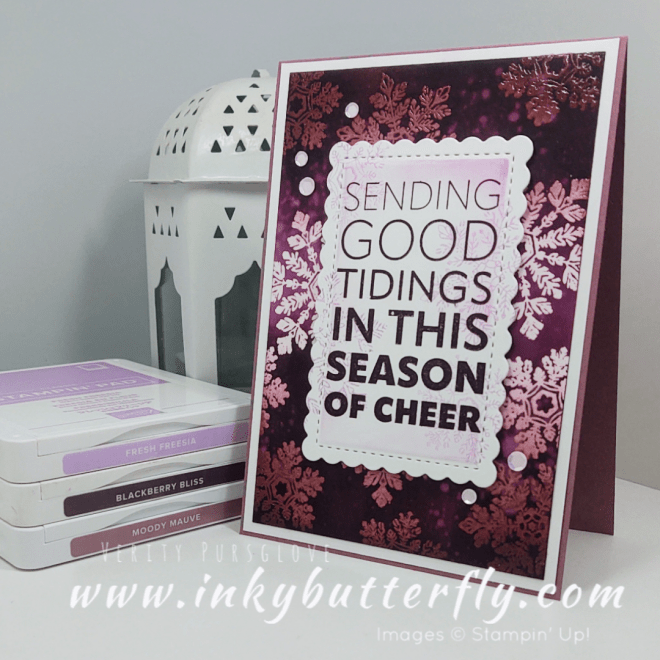
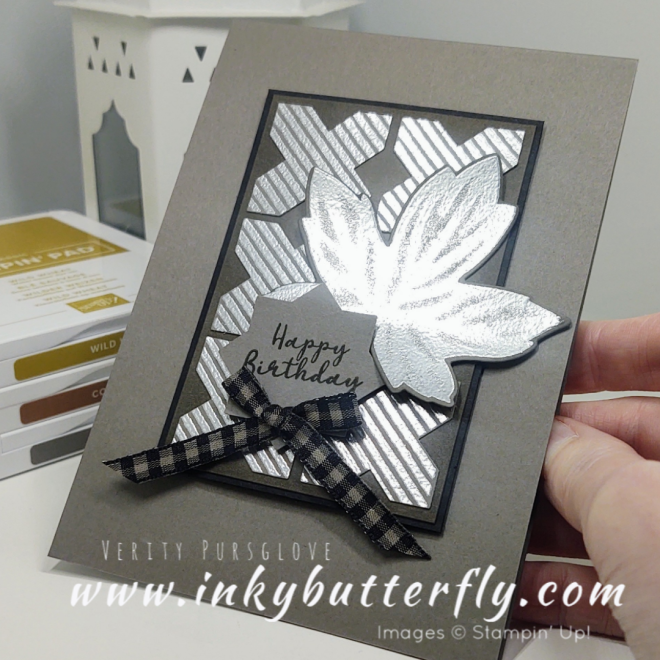
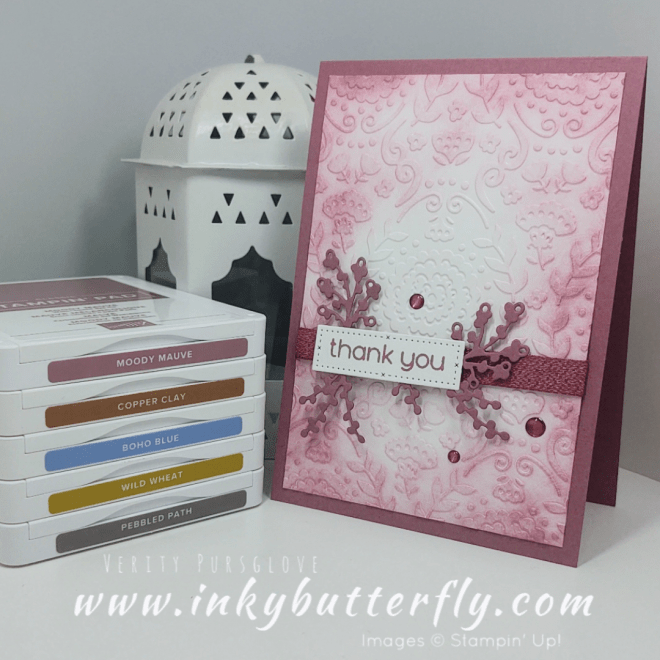
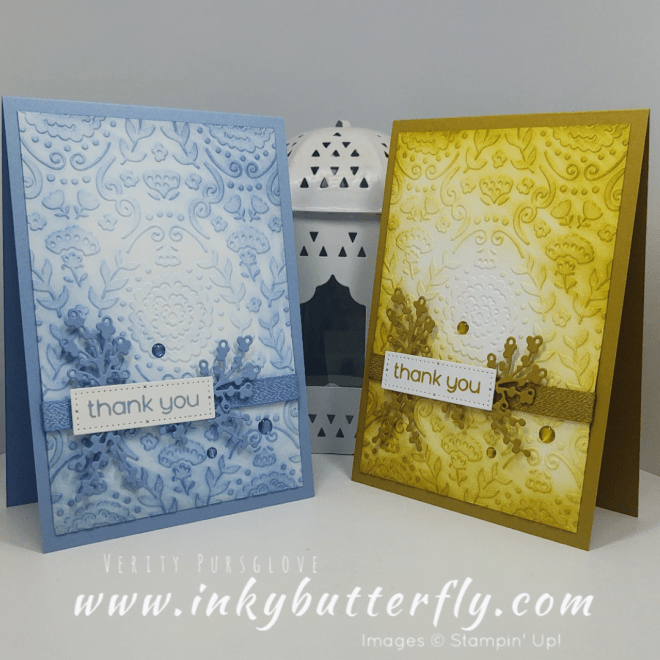
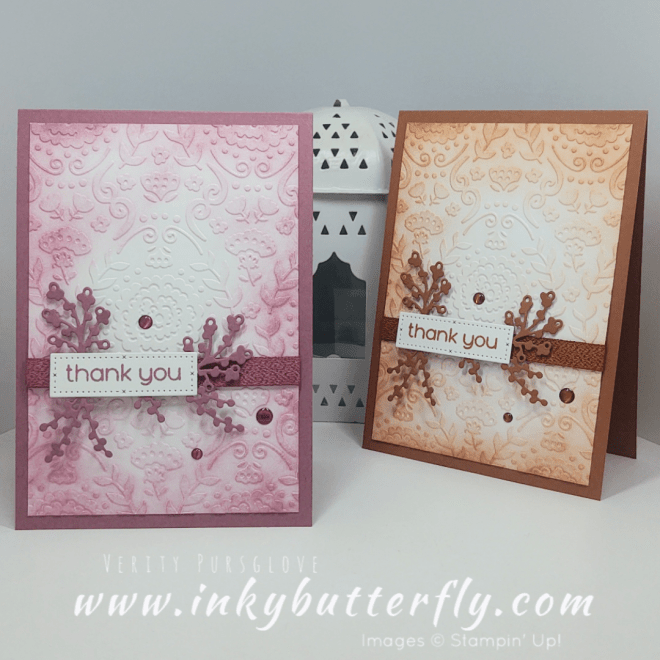
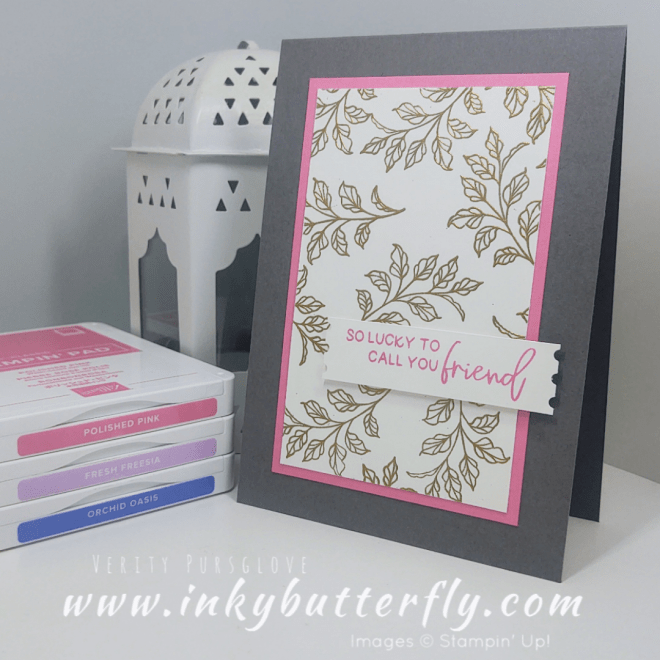
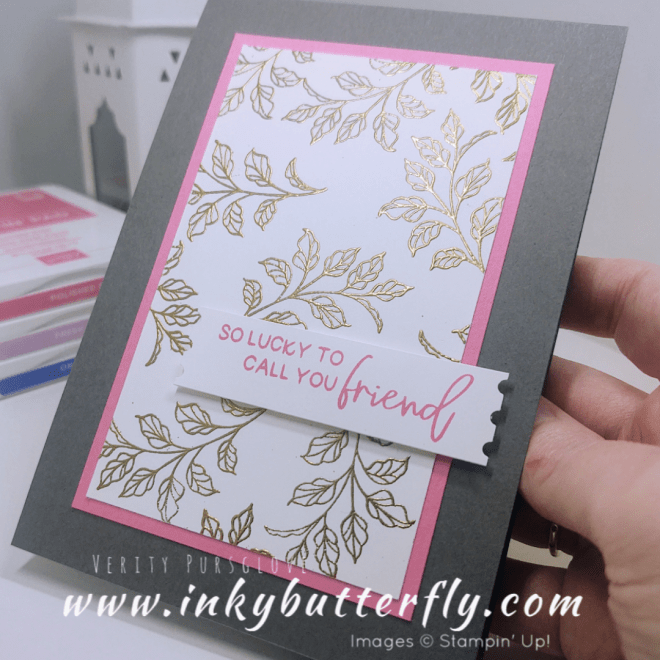
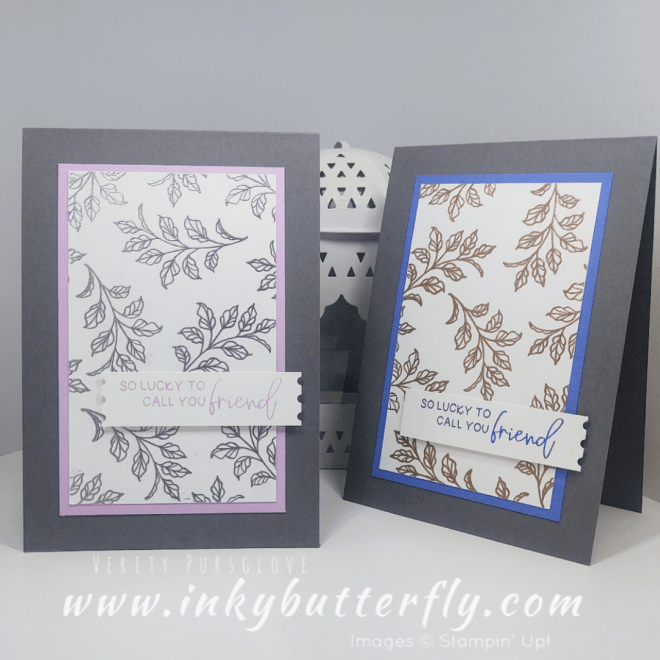
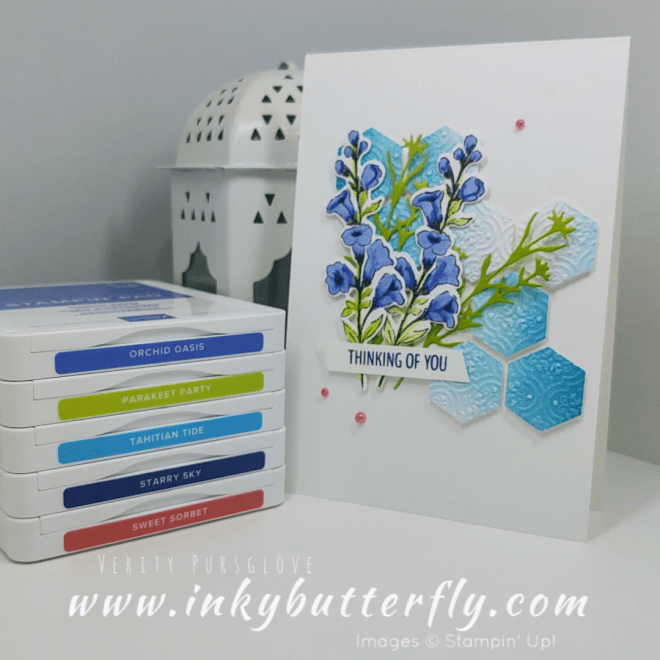
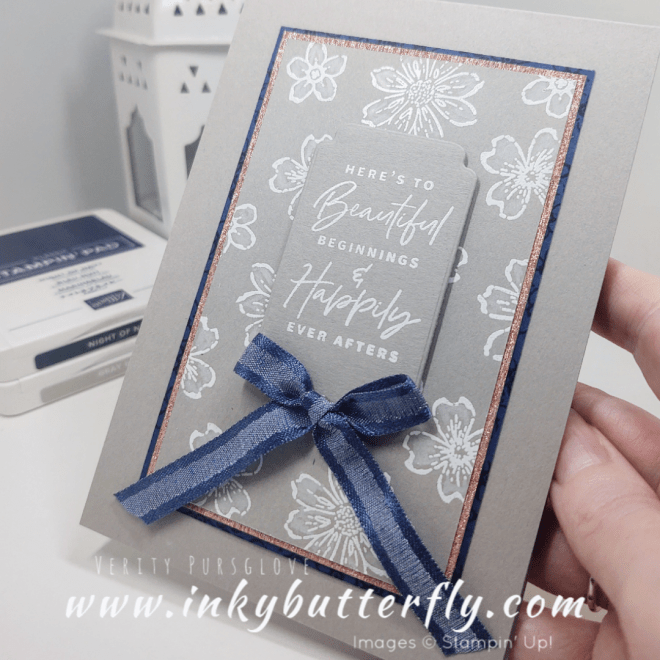
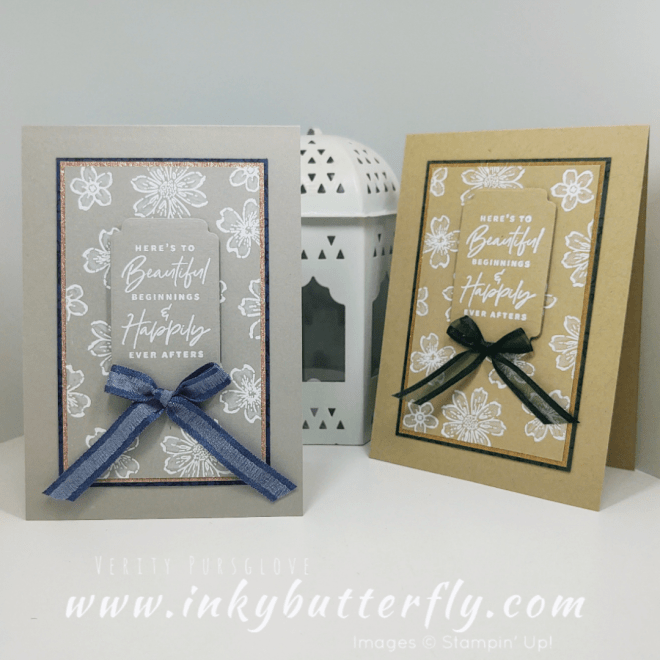
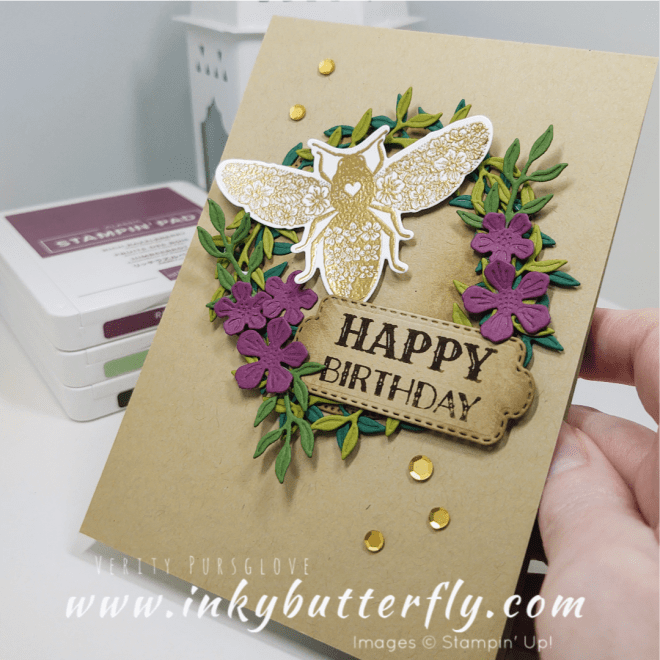
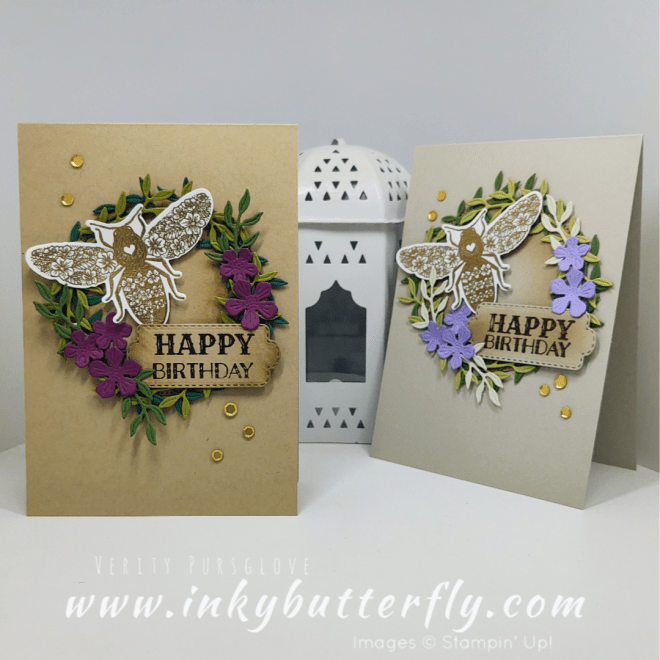
Misty Moonlight, Pecan Pie and Blackberry Bliss!

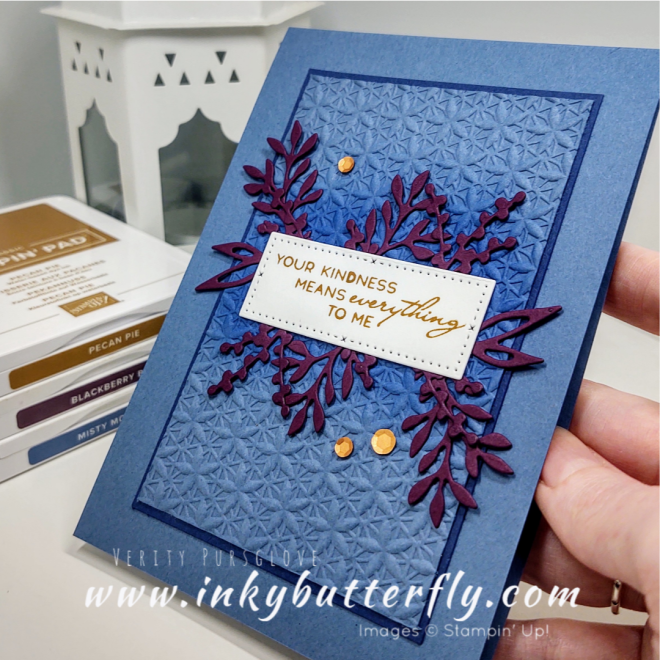
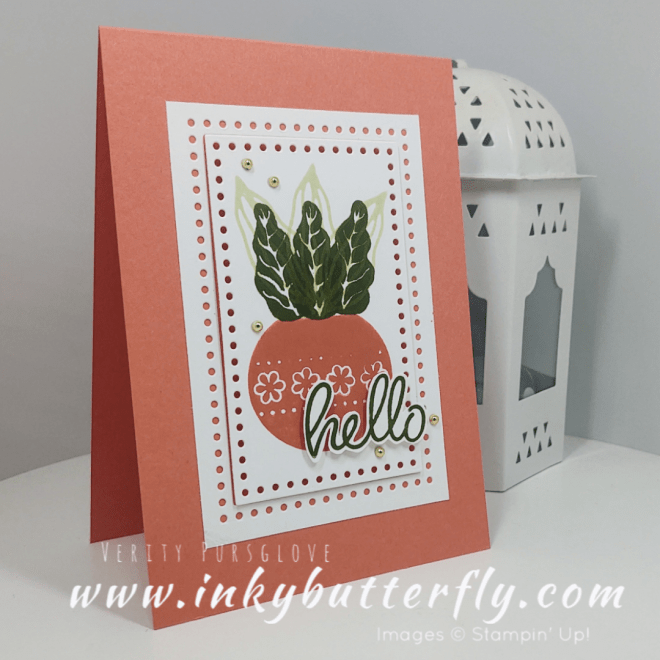
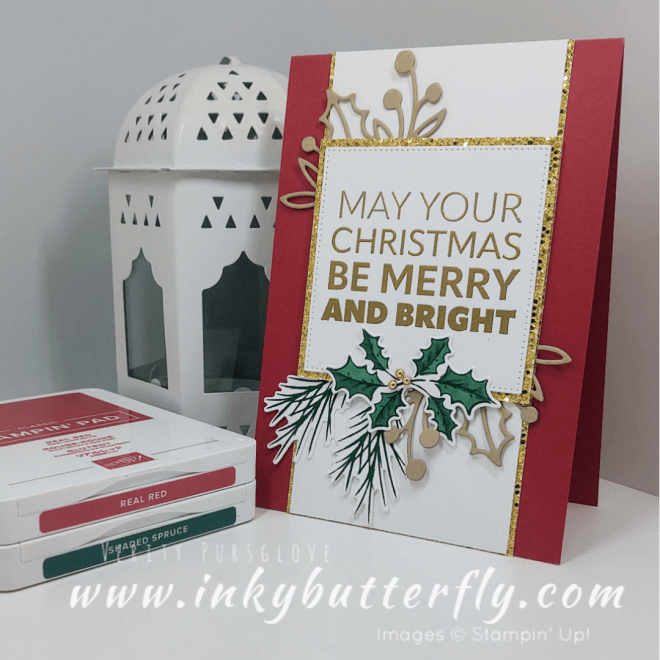
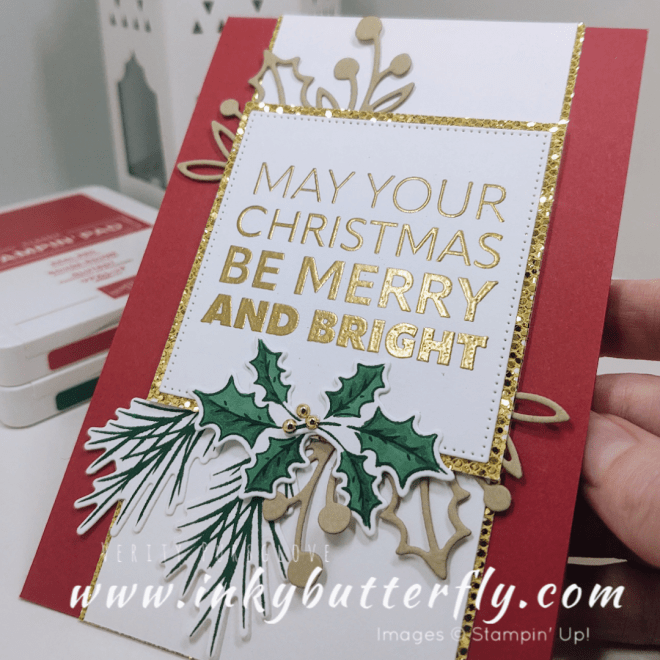
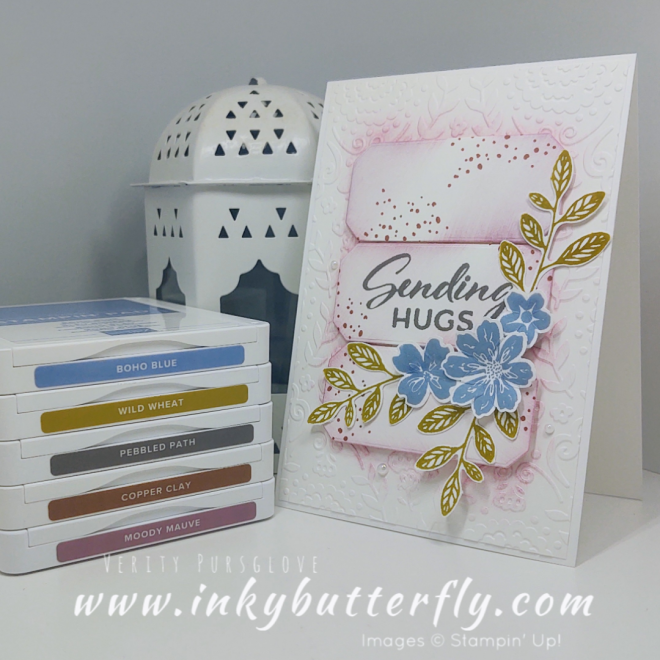
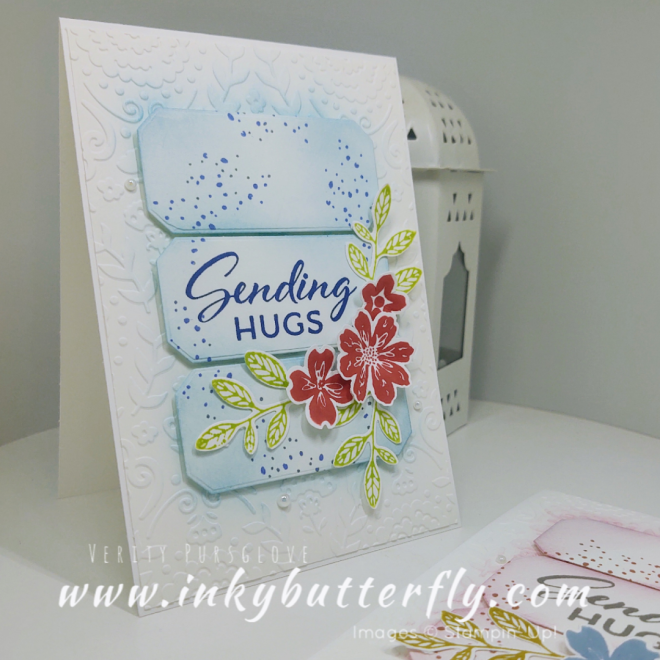
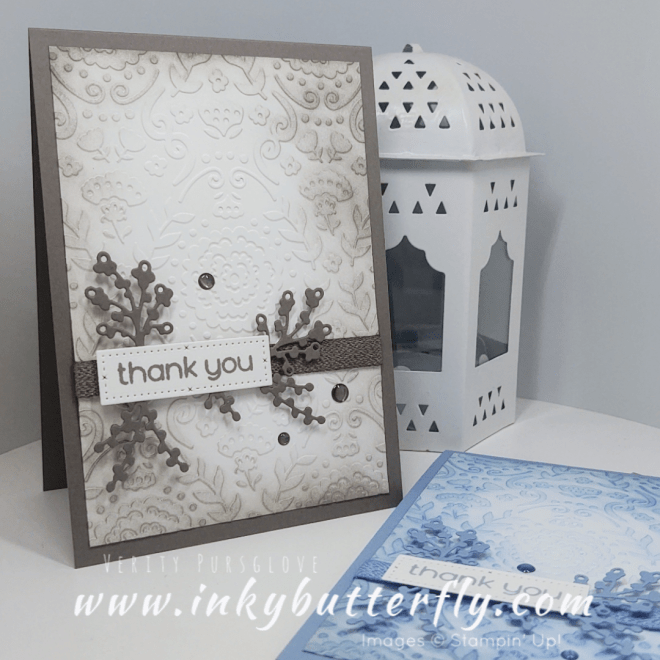
I added some texture by embossing the layering panel. A little ink was added with a blending brush.

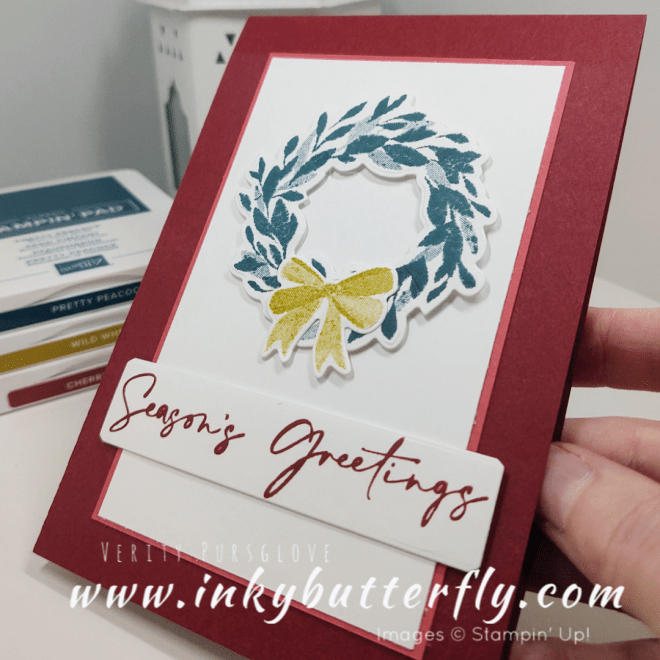
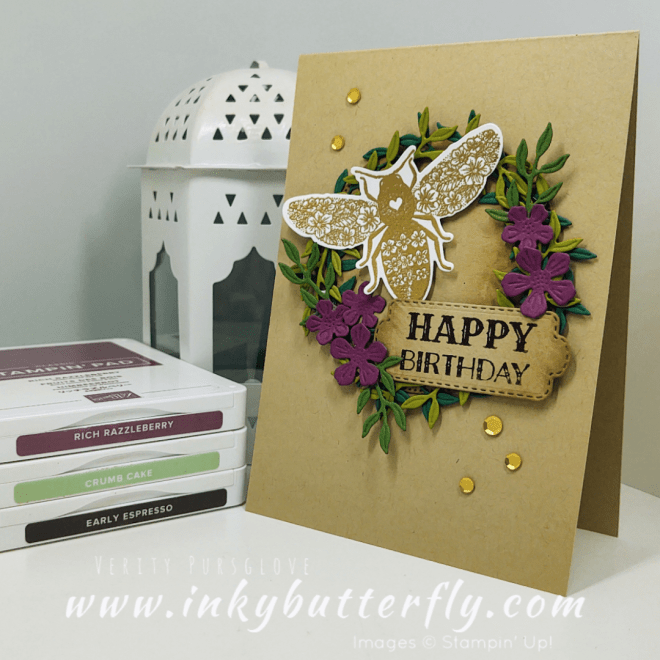
The sentiment topper was decorated with Blackberry Bliss die cuts from Timeless Arrangements.

You can see how I made this card in my video tutorial…

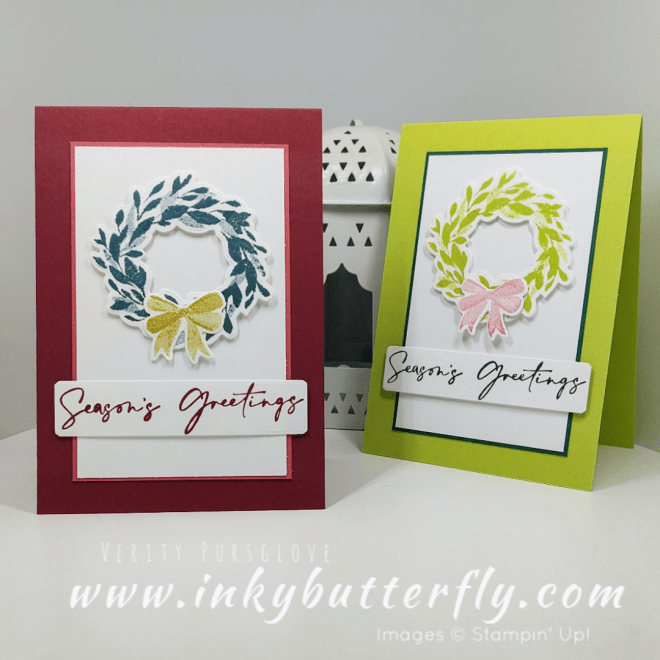
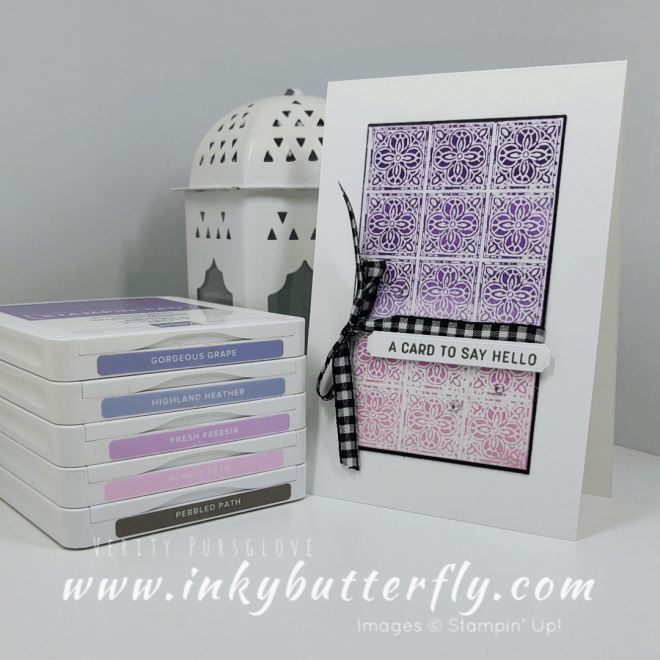
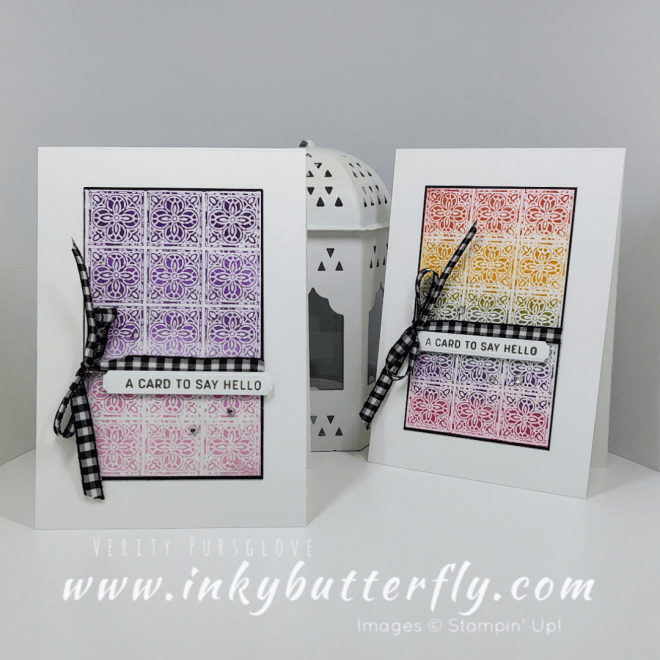
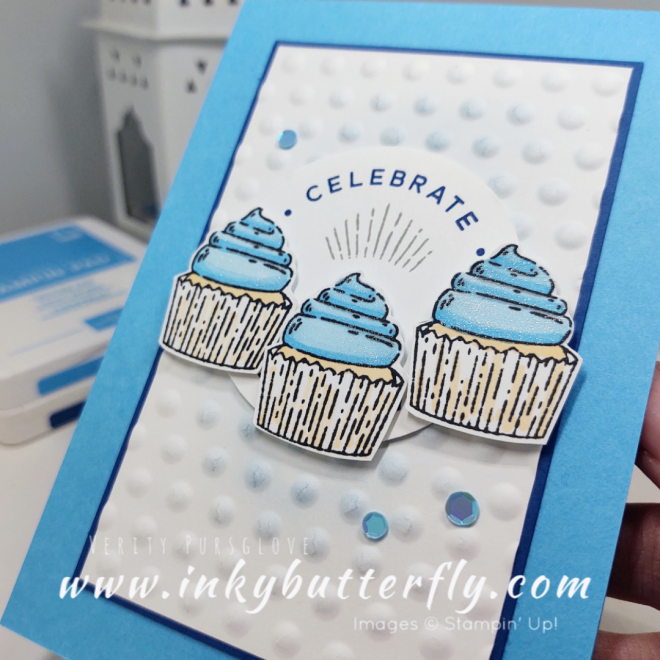
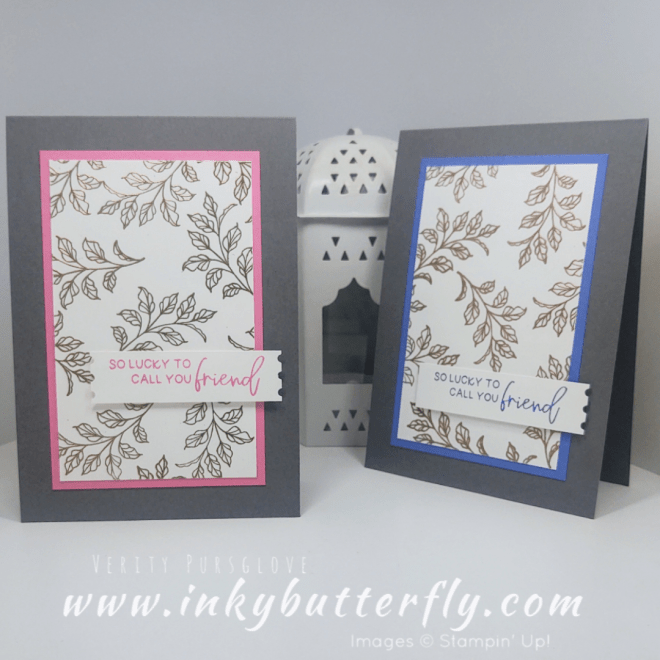
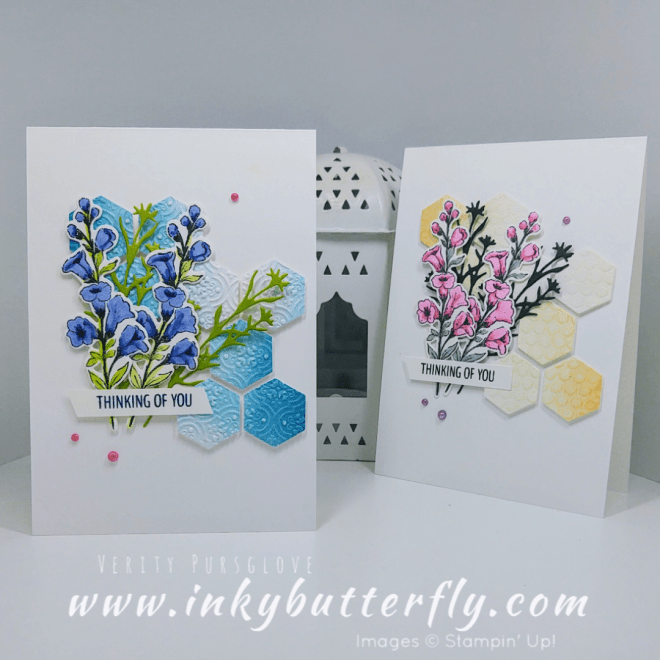
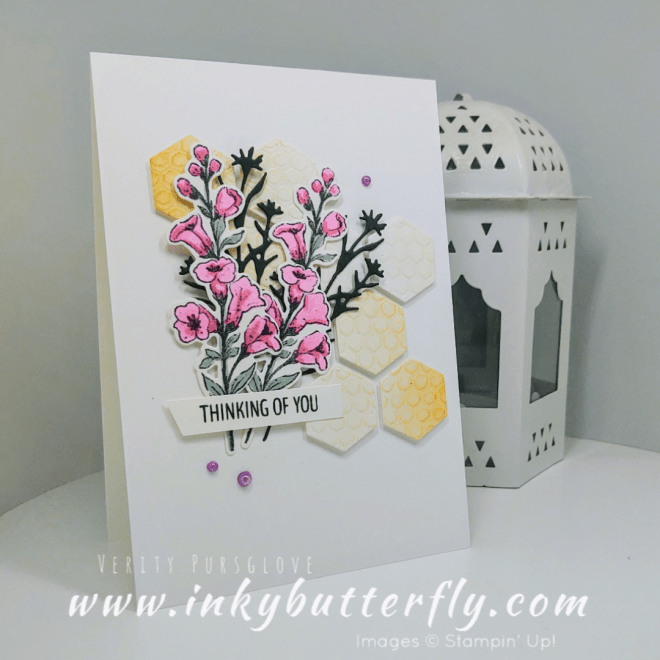
I chose some rhinestones and sequins to embellish my cards.

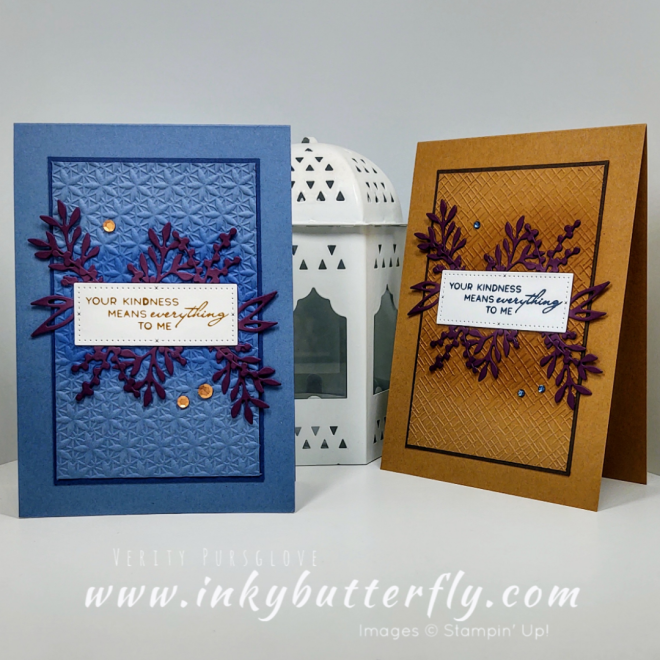
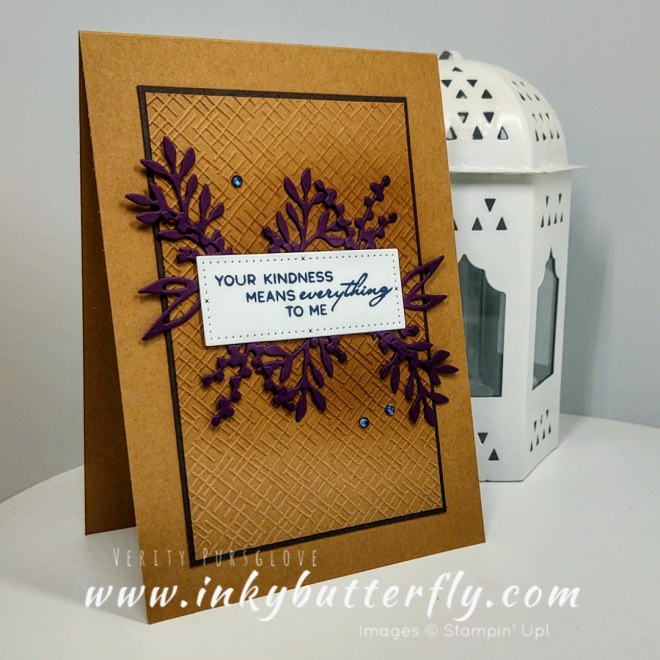
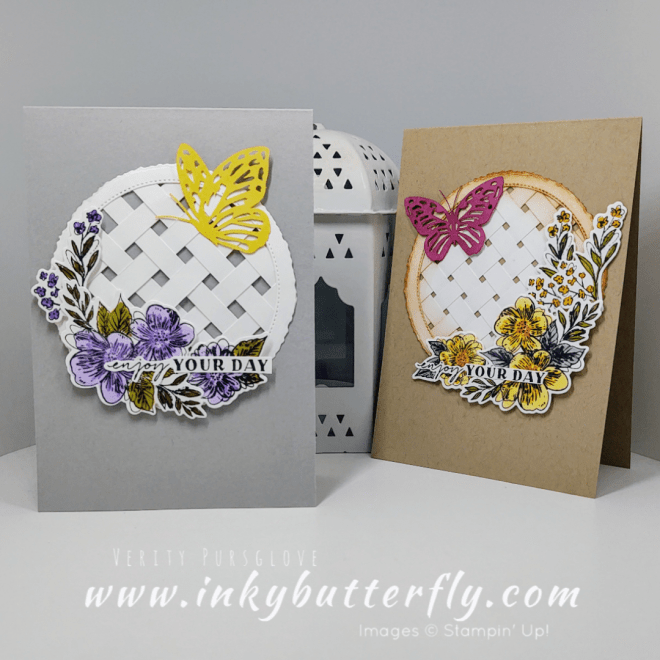
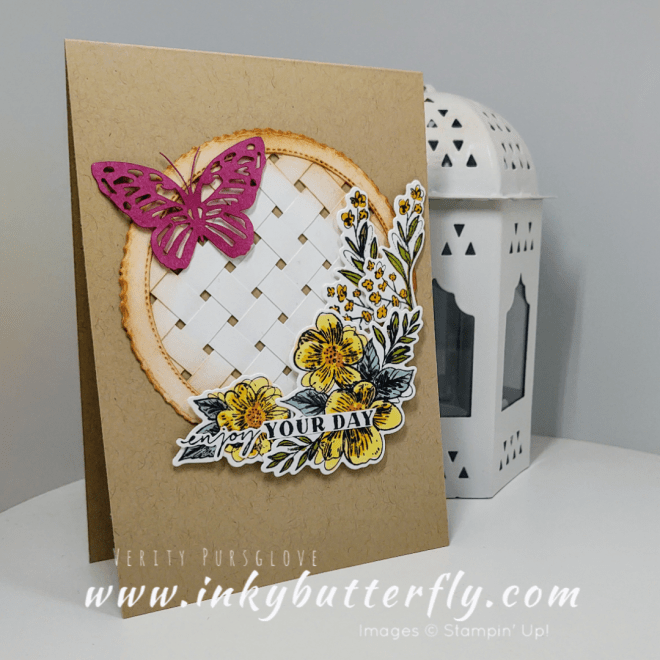
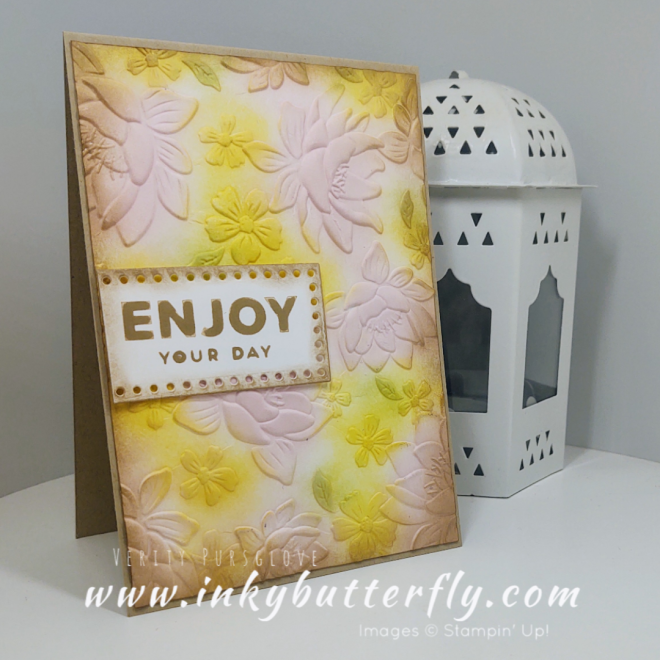
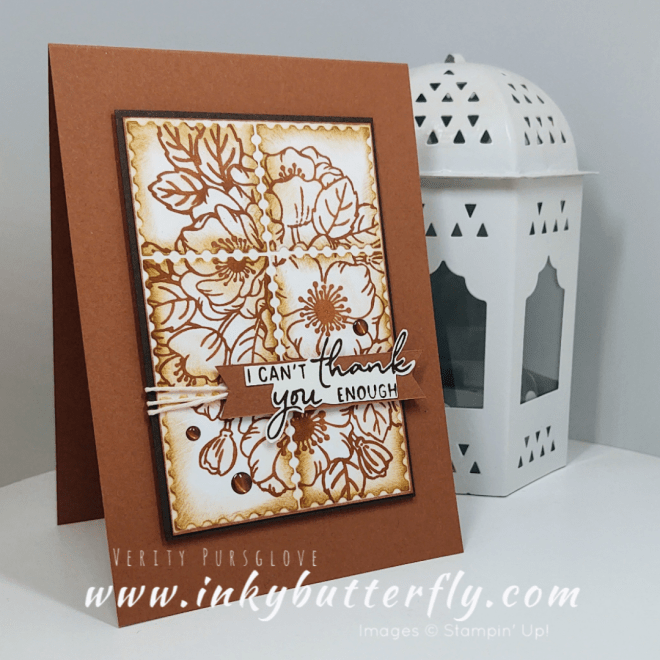
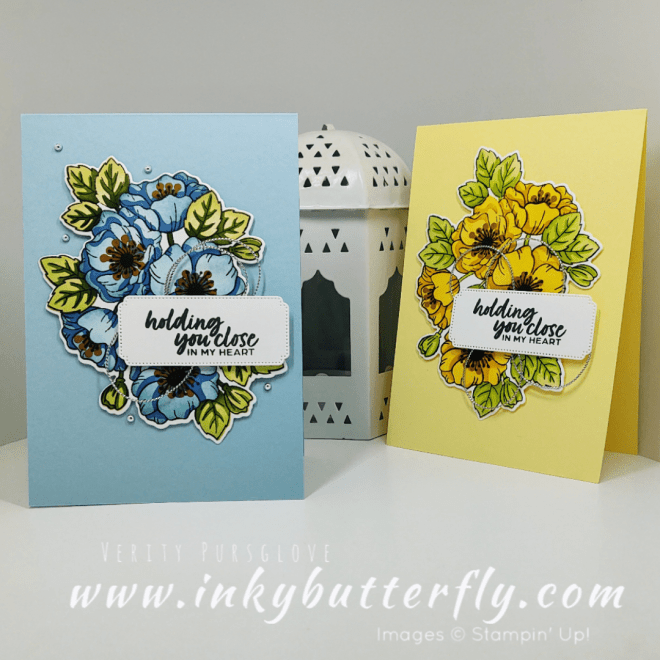
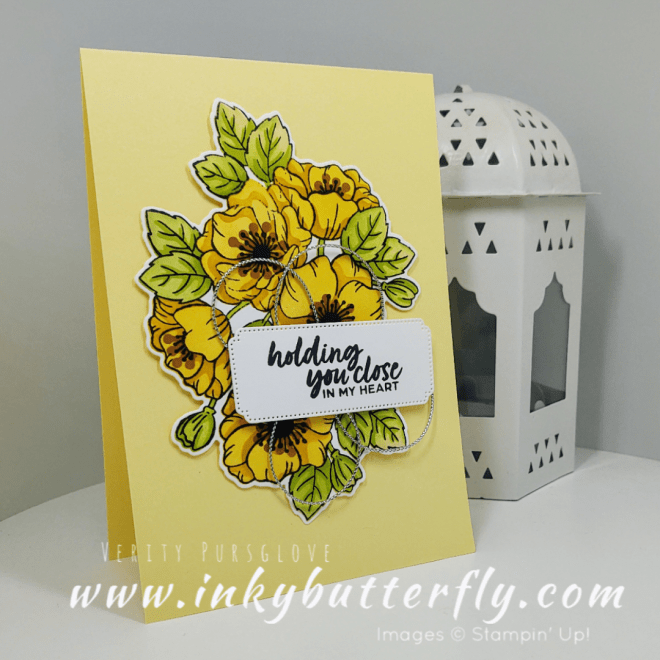
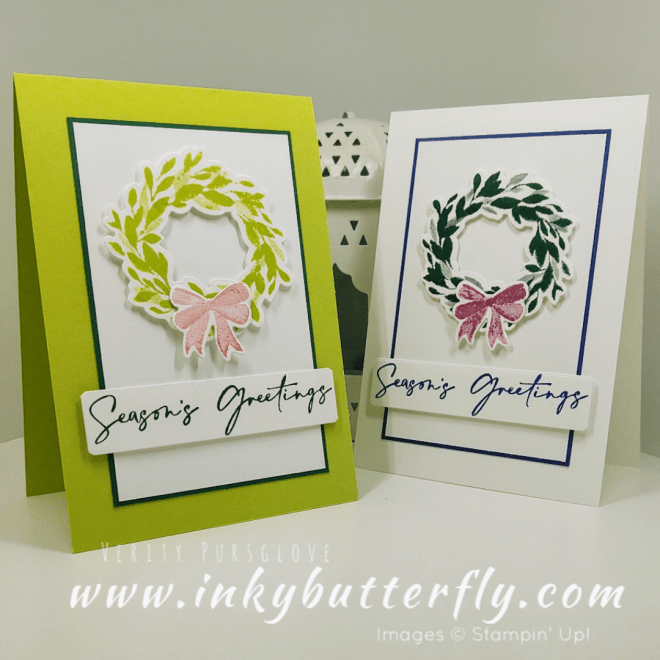
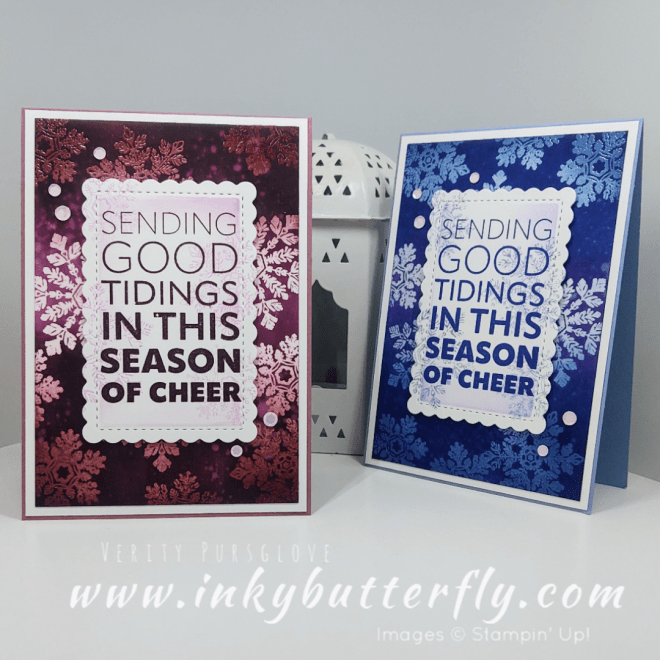
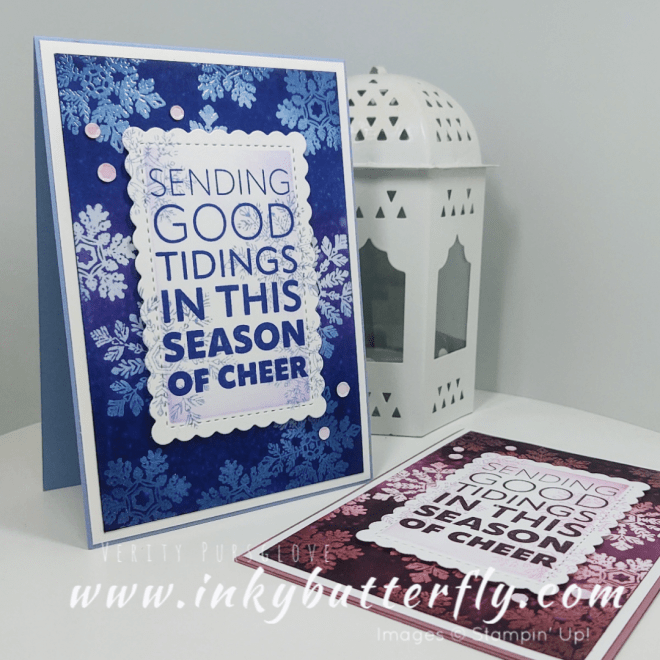
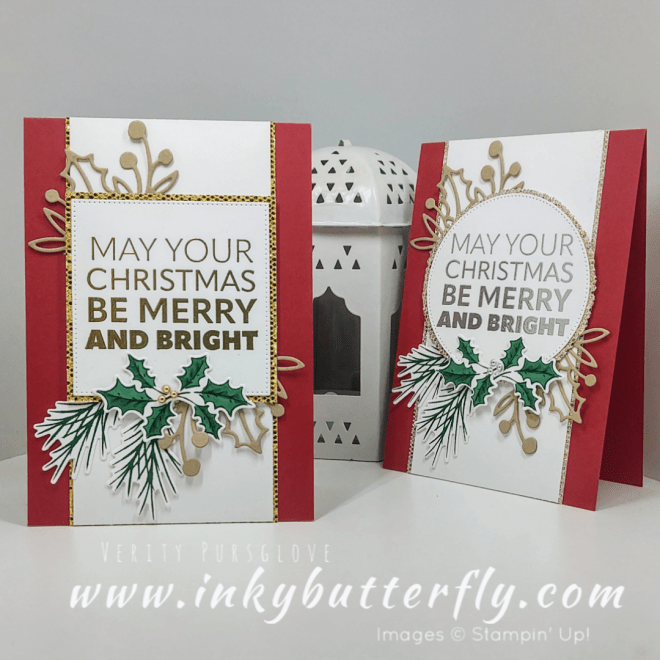
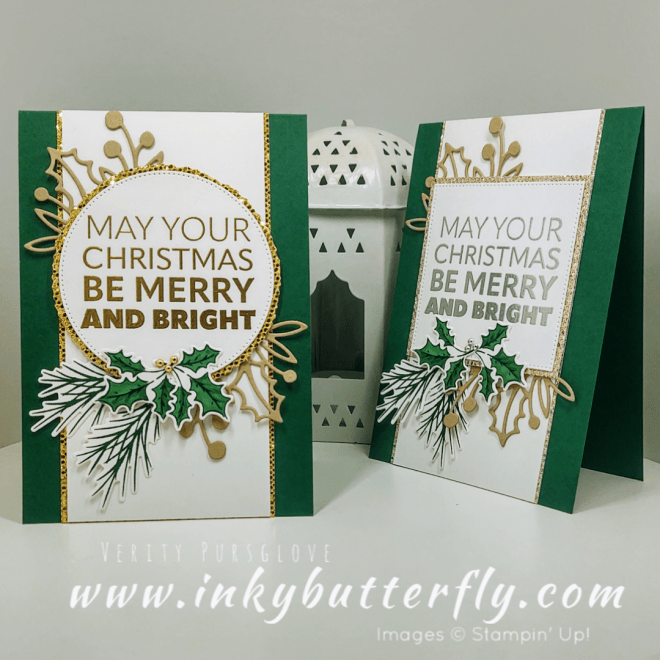
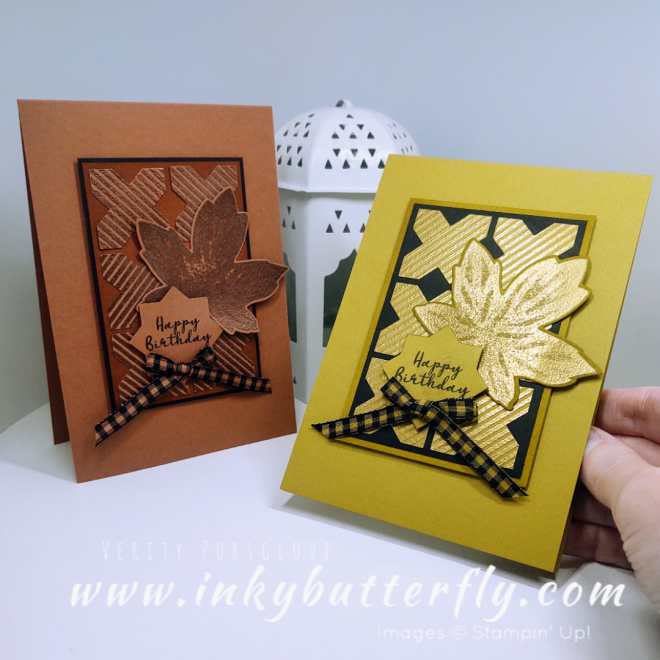
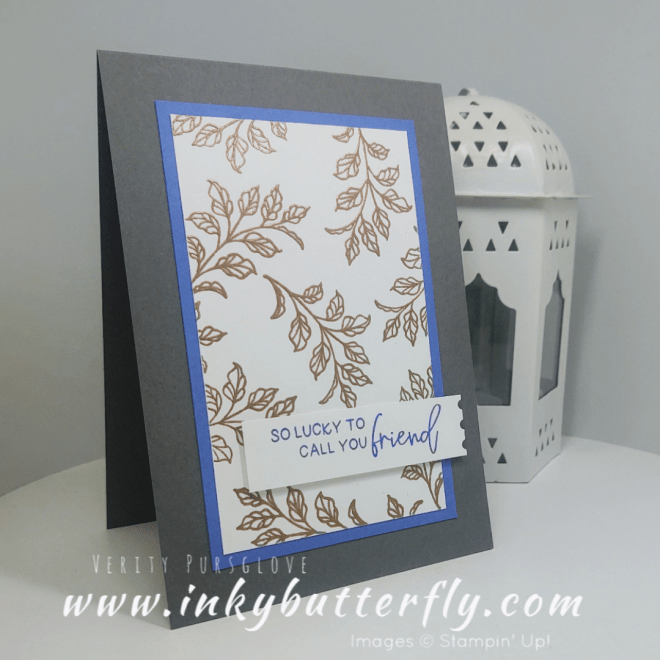
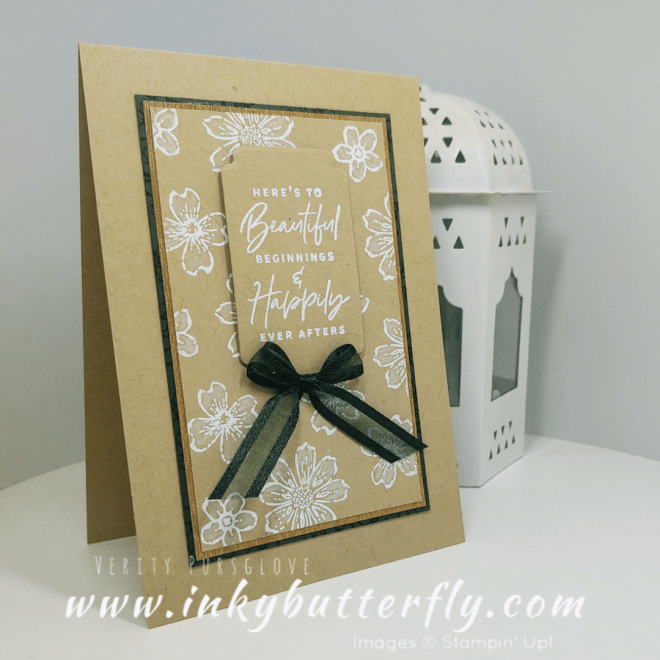
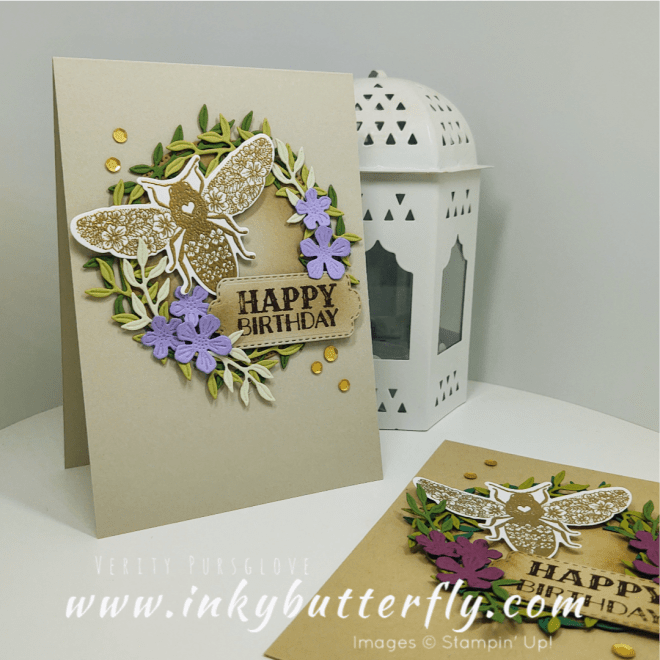
Here’s another version using Pecan Pie as the main colour!

I hope you enjoyed this project.

The supplies used are listed and linked to the online store below.

I would love to be your demonstrator.

Thanks for stopping by today and happy Stampin’!

Verity xx

Product List

Using Scraps to make a Lattice Detail Card Topper

Hello Everyone,

I don’t know about you, but I have a collection of scrap pieces of cardstock on my craft table including some long thin strips.

This card was made to help use up some of those strips.

The circular frame was cut using the Stylish Shapes and Deckled Circle dies.

Strips were added to the aperture in one direction, then others were woven in from another.

It’s a little fiddly but worth the effort in the end.

You can see how I made this card in my video tutorial…

I decorated the rest of the card using the Thoughtful Expressions bundle and a paper butterfly. The butterflies come as a pack of 40, and as they are plain white, can be coloured however you like.

Here’s another version using different a different layout and colours!

I hope you enjoyed this project.

The supplies used are listed and linked to the online store below.

I would love to be your demonstrator.

Thanks for stopping by today and happy Stampin’!

Verity xx

Product List

Ink Blended Background using the Layered Florals Embossing Folder

Hello Everyone,

Have you seen this amazing embossing folder? I absolutely love it… And it’s perfect for making super quick but stunning cards!

This is 3D folder, so make sure you follow the directions on your die cutting machine to get the right sandwich!

I just used Basic White cardstock so I could add colour, but this could easily have been subbed for any cardstock of your choice.

You can see how I made this card in my video tutorial…

I’ve added colour with blending brushes, selecting areas of the embossing for each colour.

This combo is Granny Apple Green, Berry Burst and Fresh Freesia with Gray Granite.

The sentiment is from a Sale-a-bration set and cut with these cute Everyday Details dies.

Here’s another version using Soft Sea Foam, Lemon Lolly and Bubble Bath with Crumb Cake… A much softer look!

And here’s another with bold blue flowers! This technique is definitely one to have fun with!

I hope you enjoyed this project.

The supplies used are listed and linked to the online store below.

I would love to be your demonstrator.

Thanks for stopping by today and happy Stampin’!

Verity xx

Product List

Vintage Style Card Topper using the Perennial Postage Bundle

Hello Everyone,

Today I’m creating something a little different. The vintage look isn’t my usual style but I thought it suited this card design.

The Perennial Postage Bundle combines pretty all occasion sentiments and this fantastic set of dies.

I used six of the smallest squares to create a topper, layered with Very Vanilla and Early Espresso card stocks.

You can see how I made this card in my video tutorial…

I used Pecan pie ink to stamp the Enduring Beauty image over the squares to match the card base.

Some twine, gems and sequins finished off the topper which was adhered with dimensionals.

I hope you enjoyed this project.

The supplies used are listed and linked to the online store below.

I would love to be your demonstrator.

Thanks for stopping by today and happy Stampin’!

Verity xx

Product List

More Simple Stamping with the Planted Paradise stamp set

Hello Everyone,

Today I’m #simplestamping again this time with the Planted Paradise Stamp set!

The card base was made using Melon Mambo cardstock. The matching ink was used for the plant pot, with Soft Sea Foam, Lemon Lime Twist and Garden Green for the foliage.

You can see how I made this card in my video tutorial…

I love the new Everyday Details dies which I used to stage the stamped focal point.

I chose to fussy cut the sentiment which I stamped with Orchid Oasis ink.

Here’s another version using Calypso Coral with Soft Sea Foam and Mossy Meadow.

I hope you enjoyed this project.

The supplies used are listed and linked to the online store below.

I would love to be your demonstrator.

Thanks for stopping by today and happy Stampin’!

Verity xx

Product List

Simple Cards using the Enduring Beauty Bundle

Hello Everyone,

Today I’m sharing a sneak peek at an exciting new bundle coming your way in a few days time…. This is called Enduring Beauty.

The bundle contains a photopolymer stamp set, dies AND coordinating decorative masks!

There are some many colour combinations to pick, for this one I used Balmy Blue and Azure Afternoon, with Soft Sea Foam and Old Olive.

You can see how I made this card in my video tutorial…

I opted for a bold black sentiment cut with a die from the bundle. I added some silver twine and pearls.

Here’s another version using Lemon Lolly and Crushed Curry with Soft Sea Foam and Granny Apple Green.

I hope you enjoyed this project.

The supplies used are listed and linked to the online store below.

I would love to be your demonstrator.

Thanks for stopping by today and happy Stampin’!

Verity xx

Product List

More Last Minute Cards with the Cottage Wreaths Stamp Set

Hello Everyone,

Are you ready for Christmas? I still have some things to do but it’ll come together I’m sure! 🤞🏻. This batch of cards should finish off what I need on that front at least.

I love this combination of Cherry Cobbler, Pretty Peacock and Wild Wheat. There’s some Sweet Sorbet in there too for the mat layer.

I needed 5 mini card layers and mats, which can be cut from a single sheet of cardstock.

You can see how I made this card in my video tutorial…

My original card was a brighter palette of Parakeet Party, Shaded Spruce and som Real Red.

The same layout looks so different in each of these colourways….

Here’s something a little plainer, with Starry Sky layers and Berry Burst bow!

I hope you enjoyed this project.

The supplies used are listed and linked to the online store below.

I would love to be your demonstrator.

Thanks for stopping by today and happy Stampin’!

Verity x

Product List

Emboss Resist Blended Background with the Sparkling Snowflakes Stamp Set

Hello Everyone,

I’m combining some favourite techniques to make the background for today’s cards… Heat embossing and ink blending!

I started by adding Moody Mauve ink to the top and bottom of the card layer before adding the snowflakes.

Fresh Freesia ink was added to the central portion, revealing white snowflakes.

Blackberry Bliss ink was added to the top and bottom, revealing pink snowflakes.

You can see how I made this card in my video tutorial…

A spritz of water added some extra interest too. Layering on to white cardstock makes the colour pop!

The Scallloped Contour dies fit the sentiment perfectly, and some adhesive sequins finish it off!

The blue combo uses, Boho Blue, Gorgeous Grape and Starry Sky.

I hope you enjoyed this project.

The supplies used are listed and linked to the online store below.

I would love to be your demonstrator.

Thanks for stopping by today and happy Stampin’!

Verity x

Product List

More Cards using the Joy to You Stamp Set

Hello Everyone,

Today I wanted to share these cards with the sentiment as the focal point framed with the gorgeous dazzling specialty paper.

The design lends itself to batch making, prepping all the elements in advance and easily put together.

To save time, the sentiment could stamped in coordinating ink rather than heat embossed.

The holly could also be die cut from coloured cardstock.

You can see how I made this card in my video tutorial…

I added some Crumb Cake die cuts behind the sentiment panels, which were popped up on dimensionals.

Some gold and silver gems were added to simulate berries.

Here are the Shaded Spruce versions of the cards. I think these would look good with other coloured card bases too.

I hope you enjoyed this project.

The supplies used are listed and linked to the online store below.

I would love to be your demonstrator.

Thanks for stopping by today and happy Stampin’!

Verity xx

Product List

Tone on Tone Metallic Heat Embossing!

Hello Everyone,

It’s been a while since I did any heat embossing. This idea came about as I have been using a lot of Wild Wheat cardstock as a substitute for gold, so I extended that to copper and silver…

I have used Medley Mix and the coordinating Inked and Tiled punches to create the background panel.

You can see how I made this card in my video tutorial

Here is the original card with Wild Wheat and gold heat embossing.

And finally, I also used copper embossing powder on Copper Clay cardstock.

I hope you enjoyed this project.

The supplies used are listed and linked to the online store below.

I would love to be your demonstrator.

Thanks for stopping by today and happy Stampin’!

Verity xx

Product List

Ombre Emboss Resist Technique with the Timeless Tiles Stamp Set

Hello Everyone,

This is my absolute favourite technique ever… It never fails to look amazing!

The Timeless Tiles Stamp Set is perfect for this.

You can see how I made this card in my video tutorial….

I love the ombre effect with the purple and pink inks there are so many combinations you could try

This rainbow combo uses just four colours. The yellow mixes with red and blue to make the orange and green. Some purple appears where blue and pink overlap..

I hope you enjoyed this project.

The supplies used are listed and linked to the online store below.

I would love to be your demonstrator.

Thanks for stopping by today and happy Stampin’!

Verity xx

Product List

Hello There with the Around the Bend Stamp Set

Hello Everyone,

For today’s card I am using the Around the Bend stamp set and the coordinating dies. The set has some useful sentiments and the dies can be used to make interesting card fronts.

You can see how I made this card in my video tutorial….

I opted to emboss the the background panel and add some ink to this too.

This monochromatic version uses Copper Clay, one of the 2023 in colours for a more autumnal look.

I hope you enjoyed this project.

The supplies used are listed and linked to the online store below.

I would love to be your demonstrator.

Thanks for stopping by today and happy Stampin’!

Verity xx

Product List

Let’s Celebrate with Circle Sayings!

Hello Everyone,

Who can resist a cupcake? These cards are great for any occasion!

You can see how I made this card in my video tutorial…

A little Wink of Stella adds some sparkle to the icing.

This is the Bubble Bath version. Both cards were finished with adhesive sequins.

I hope you enjoyed this project.

The supplies used are listed and linked to the online store below.

I would love to be your demonstrator.

Thanks for stopping by today and happy Stampin’!

Verity xx

Product List

Panelled Background with Countryside Corners

Hello Everyone,

Yesterday I took part in an “instahop” with other members of the Pootlers Stampin’ Up! team. Everyone featured annual catalogue products – pop over to Instagram to take a look if you missed it!

I’ve used the 2023 In Colours with panels created with the Countryside Corners dies.

You can see how I made this card in my video tutorial

I love the mixed fonts of the sentiments in the Layering Leaves stamp set.

Here’s a close up of the 2022 In Colour version… I think I might like this one the best!

I hope you enjoyed this project.

The supplies used are listed and linked to the online store below.

I would love to be your demonstrator.

Thanks for stopping by today and happy Stampin’!

Verity xx

Product List

Pootlers Team Video Hop!

Hello Everyone,

Today I am joining some of my fellow Pootler Teammates in a video hop featuring the New Stampin’ Up colours and In Colours…

You can start by watching my video. Links to the other projects are listed in video description… Please Like and Subscribe!

I love how this design turned out with Pebbled Path. I think this would make a great sympathy card too.

Here are the Boho Blue and Wild Wheat versions…

And here is Moody Mauve and Copper Clay

I hope you enjoyed this project.

The supplies used are listed and linked to the online store below.

I would love to be your demonstrator.

Thanks for stopping by today and happy Stampin’!

Verity xx

Product List

The Project Share Project Blog Hop – Favourite Technique!

Good Morning Everybody,

Welcome to this month’s Project Share Project blog hop.

This month, all our projects feature our favourite stamping and crafting techniques…

Use the links below to see the other projects in today’s hop…

Jill Chapman – Paper Daisy Crafting

Heather Forgan – Stamp With Nellie

Gez Carpenter – Nigezza Creates

My card uses the Irresistible Blooms online exclusive bundle and Pretty Medallion background stamp with my favourite…. Heat embossing!

I’ve also taken some inspiration from the Stampin’Up! Artisan Design Team Member Heather Thomas!

All the colours I feature in this card are sadly retiring when the current annual catalogue comes to an end at the beginning of May!

You can see how I made this card in my video tutorial…

The blended ink brings out the details of the stamps beautifully!

Here’s a close up of the original version using the Daffodil Delight, Soft Seafoam, shaded Spruce and Pumpkin Pie.

Click below to go to Heather’s project…

I hope you enjoyed this project.

The supplies used are listed and linked to the online store below.

I would love to be your demonstrator.

Thanks for stopping by today and happy Stampin’!

Verity xx

Product List

Quick Cards using Basic Grey Colour Combinations

Hello Everyone,

At our team retreat last weekend, we made a sweet little desk organiser. In the process, I “discovered” a new beautiful colour combination of Basic Grey, Orchid Oasis and Copper! So today, I’m exploring some other options!

First up is Polished Pink with Gold!

You can see how I made this card in my video tutorial…

The card design is very simple to focus on the colour combinations…

Here’s the original version with Orchid Oasis and Copper….

And just for completeness, here is Fresh Freesia with Silver!

Which is your favourite?

I hope you enjoyed this project.

The supplies used are listed and linked to the online store below.

I would love to be your demonstrator.

Thanks for stopping by today and happy Stampin’!

Verity xx

Product List

The Project Share Project Blog Hop – CASE the Catalogue!

Good Morning Everybody,

Welcome to this month’s Project Share Project blog hop.

This month, all our projects are inspired by the amazing samples in the Stampin’ Up! catalogues…

Use the links below to see the other projects in today’s hop…

Gez Carpenter – Nigezza Creates

Heather Forgan – Stamp With Nellie

Jill Chapman – Paper Daisy Crafting

My card uses the Honeybee Home and Framed Occasions stamp sets and coordinating dies.

As an extra challenge, I’ve also attempted to use all the 2022 in colours too!

You can see how I made this card in my video tutorial….

I think my favourite part of this design is the textured hexagon background.

Here’s a close up of the original version using the 2021 colours.

Click below to go to Gez’s project…

I hope you enjoyed this project.

The supplies used are listed and linked to the online store below.

I would love to be your demonstrator.

Thanks for stopping by today and happy Stampin’!

Verity xx

Product List

White Heat Embossed Background with the Petal Park stamp set

Hello Everyone,

My card today has been inspired by the wonderful Hannah McCurley. I love the magic of heat embossing so this was a fun twist to the technique.

You can see how I made this card in my video tutorial….

Adding white watercolour pencil adds some additional subtle detail to the design.

This sample was made with Crumb Cake, Evening Evergreen and Gold!

I hope you enjoyed this project.

The supplies used are listed and linked to the online store below.

I would love to be your demonstrator.

Thanks for stopping by today and happy Stampin’!

Verity xx

Product List

Textured Card using the Queen Bee Dies

Hello Everyone,

Sometimes I like to “go to town” on a card project! So this card is packed with texture from a bunch of dies cuts and I’ve thrown in some hest embossing too!

You can see how I made this card in my video tutorial….

A variety of green cardstocks were used to make the wreath background which was embellished with Rich Razzleberry flowers.

This version uses a Sahara Sand card base and Highland Heather flowers.

I hope you enjoyed this project.

The supplies used are listed and linked to the online store below.

I would love to be your demonstrator.

Thanks for stopping by today and happy Stampin’!

Verity xx

Product List