Good Morning Everybody,
Welcome to this month’s Project Share Project blog hop. Our theme for this month is Inspired by Nature!
See the other projects by using the links below, or use the “Next” button at the bottom of this post!
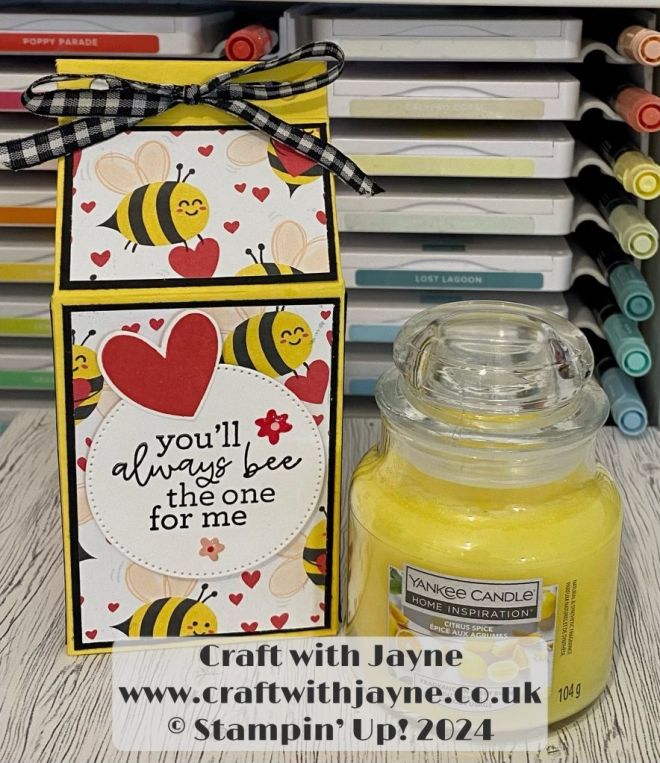
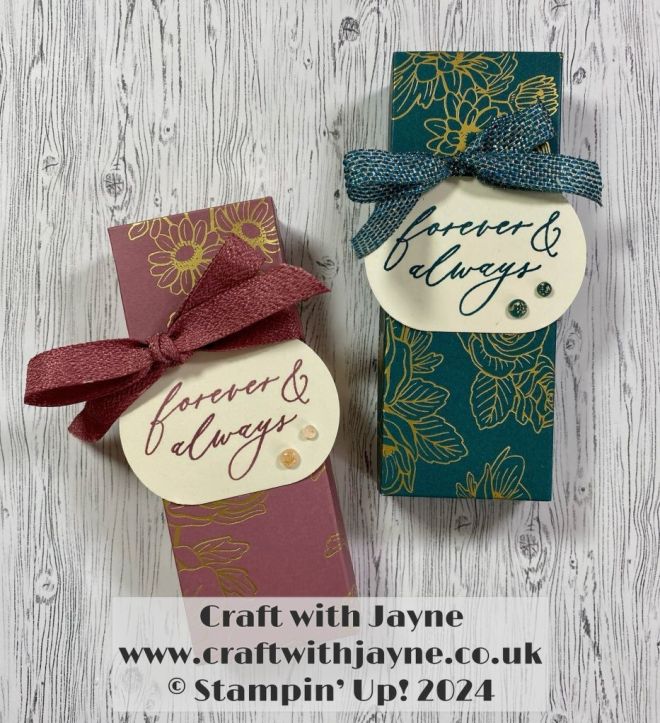
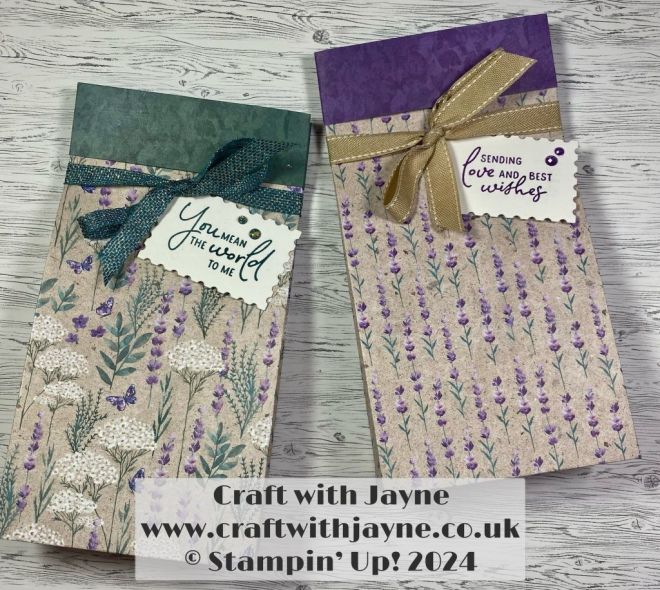
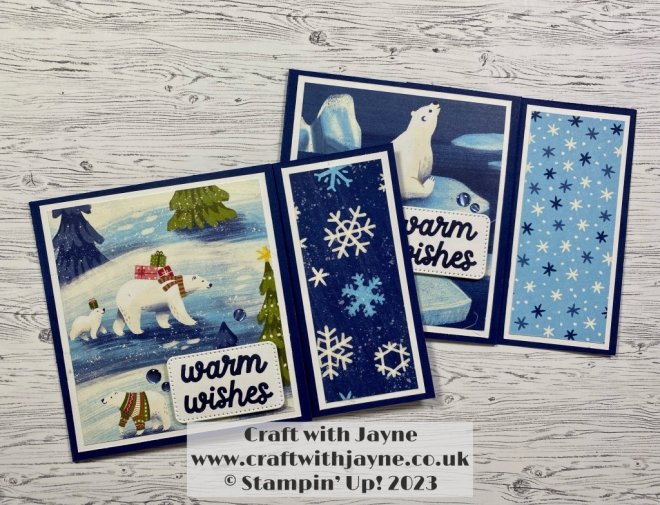
Jayne Frank – Craft with Jayne
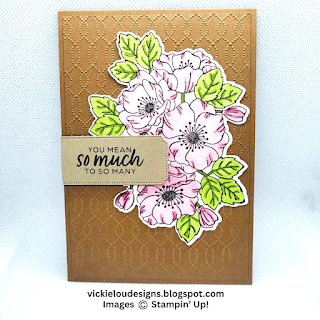
Victoria Littlewood – Vickie Lou Designs
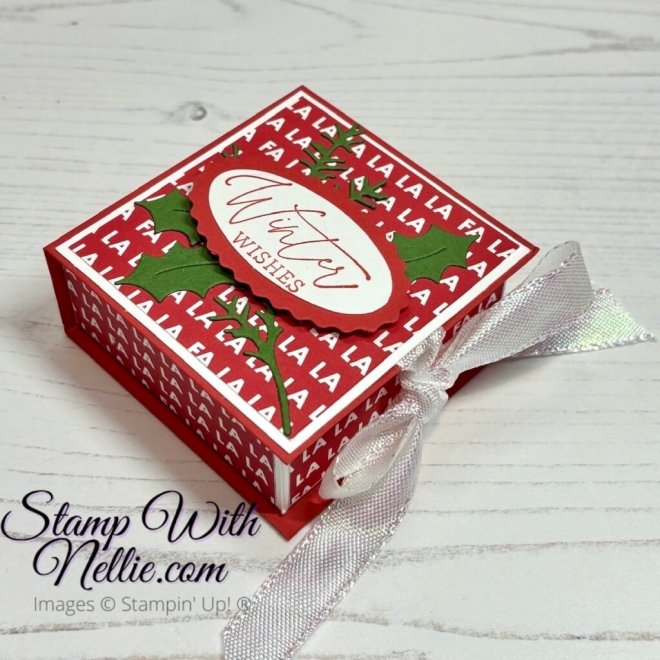
Heather Forgan – Stamp With Nellie
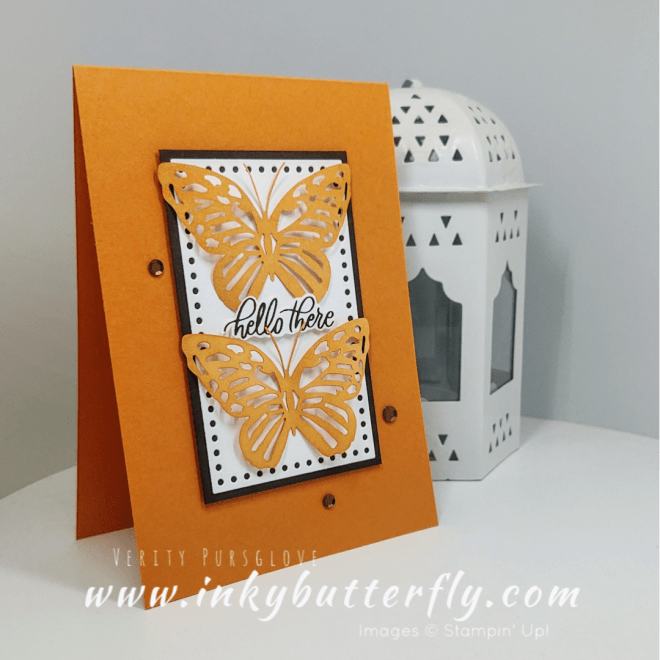
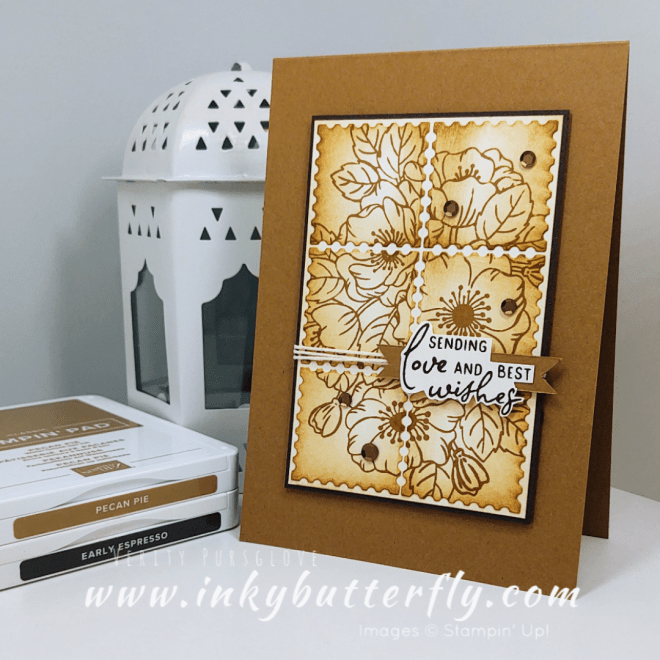
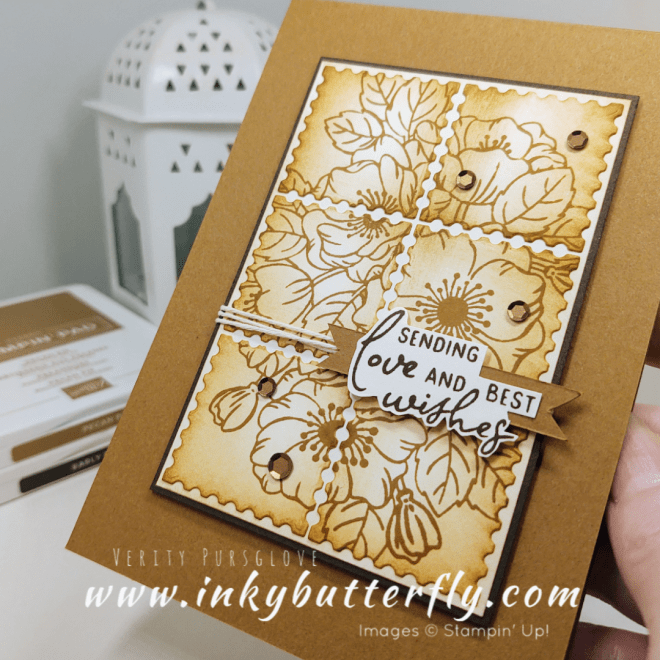
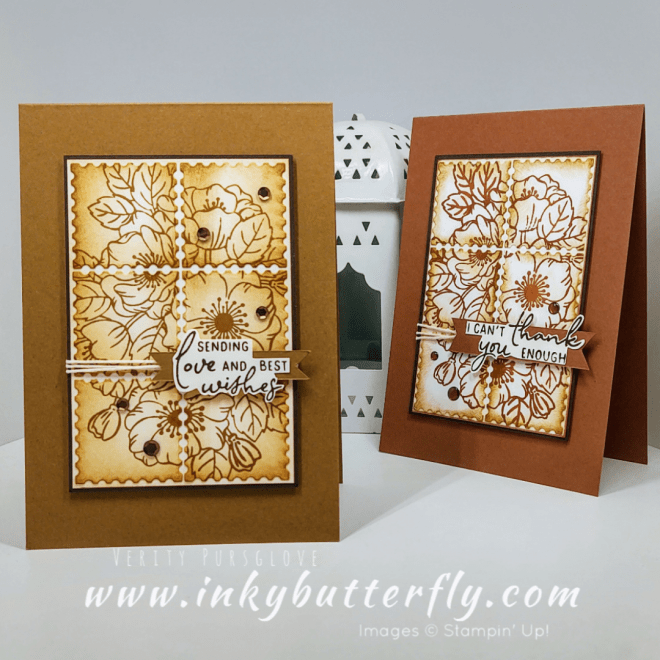
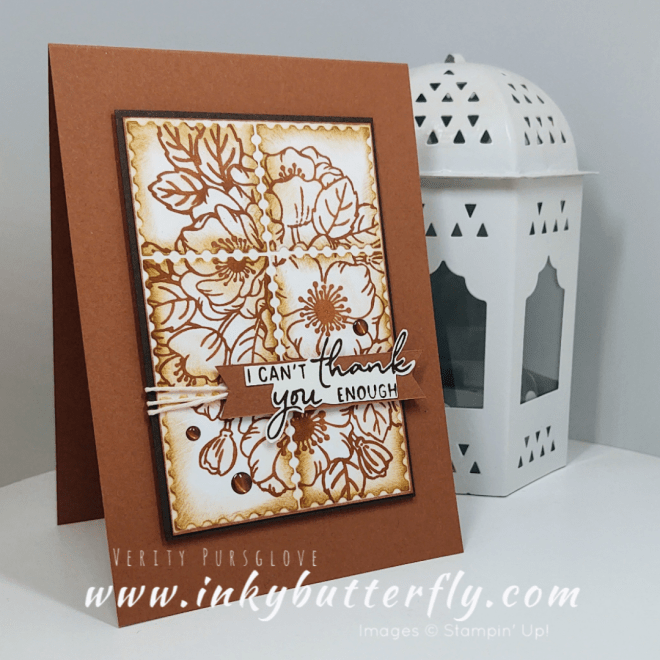
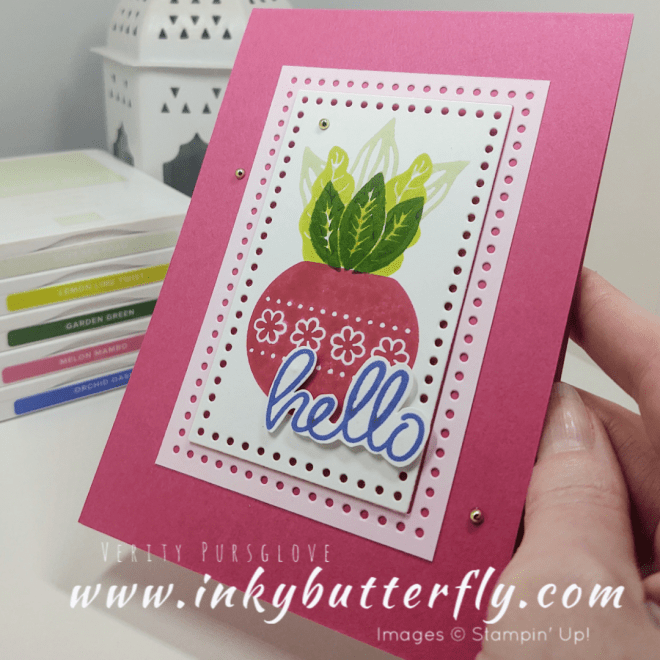
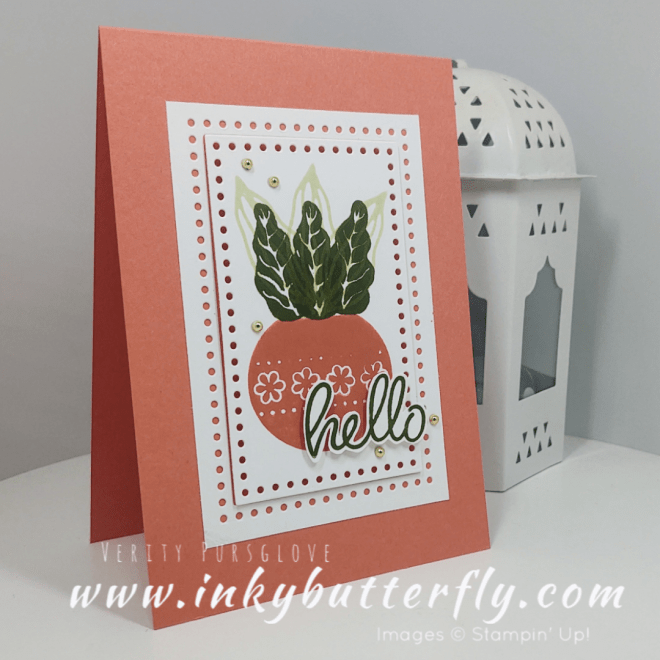
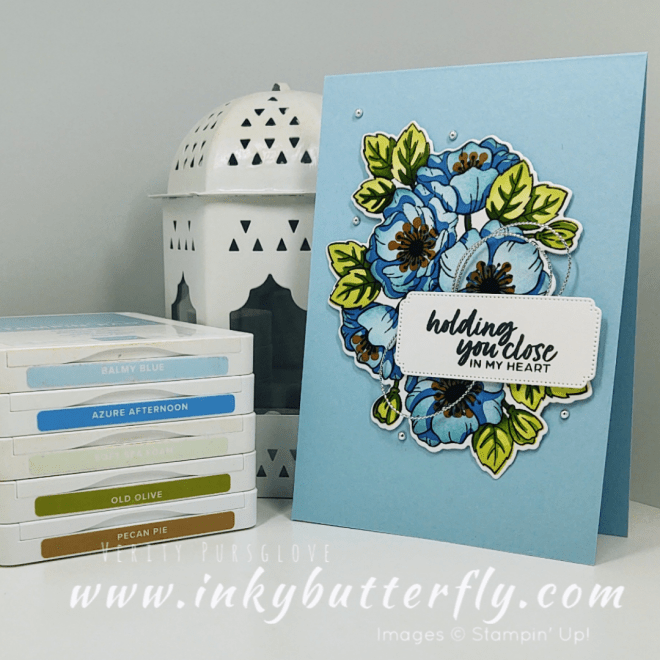
My card today features these beautiful Paper Butterfly Accents.
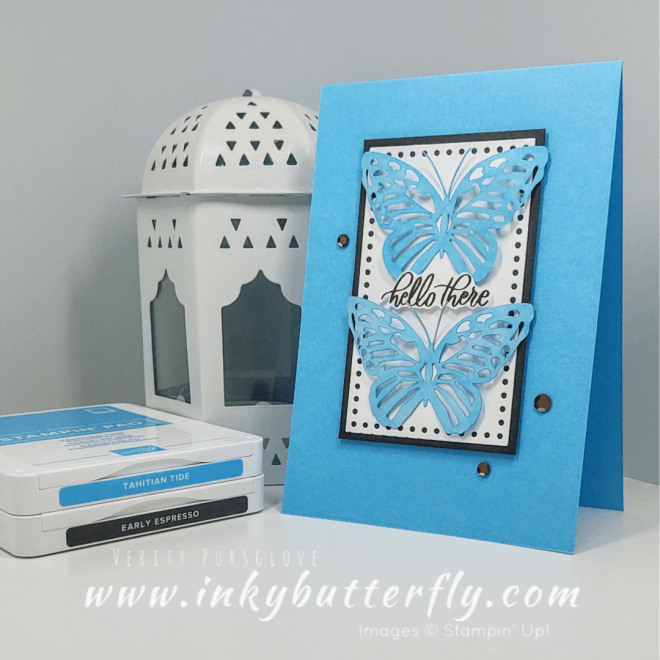
I’ve created a simple topper using the Everyday Details dies layered with Early Espresso cardstock.
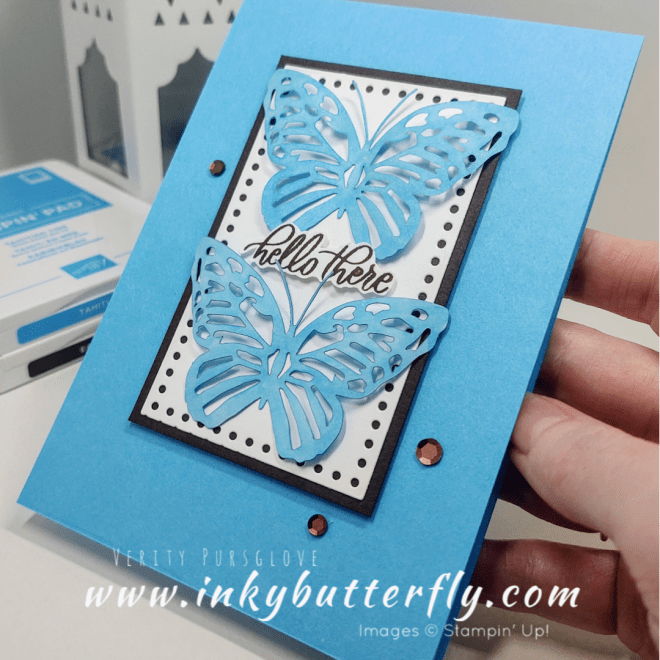
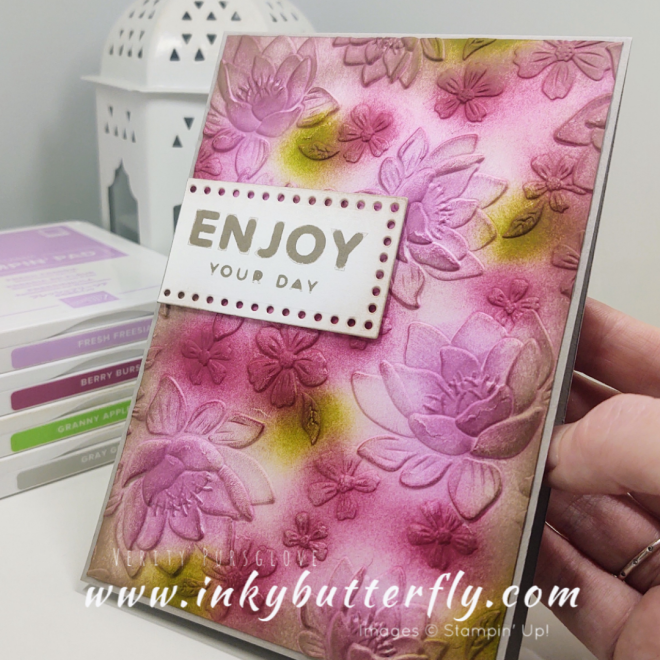
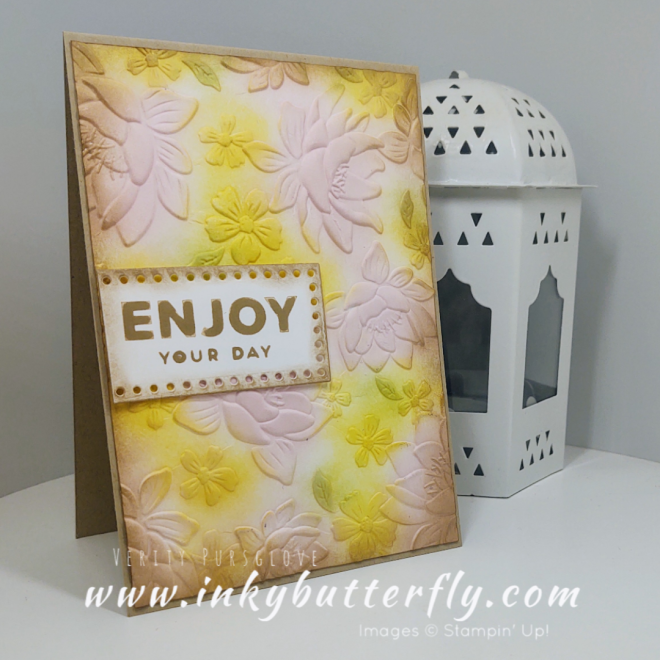
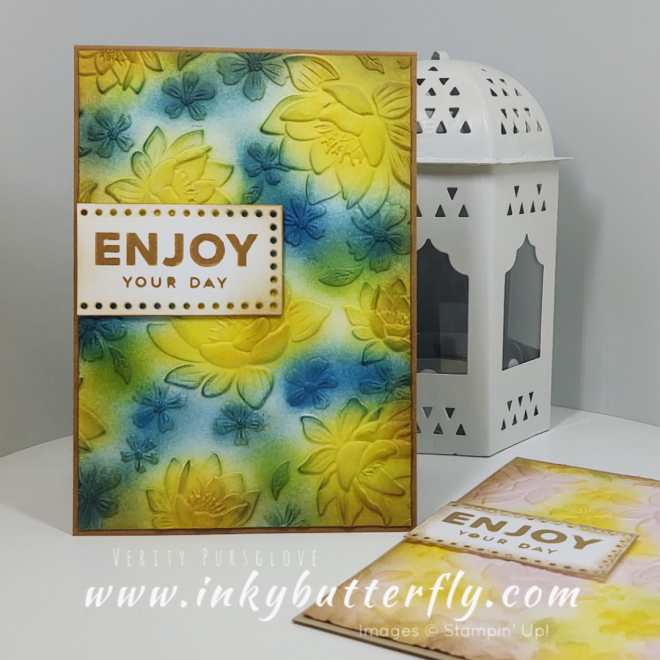
The butterflies can be coloured to match your project. I’ve used a Stampin’ Blend marker in Tahitian Tide.
You can see how I made this card in my video tutorial…
The sentiment was stamped using Early Espresso ink and I added some Neutral Sequins.
For this version, I’ve used Pumpkin Pie!
Click below to move on to Jayne’s project!

I hope you enjoyed this project.
The supplies used are listed and linked to the online store below.
I would love to be your demonstrator.
Thanks for stopping by today and happy Stampin’!
Verity xx
Product List
")


")


")
")


")


")


")
")


")
")


")


")

")


")
")
")


")

")

")


")


")
")
")


")

")