Good Morning,
I hope you are having a lovely day today!
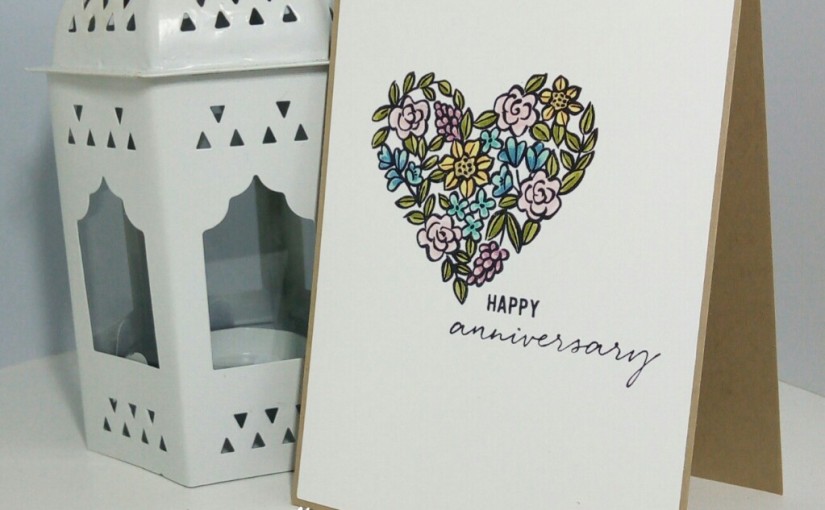
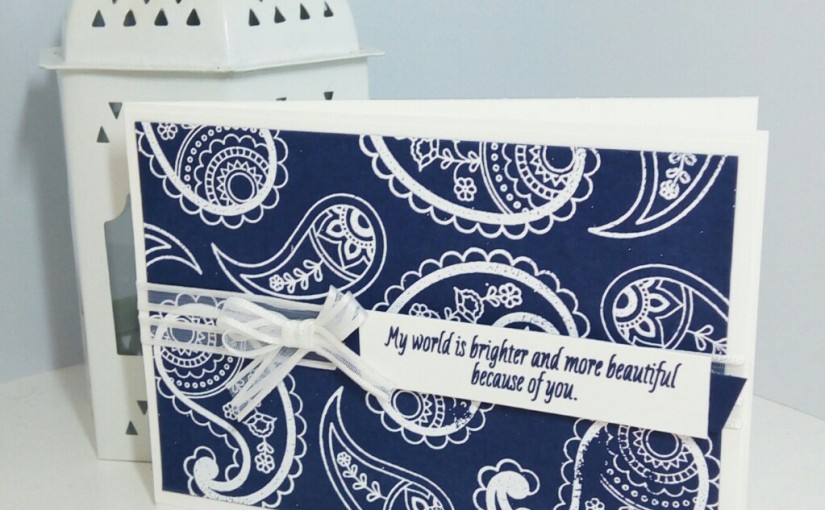
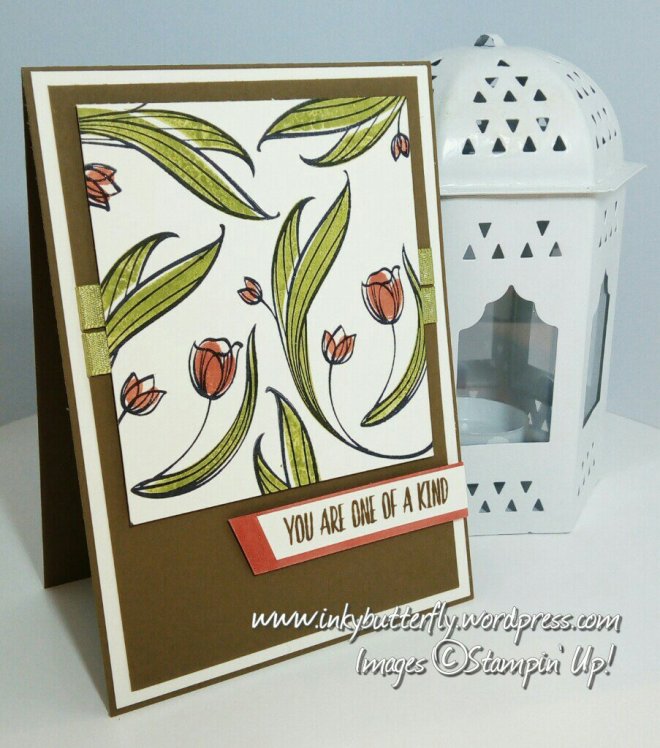
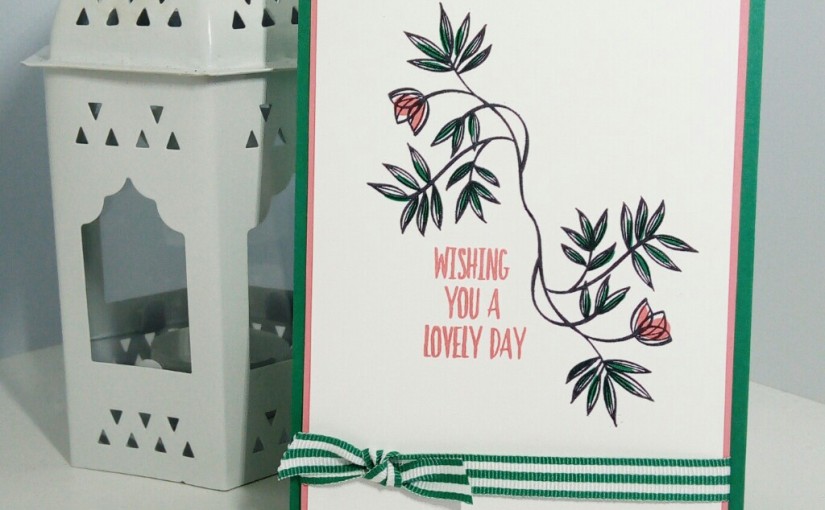
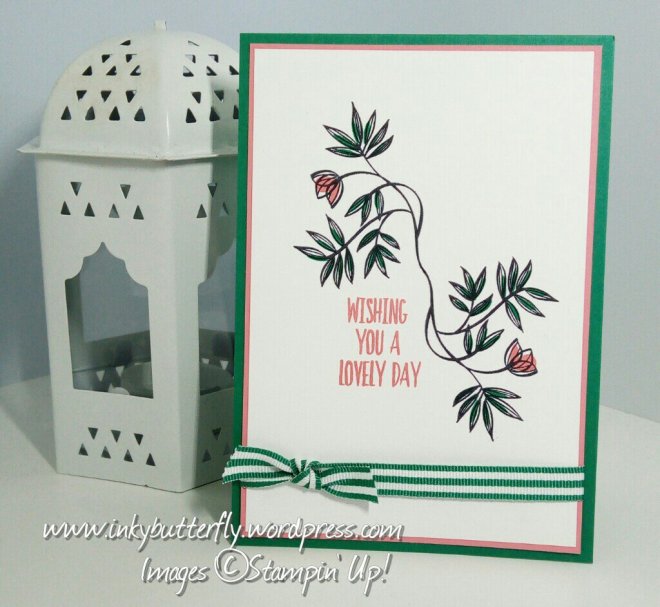
This sweet simple card says it all and Spring is on its way now the clocks have moved too.
I have used the Lovely Wishes set today. Memento ink was used to stamp the outline. Emerald Envy and Flirty Flamingo inks were used to add colour to the leaves and blooms.
Flirty Flamingo ink was use to stamp the sentiment from the set. The panel was adhered to Flirty Flamingo card stock.
Some Emerald Envy striped grosgrain ribbon was added to the bottom.
Finally, this was adhered to an Emerald Envy card base.
I hope you enjoyed this project. The supplies used to make this card are listed and linked to the online store below. I would love to have your custom.
It’s the final week of Sale-a-bration. Don’t miss out on free product and the fabulous joining offer.
Find out more by clicking the images below.
Thanks for stopping by and Happy Stampin’!
Verity x


Product List

|

|
|

|
||

|

|