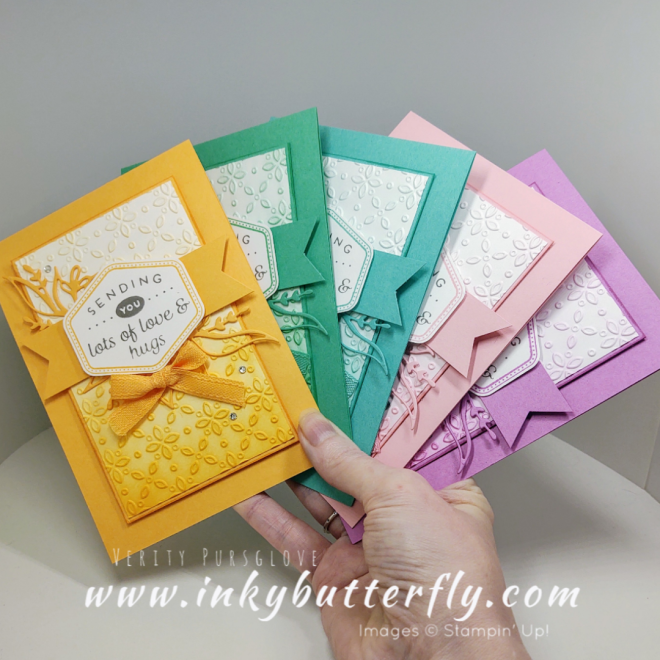
Today I’m bringing you sneaky perks at some upcoming products that will be available to customers in May when the new Annual Catalogue goes live!
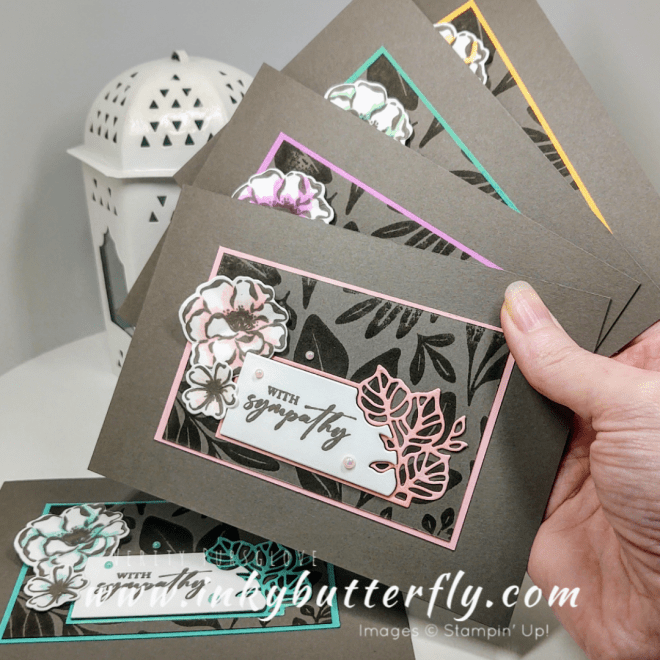
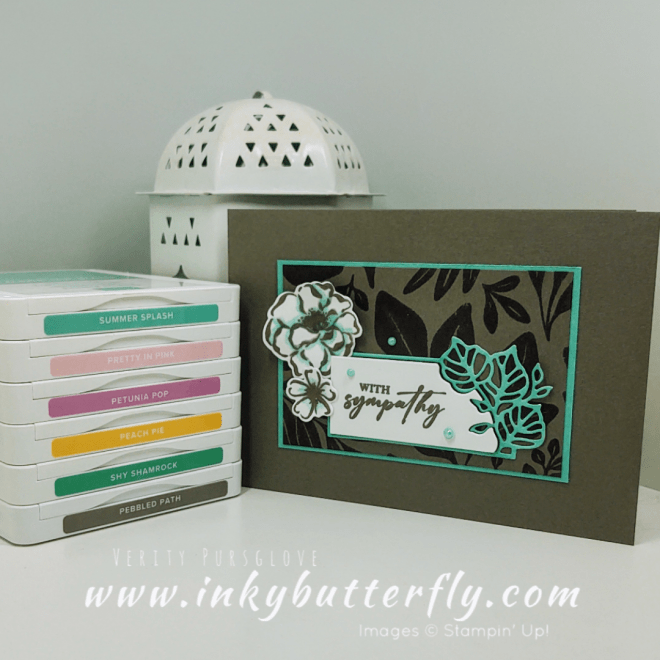
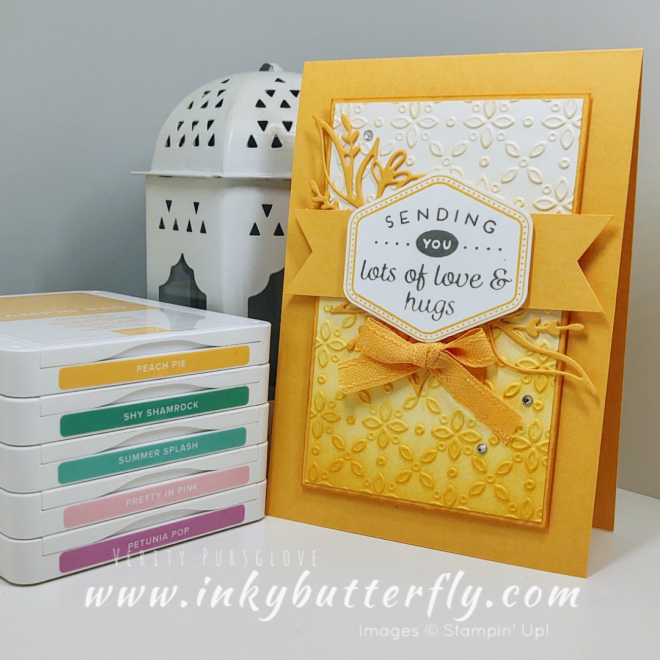
We have 5 new In Colours (left to right);
Peach Pie
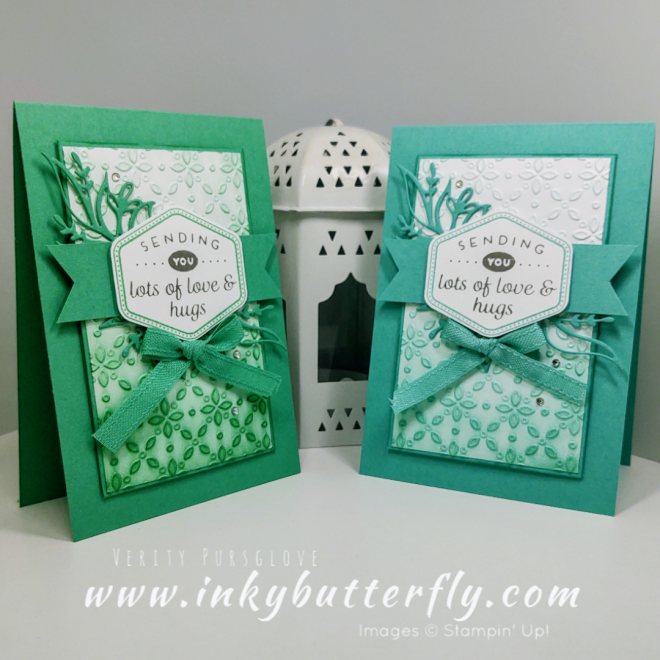
Shy Shamrock
Summer Splash
Pretty in Pink
Petunia Pop
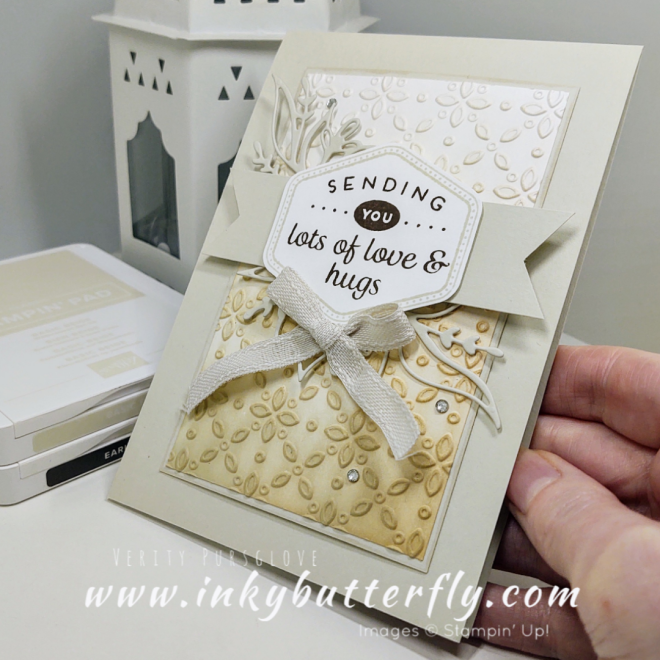
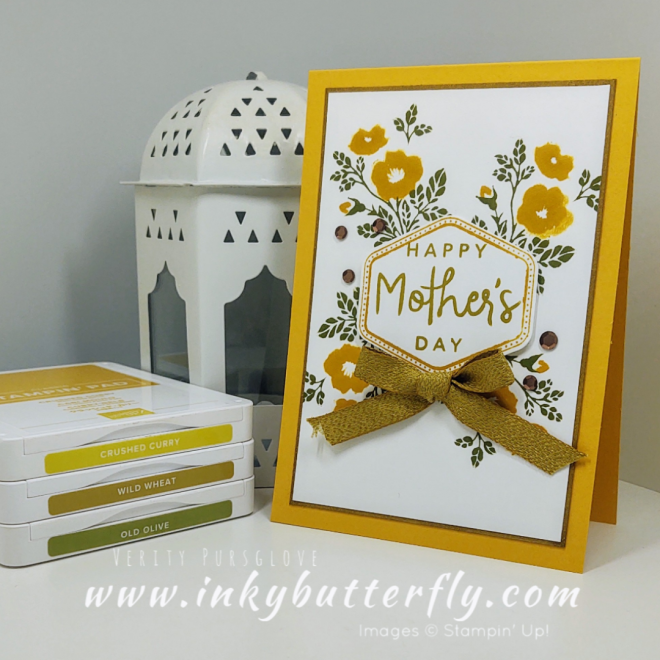
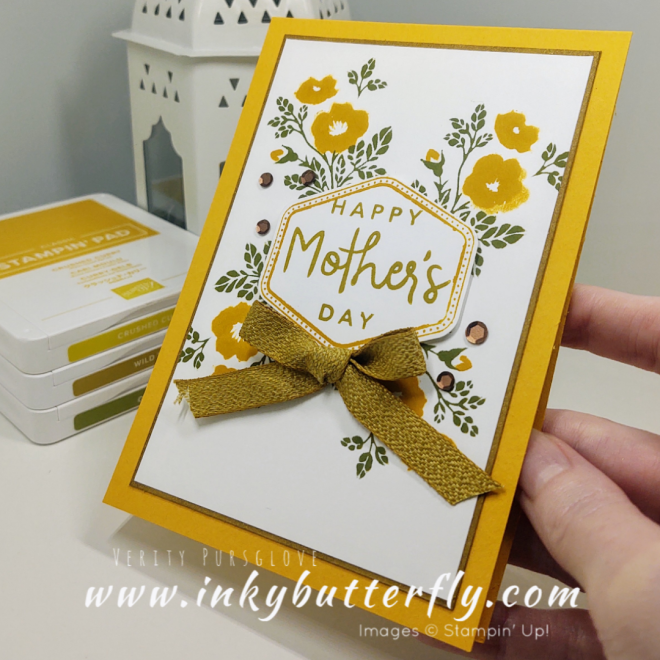
I used a new 3D embossing folder too, this is called Eyelet. I added coordinating ink to create an ombre look to the background.
I used the Heartfelt Hexagon stamp set and punch for the sentiment.
There is a stunning die cut peeking out from behind the sentiment banner… I am going to be using these dies a lot I suspect! 😂
The In Colour ribbon is lovely and soft and ties into a bow very easily.
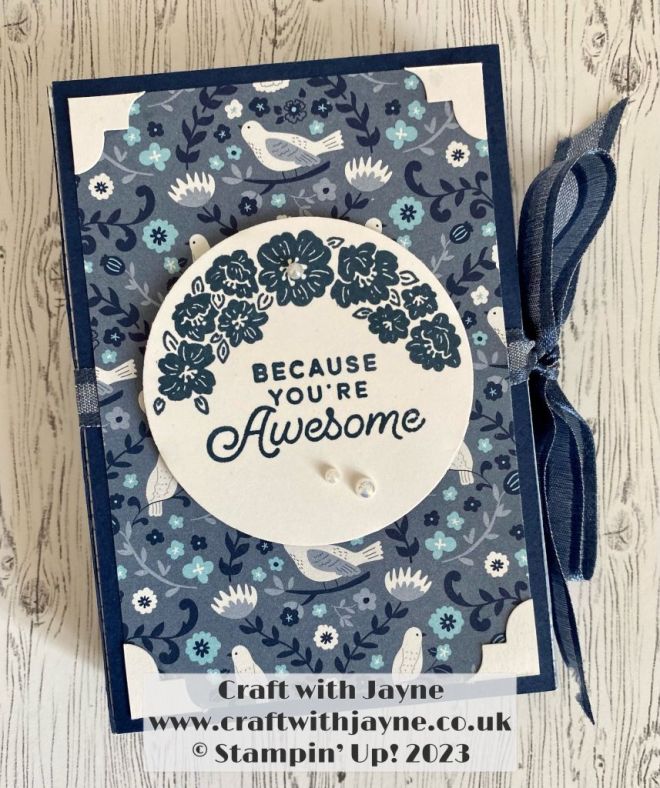
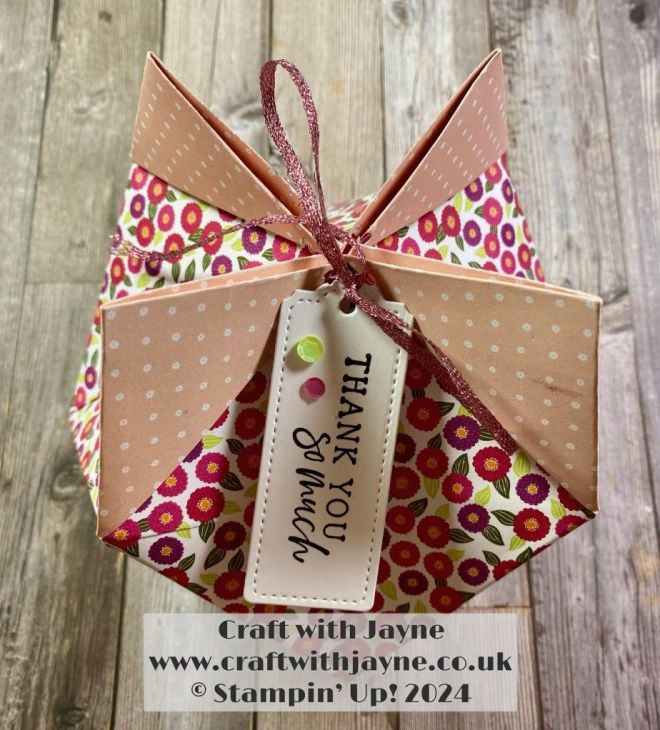
We have another colour joining the core range too…. Basic Beige! Sounds boring? I know…. But this is going to be so versatile… I think I’ll need to get another pack!
And look how beautifully it goes with Early Espresso!
I hope you enjoyed this project.
The supplies used are listed and linked to the online store below.
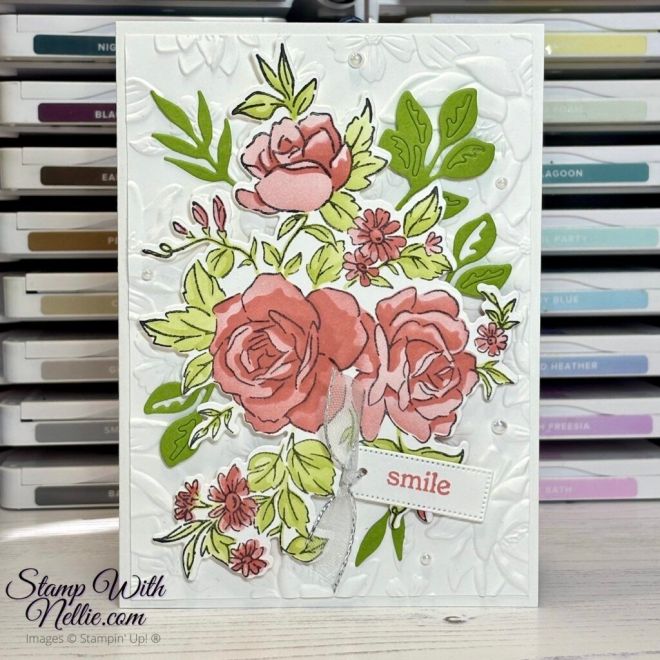
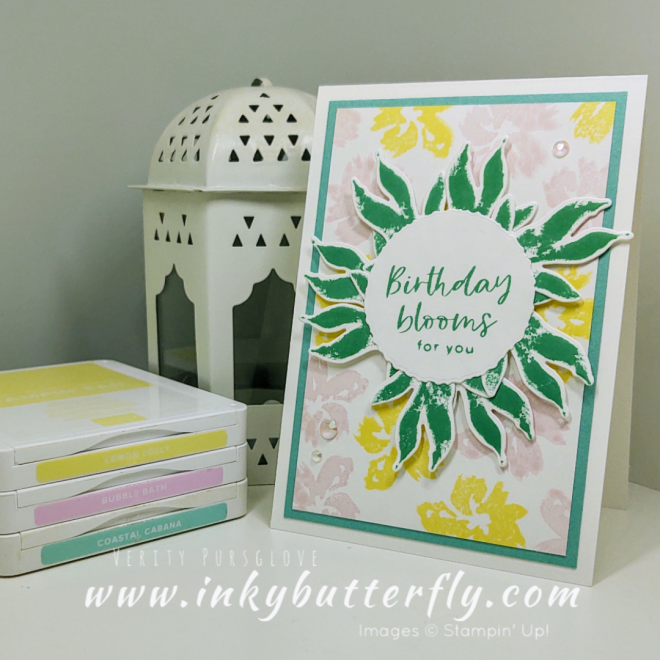
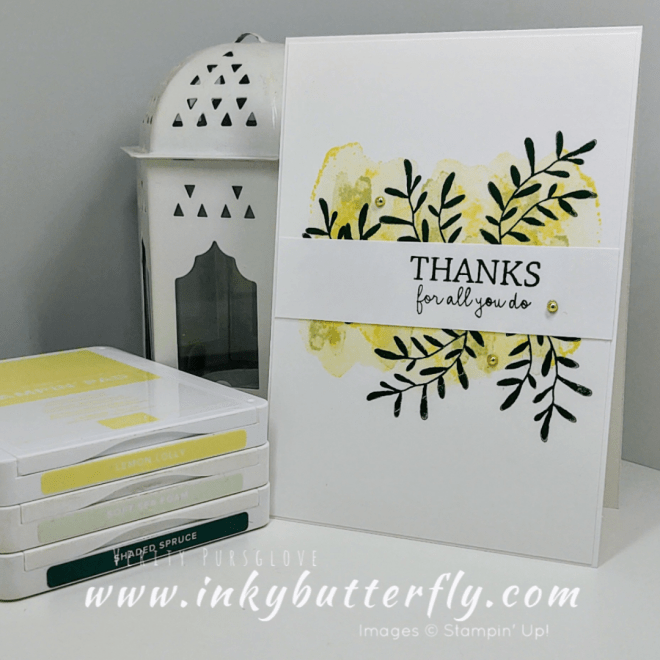
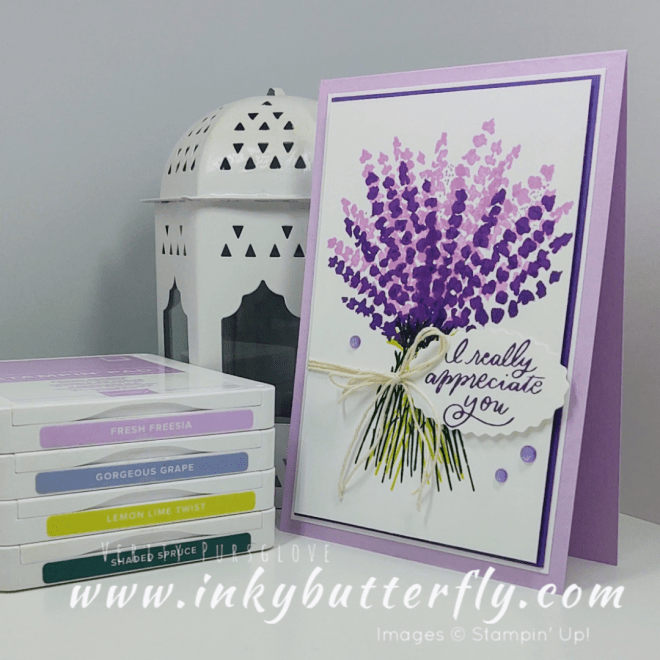
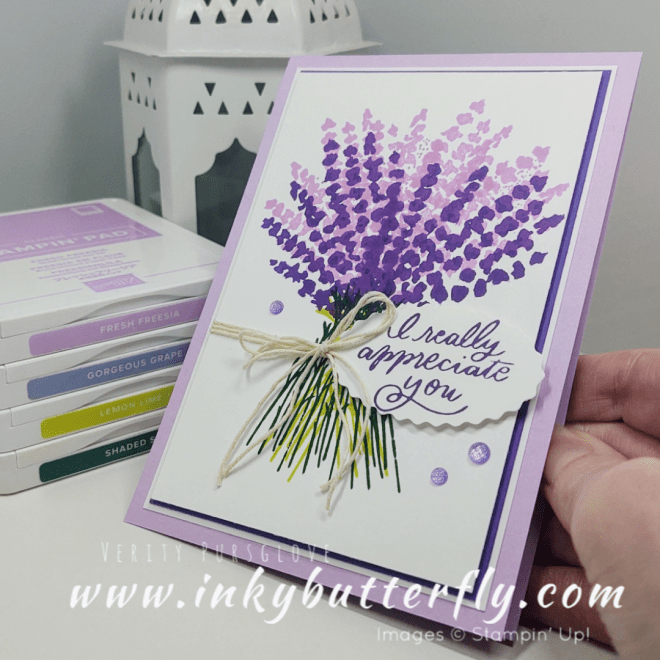
There’s still time to make the most of the Sale-a-bration promotion. This lovely stamp set has been added to the choice of products you can earn with a qualifying order!
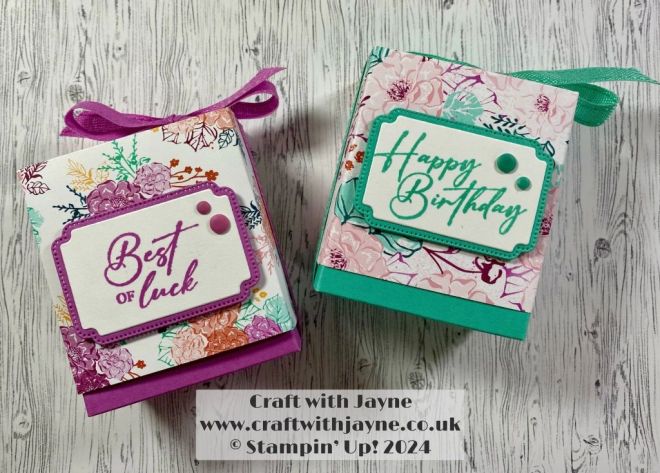
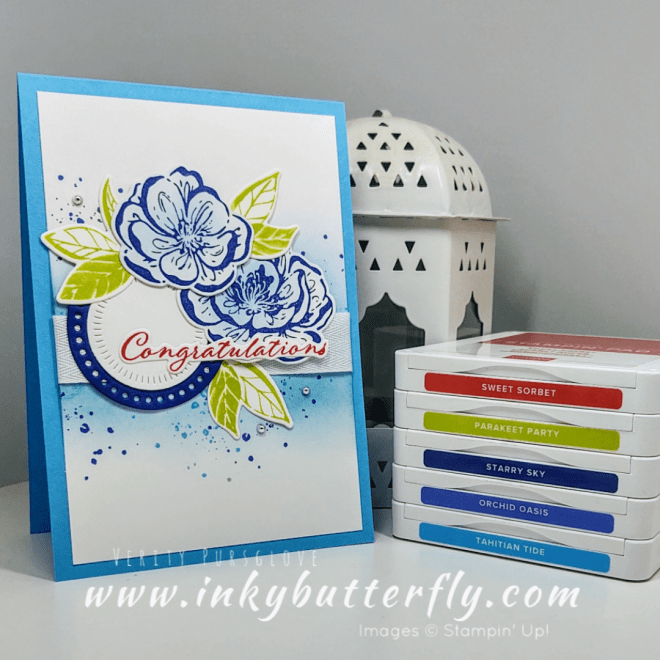
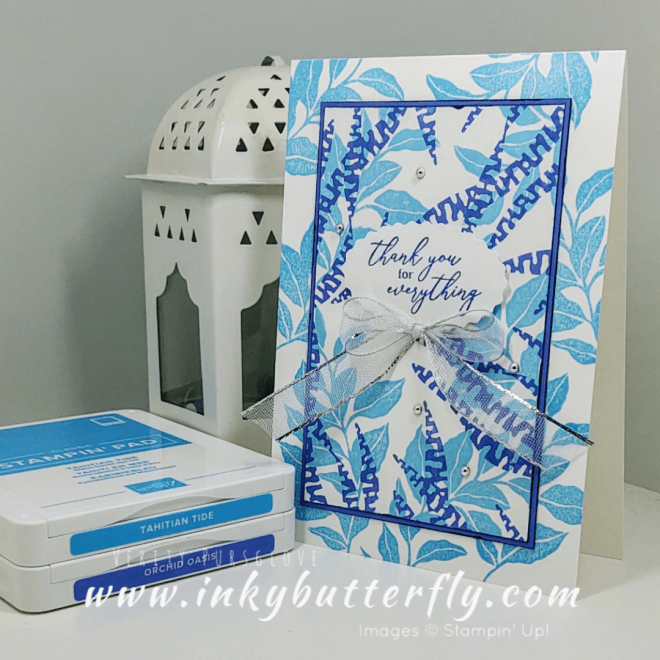
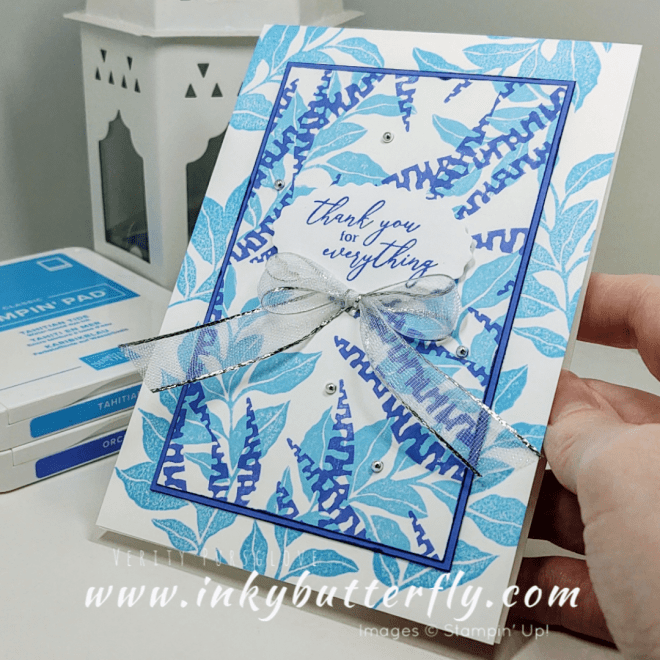
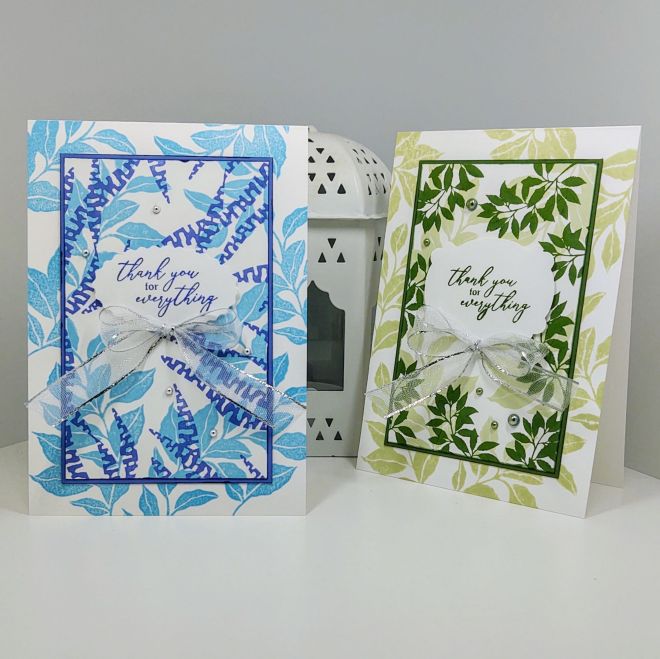
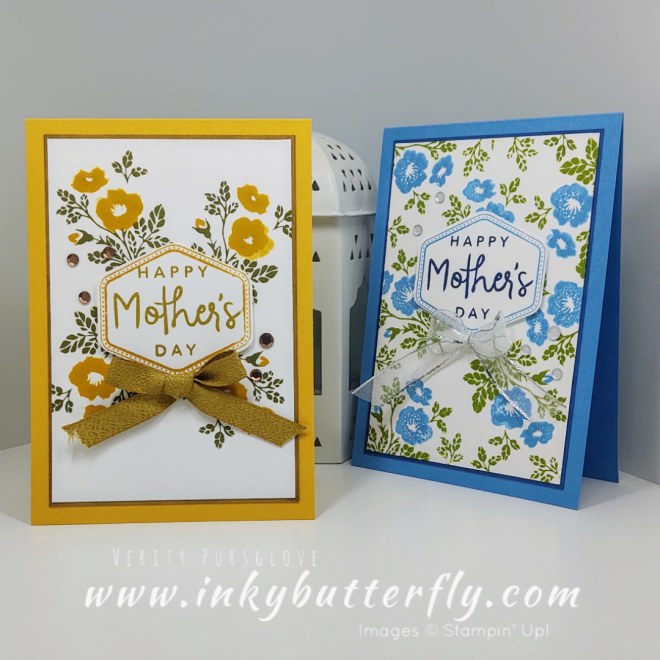
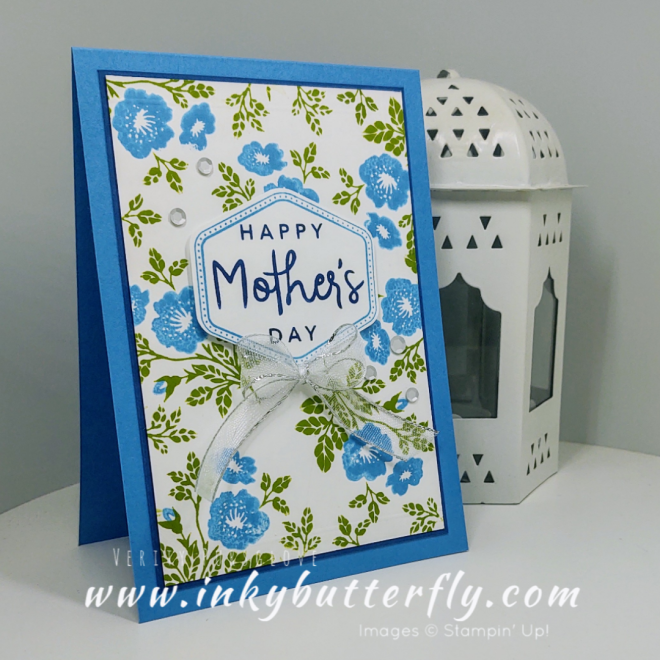
I’ve gone for a less traditional colour combination for this card – Tahitian Tide and Orchid Oasis!
Both these colours will retire when the new annual catalogue is published later this year.
You can see how I made this card in my video tutorial…
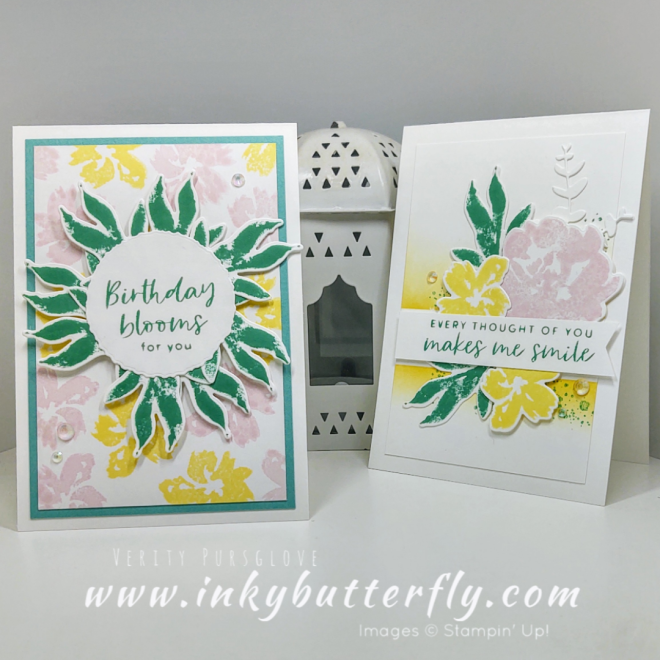
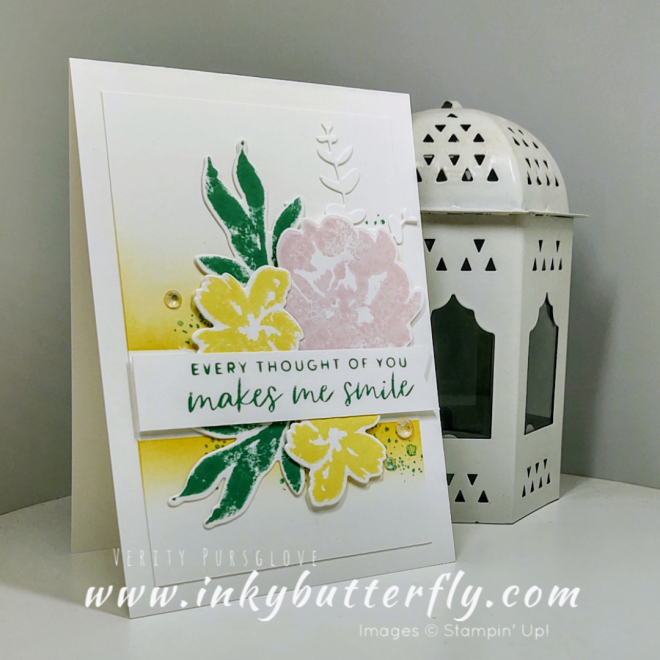
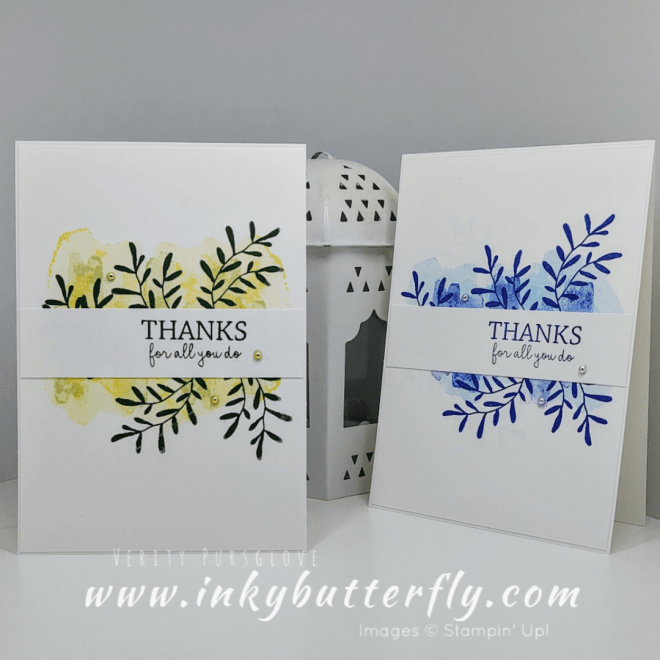
The green version uses Soft Sea Foam and Garden Green.
Both cards were embellished with sheer ribbon and some lovely coordinating pearls.
I hope you enjoyed this project.
The supplies used are listed and linked to the online store below.


")


")


")


")
")


")
")


")


")

")
")


")


")
")


")


")


")

")

")


")
")


")

