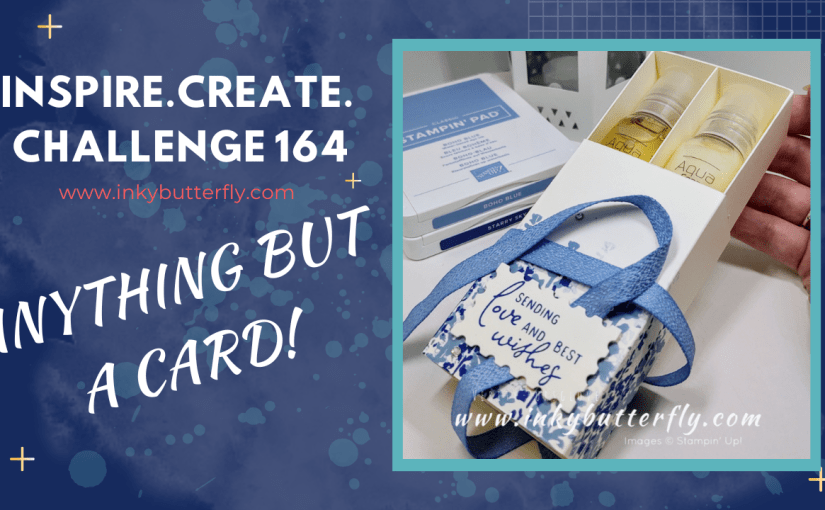
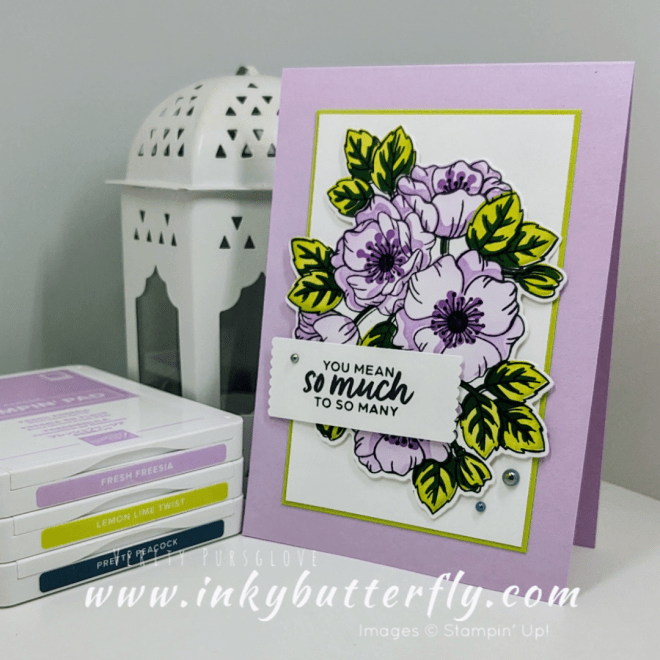
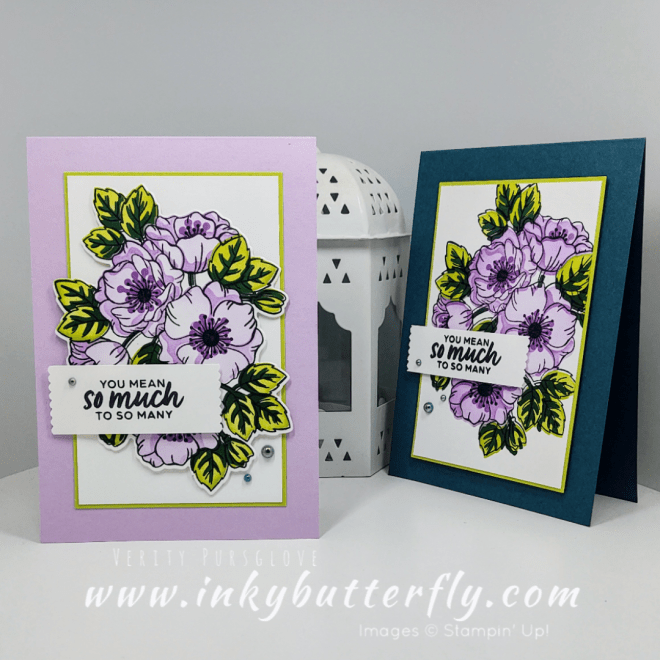
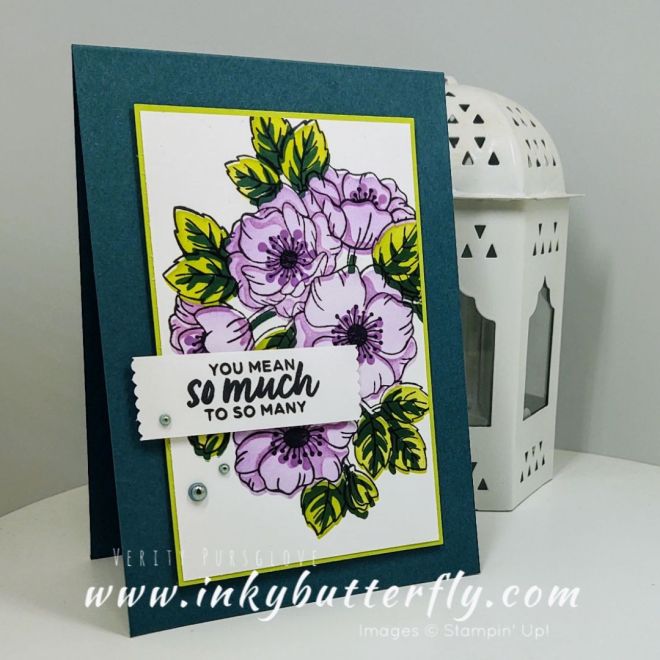
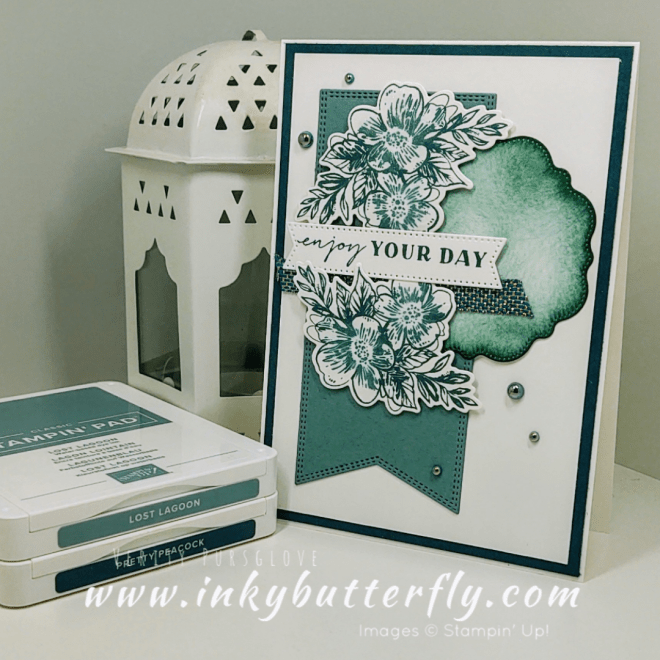
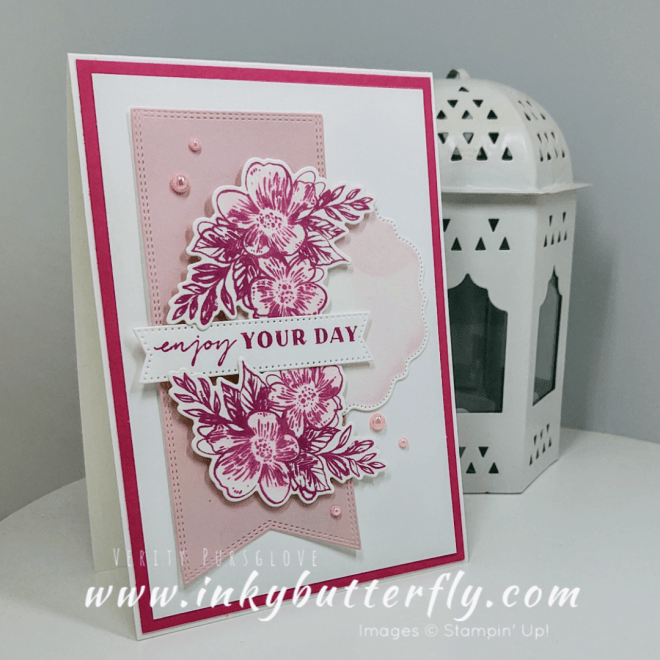
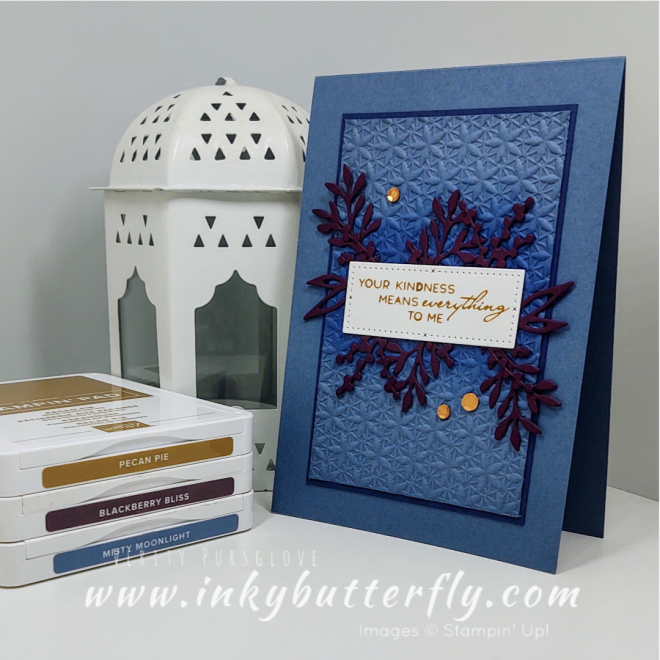
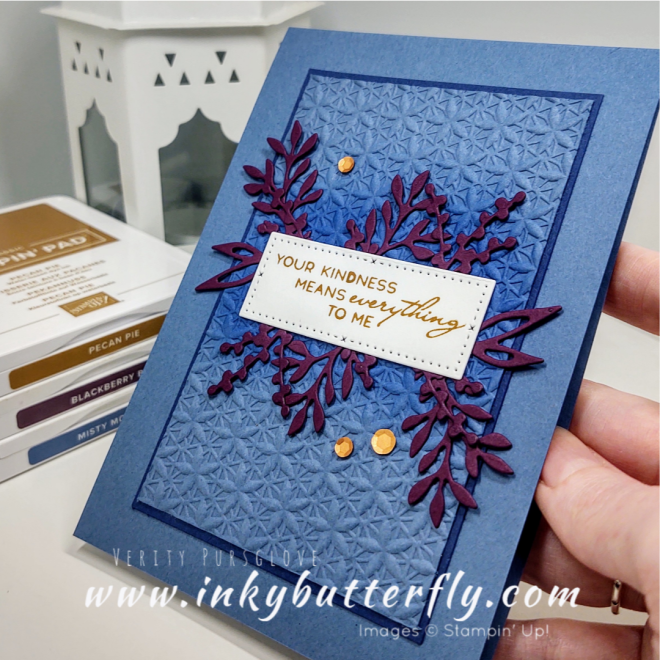
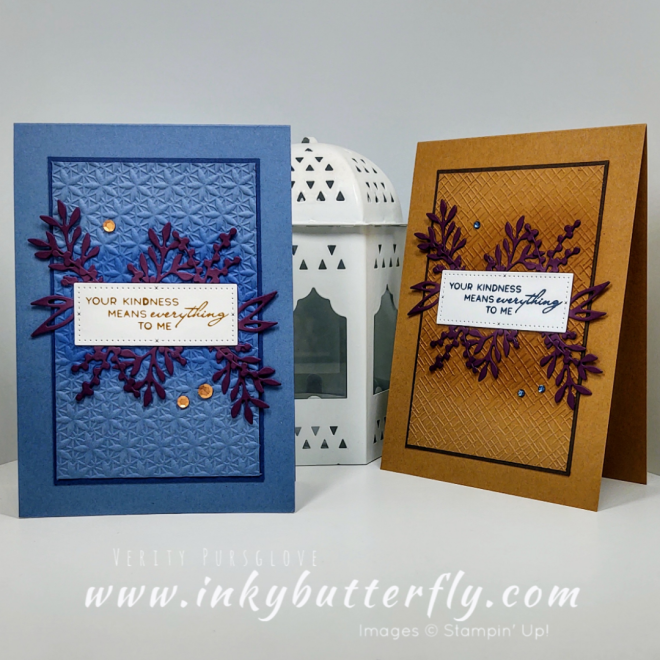
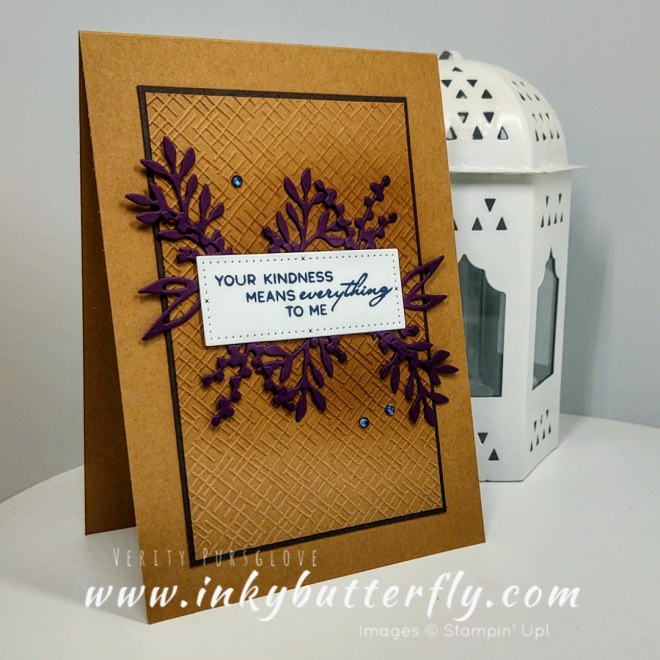
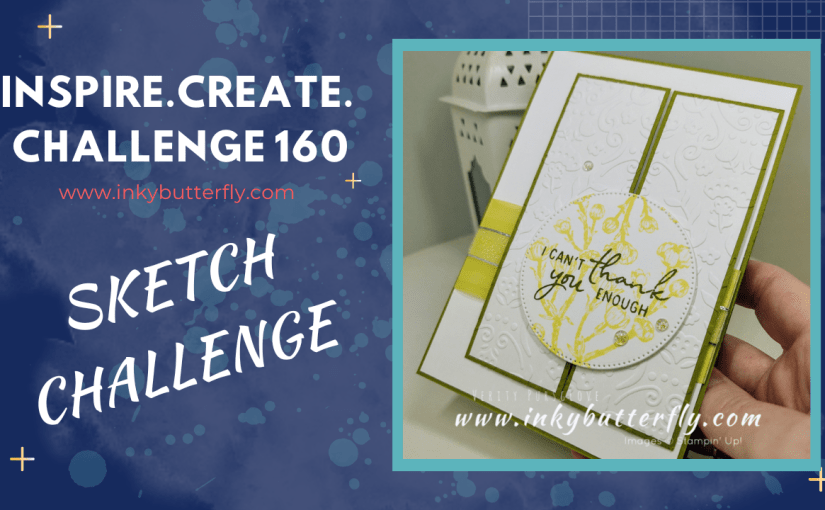
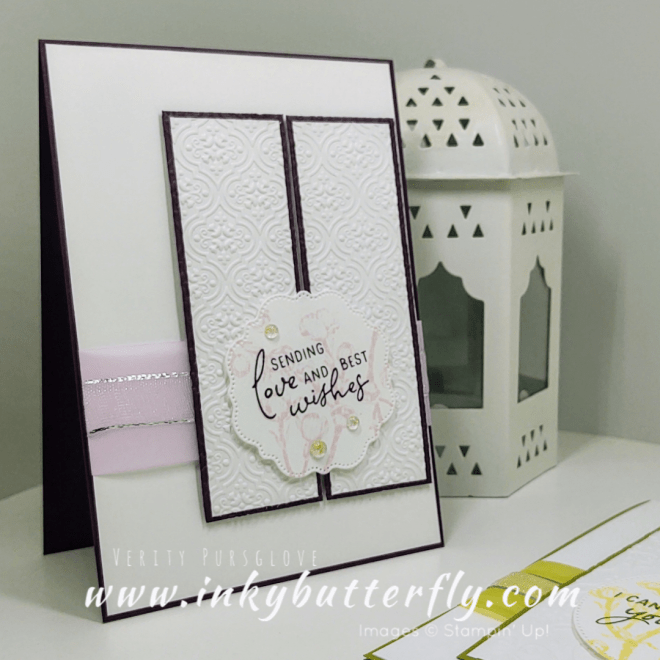
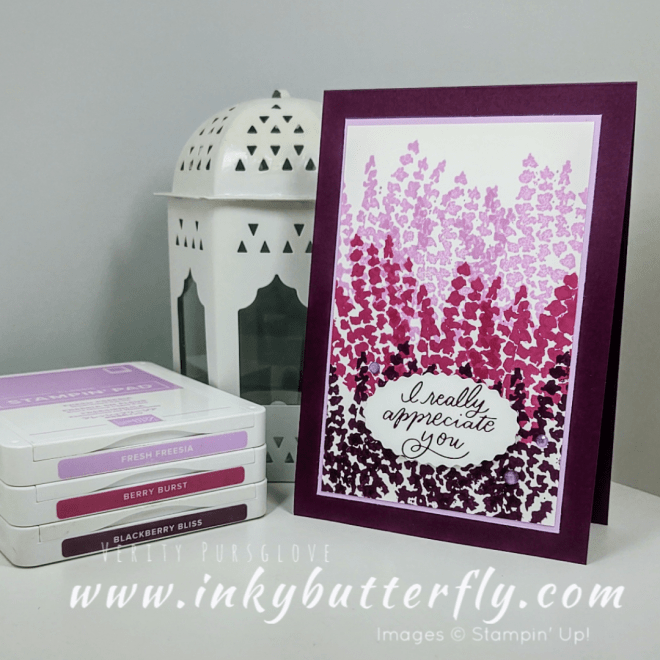
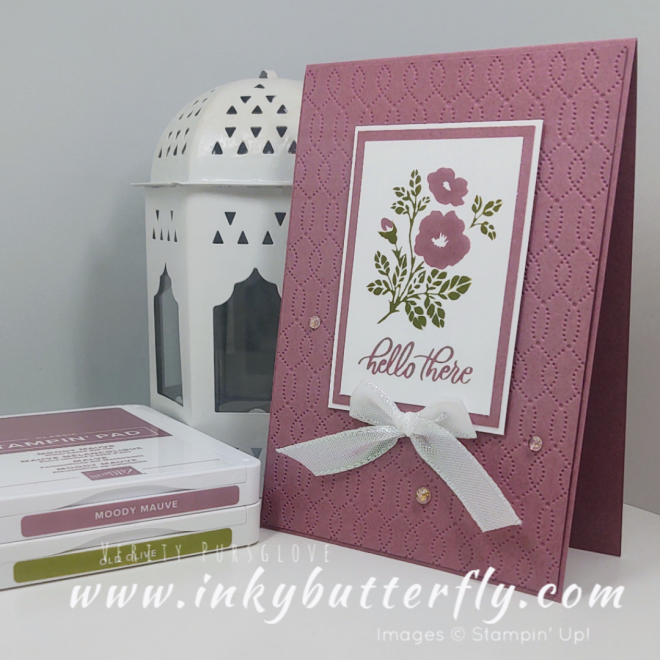
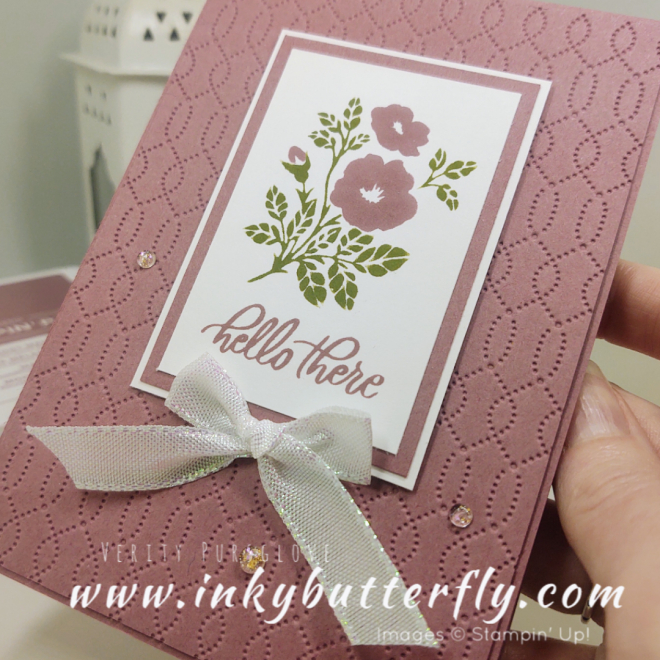
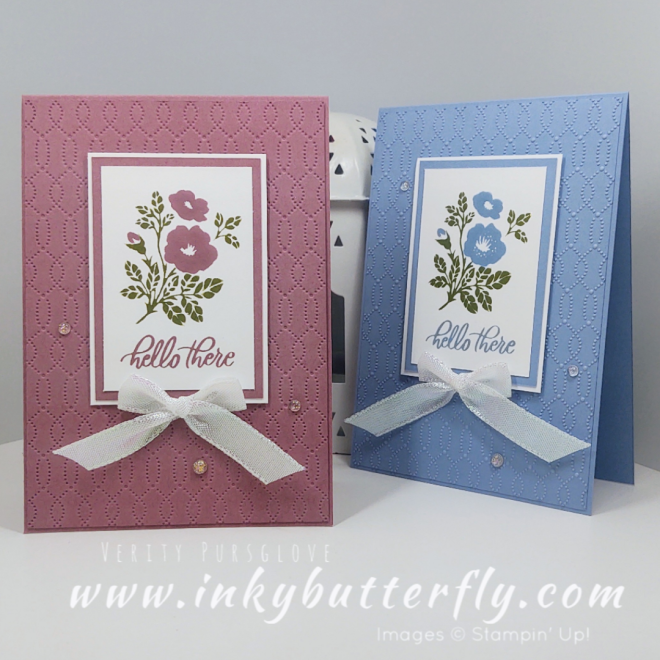
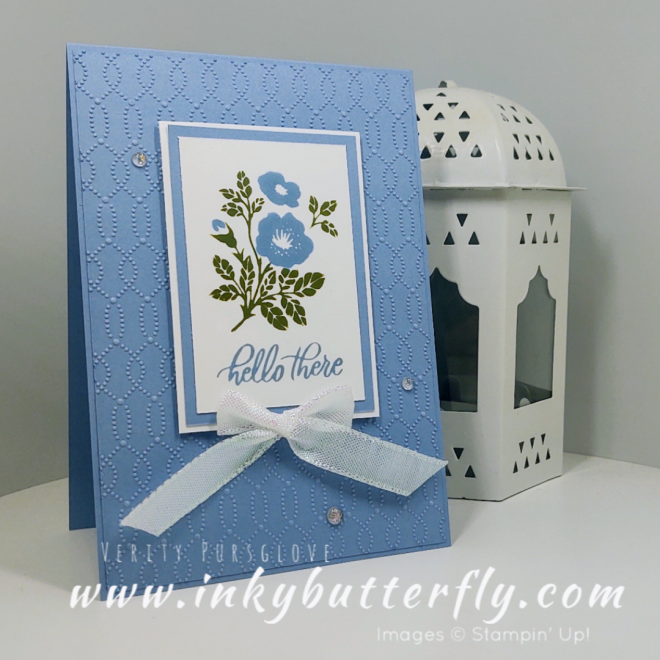
Today’s card is made for the latest Inspire Create Challenge!
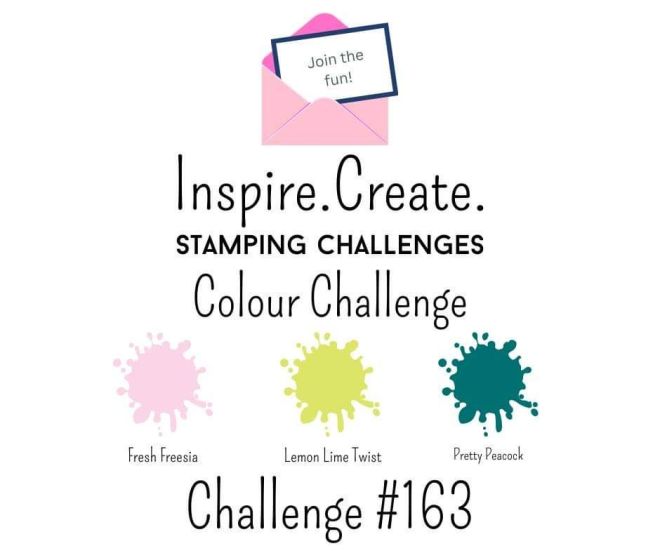
Challenge #163 is a colour challenge!
You can see the other design team projects and take part in the challenge by clicking below!
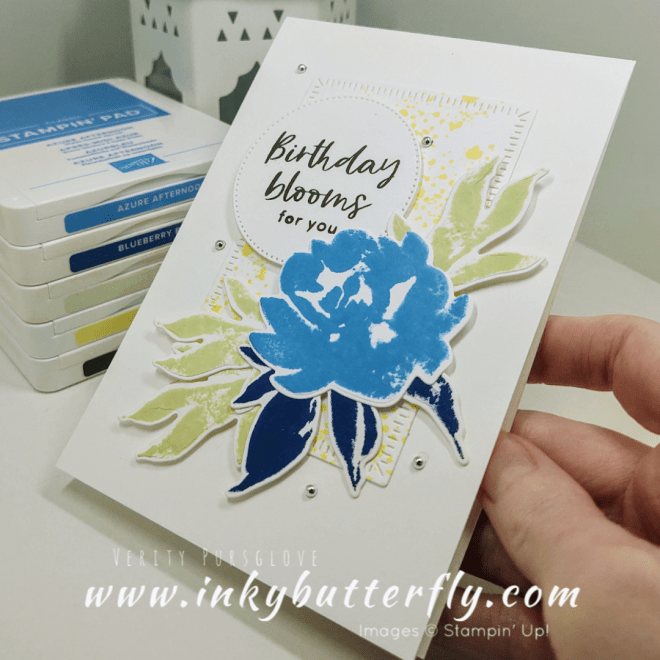
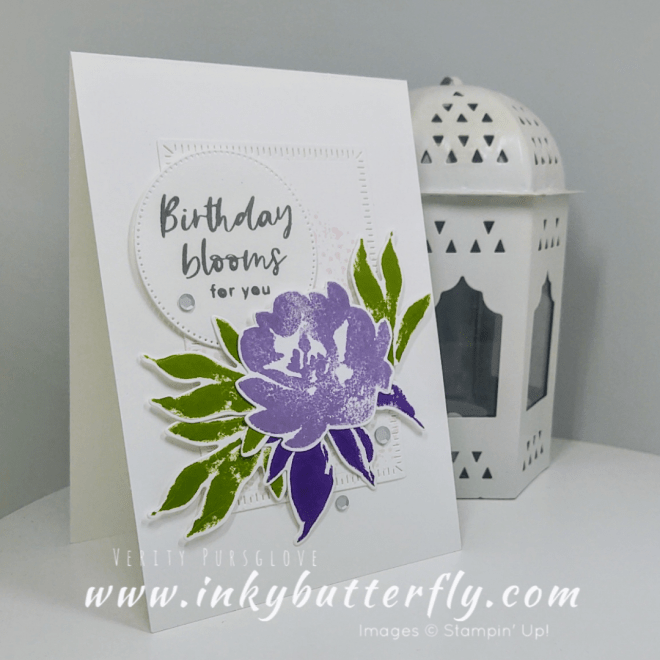
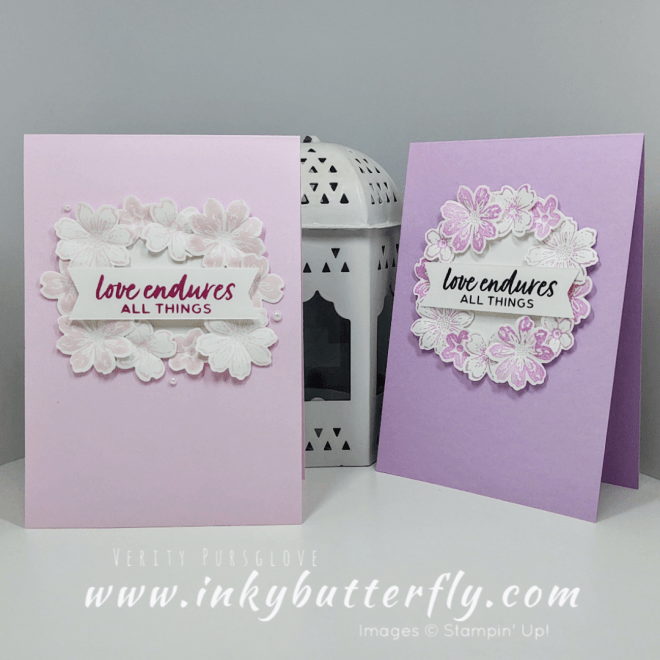
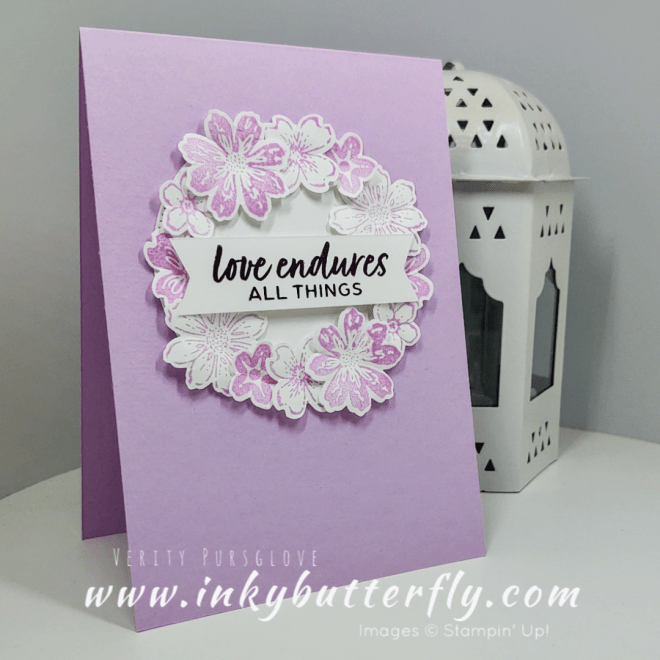
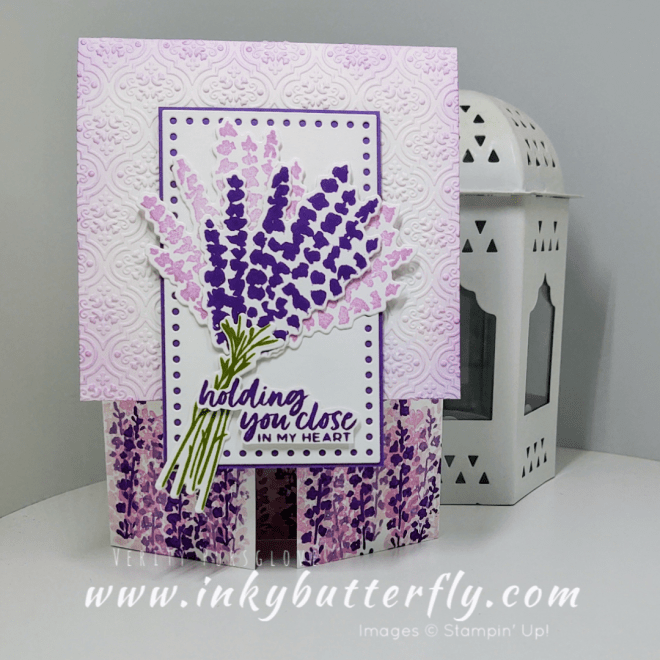
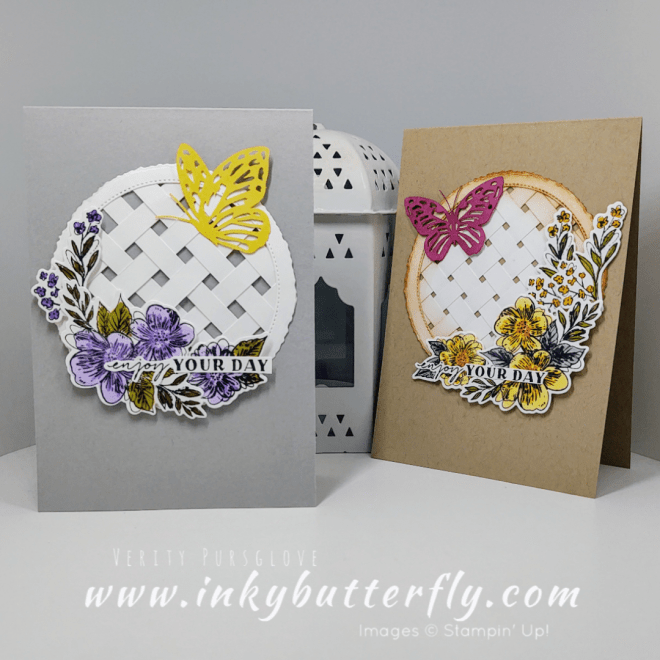
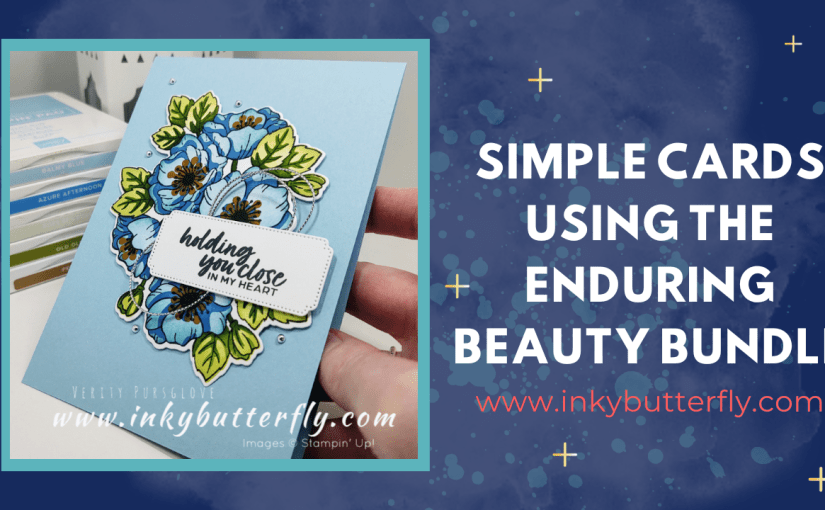
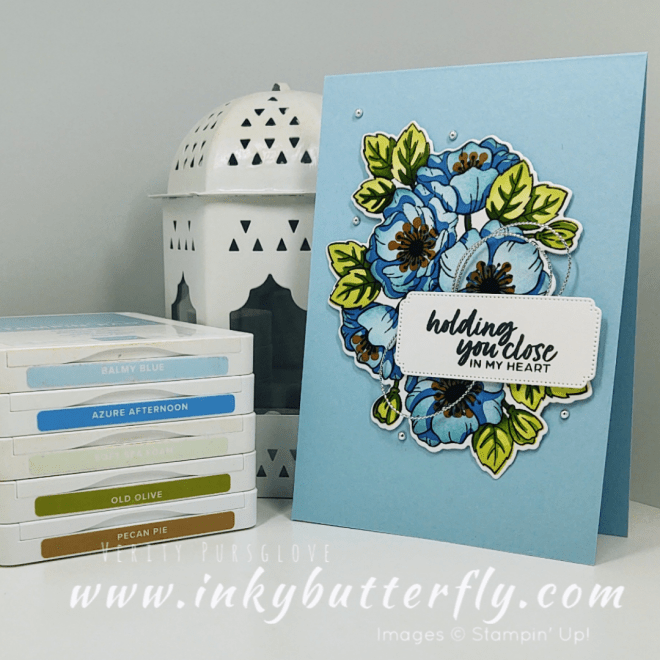
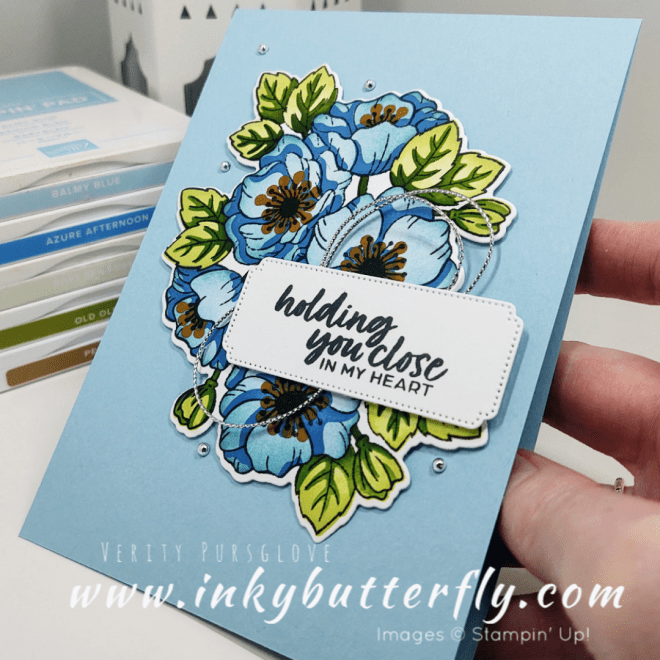
I’ve used Enduring Beauty Bundle to create my card project today. I am really enjoying using the Mask, Stamp and Die together to make gorgeous cards – and it’s so easy!
You can see how I made this card in my You Tube video tutorial….
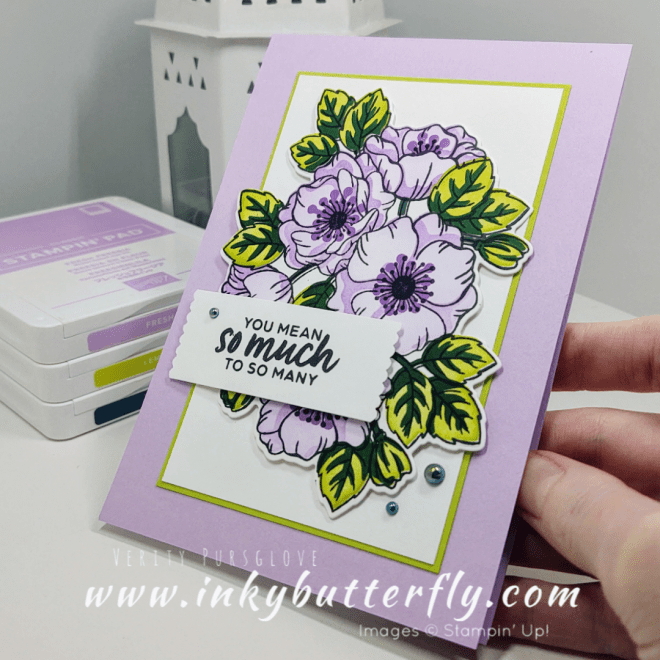
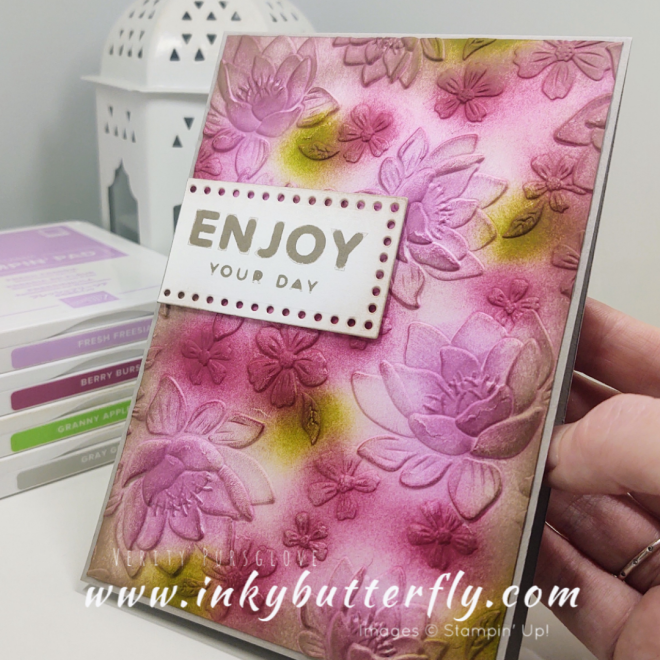
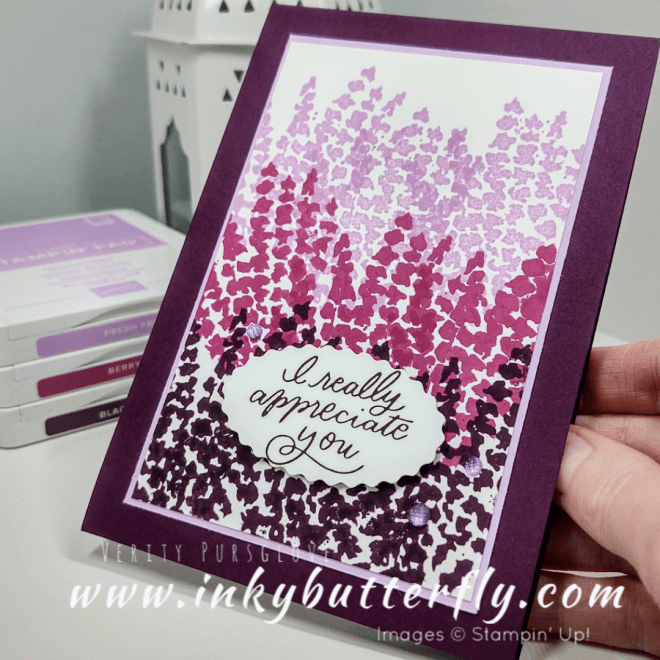
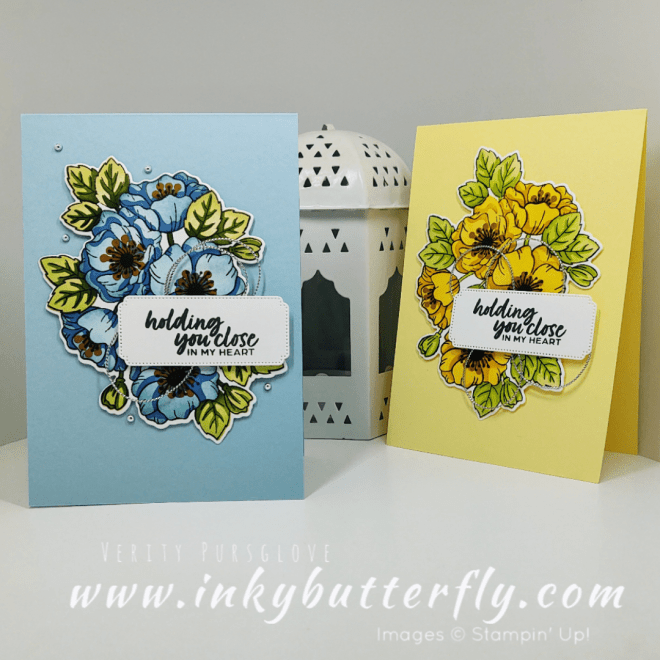
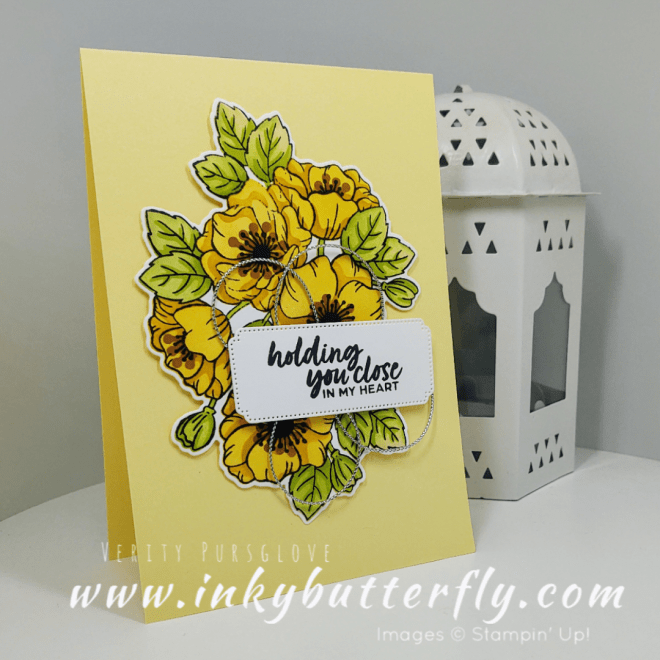
I love this colour combo, and it was perfect for this card. The Fresh Freesia ink was layered to create depth on the flowers.
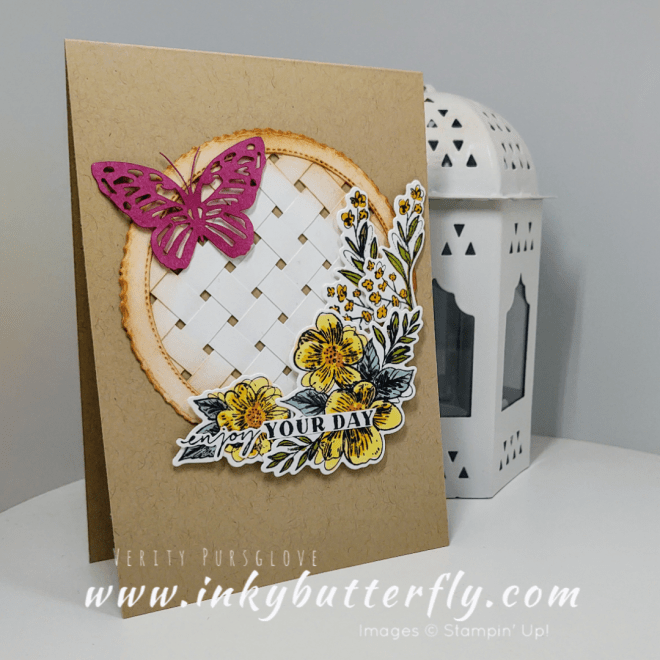
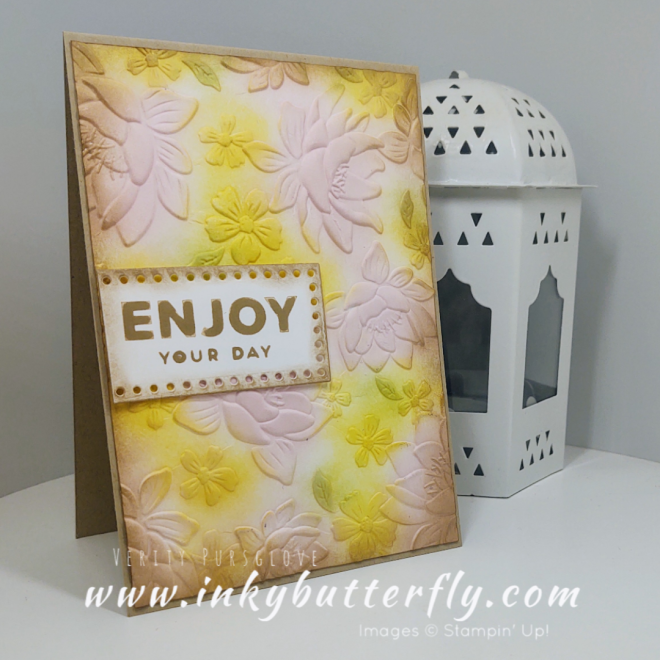
For this version, I didn’t die cut the image but just created a flat panel with clean edges for a different look.
I hope you enjoyed this project.
The supplies used are listed and linked to the online store below.
I don’t know about you, but I have a collection of scrap pieces of cardstock on my craft table including some long thin strips.
This card was made to help use up some of those strips.
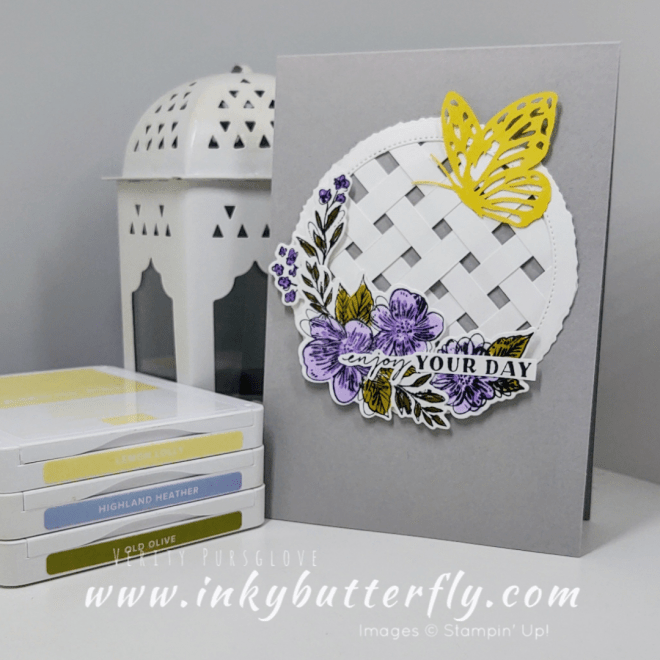
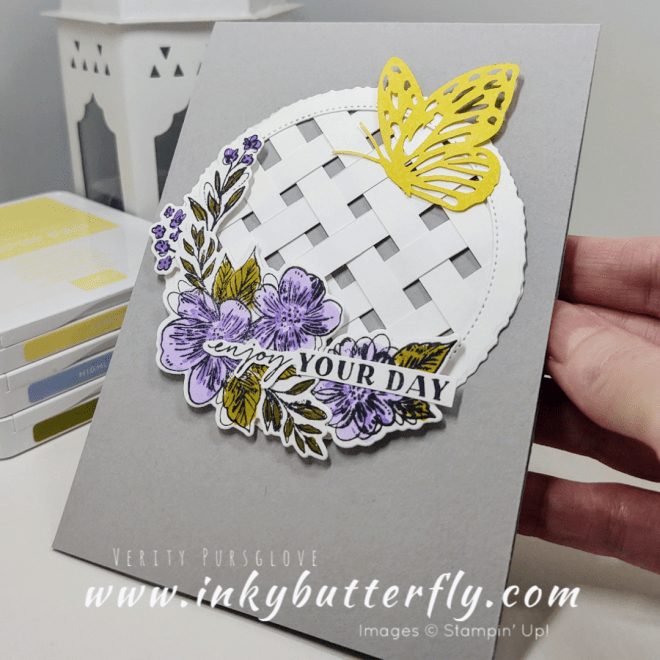
The circular frame was cut using the Stylish Shapes and Deckled Circle dies.
Strips were added to the aperture in one direction, then others were woven in from another.
It’s a little fiddly but worth the effort in the end.
You can see how I made this card in my video tutorial…
I decorated the rest of the card using the Thoughtful Expressions bundle and a paper butterfly. The butterflies come as a pack of 40, and as they are plain white, can be coloured however you like.
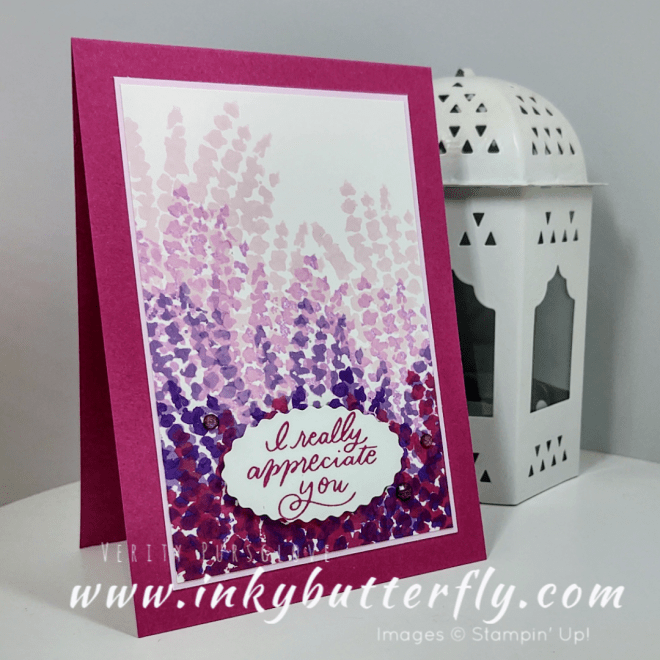
Here’s another version using different a different layout and colours!
I hope you enjoyed this project.
The supplies used are listed and linked to the online store below.
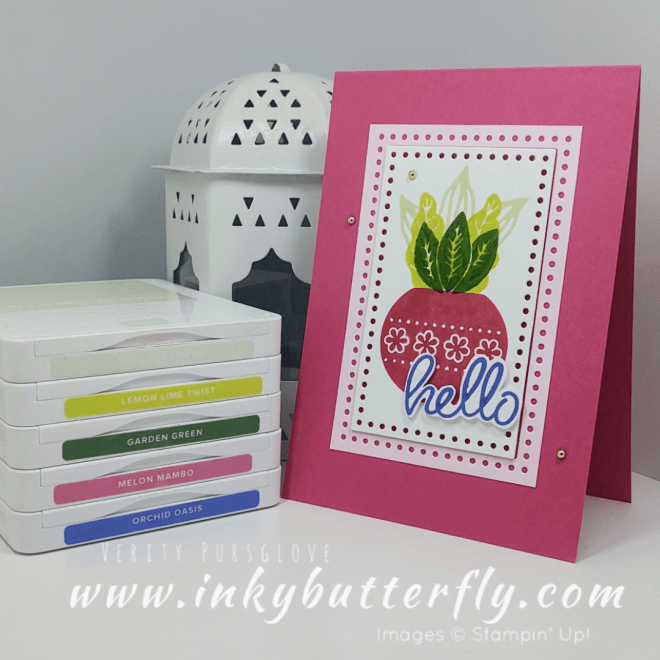
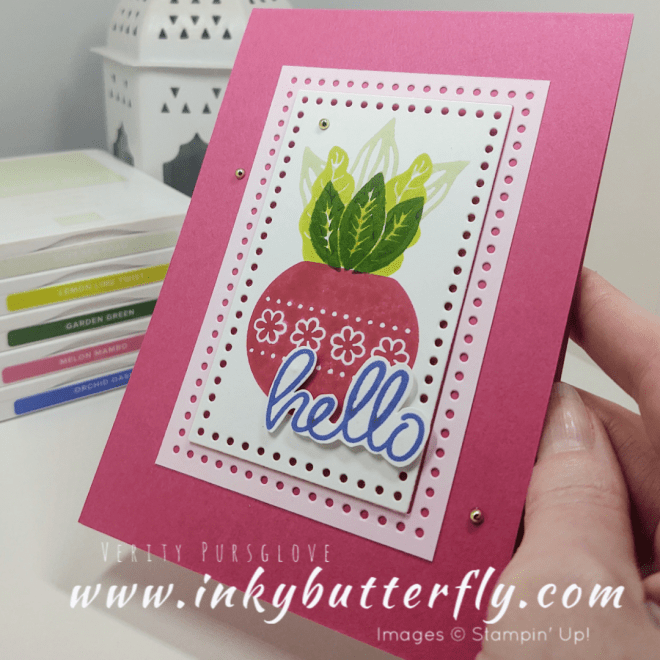
Today I’m #simplestamping again this time with the Planted Paradise Stamp set!
The card base was made using Melon Mambo cardstock. The matching ink was used for the plant pot, with Soft Sea Foam, Lemon Lime Twist and Garden Green for the foliage.
You can see how I made this card in my video tutorial…
I love the new Everyday Details dies which I used to stage the stamped focal point.
I chose to fussy cut the sentiment which I stamped with Orchid Oasis ink.
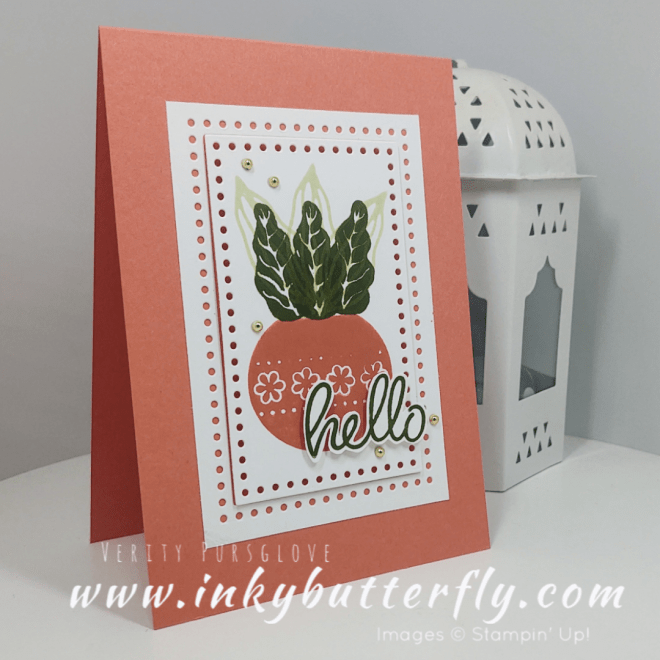
Here’s another version using Calypso Coral with Soft Sea Foam and Mossy Meadow.
I hope you enjoyed this project.
The supplies used are listed and linked to the online store below.
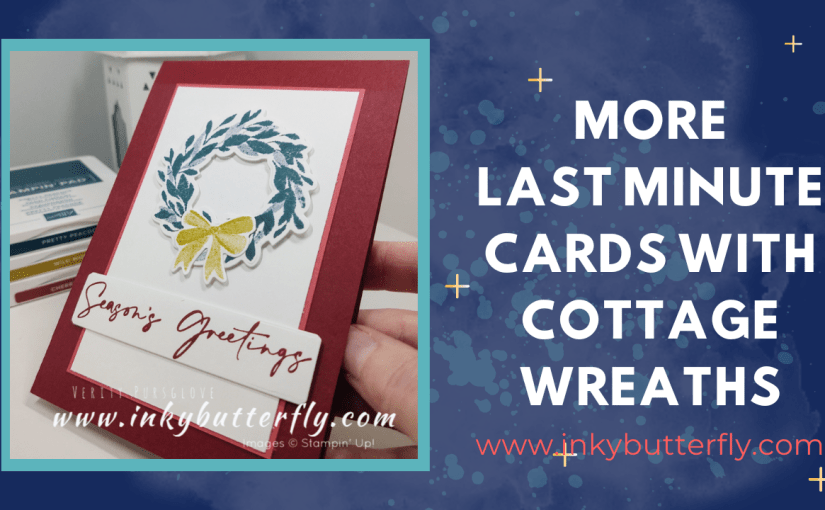
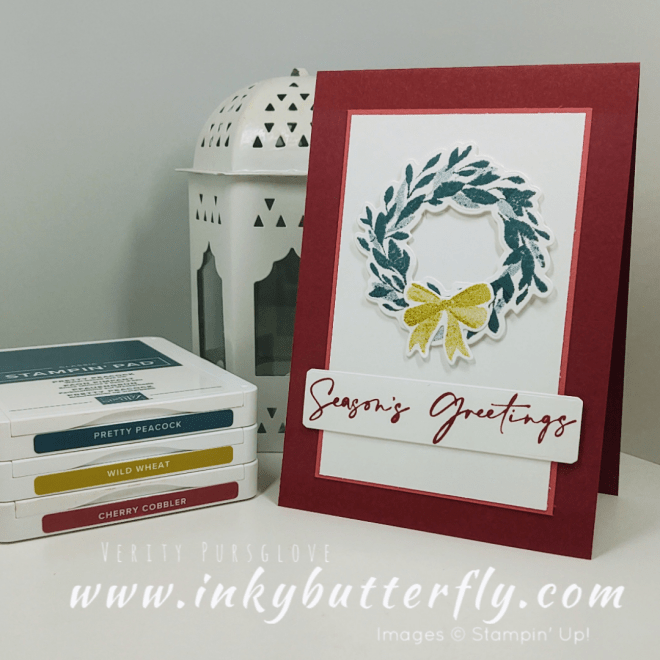
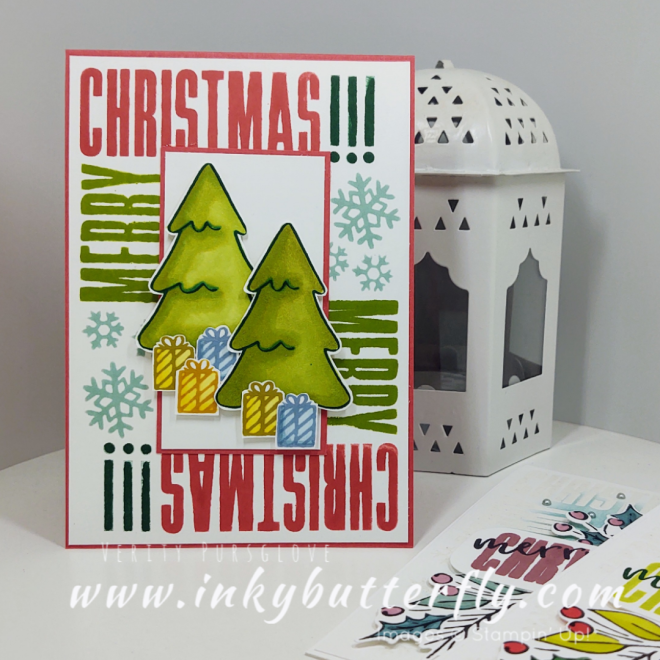
Are you ready for Christmas? I still have some things to do but it’ll come together I’m sure! 🤞🏻. This batch of cards should finish off what I need on that front at least.
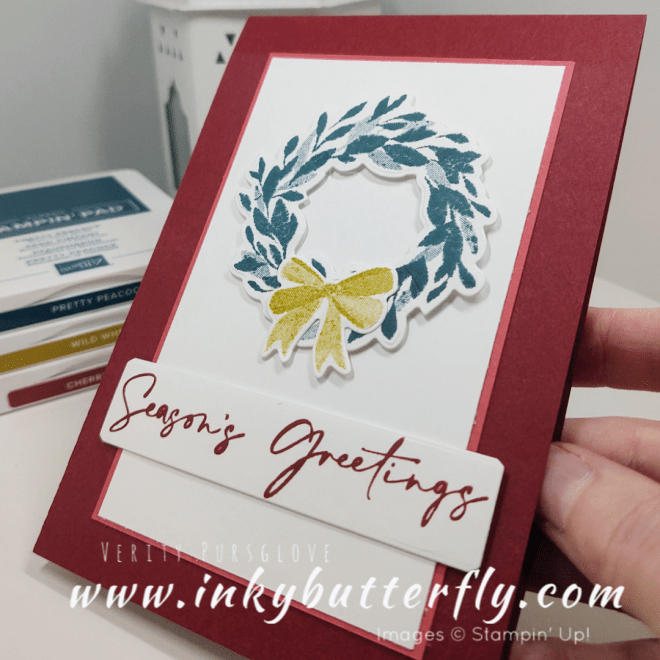
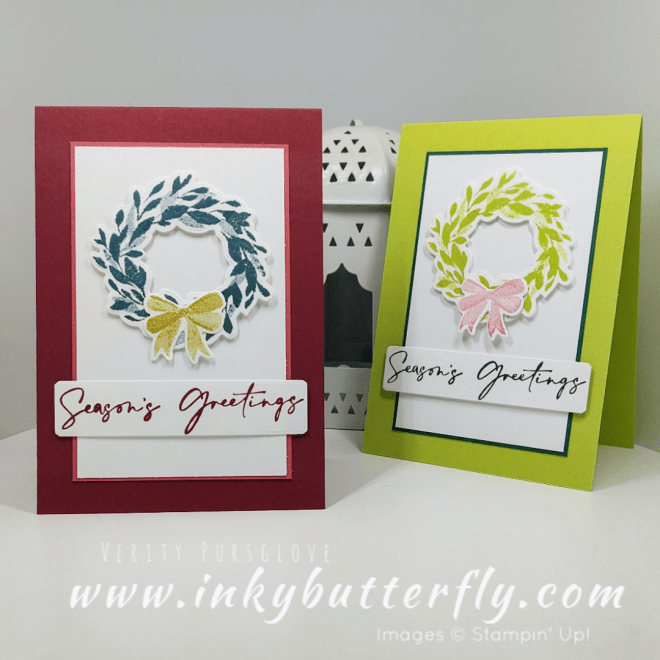
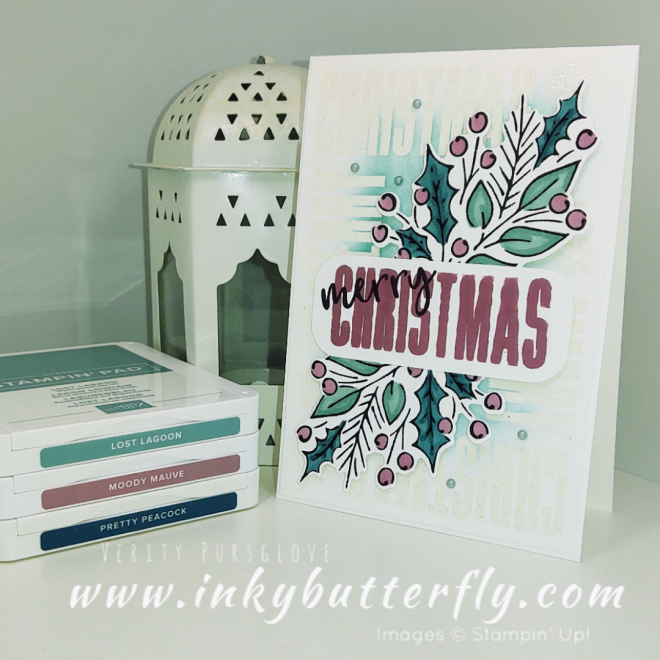
I love this combination of Cherry Cobbler, Pretty Peacock and Wild Wheat. There’s some Sweet Sorbet in there too for the mat layer.
I needed 5 mini card layers and mats, which can be cut from a single sheet of cardstock.
You can see how I made this card in my video tutorial…
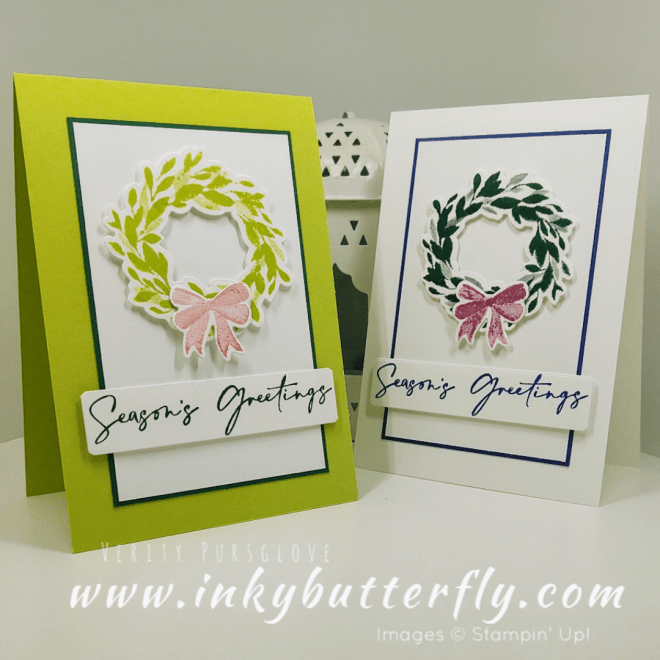
My original card was a brighter palette of Parakeet Party, Shaded Spruce and som Real Red.
The same layout looks so different in each of these colourways….
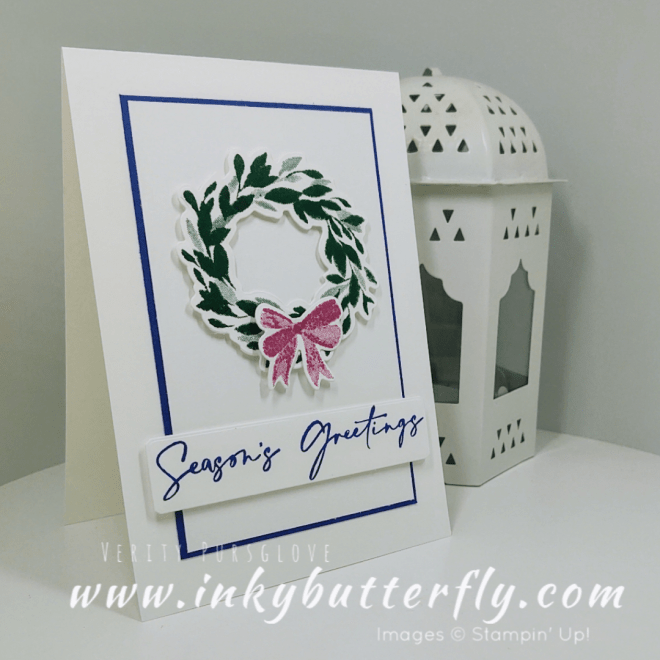
Here’s something a little plainer, with Starry Sky layers and Berry Burst bow!
I hope you enjoyed this project.
The supplies used are listed and linked to the online store below.