Good Morning!
Yesterday I showed making card fronts from your designer paper. Today I am making envelopes and treat wraps. These projects are not unique, I have taken inspiration from many sources.
For the envelopes, I have used the fantastic envelope punch board tool.
I have made 5 of each size, using alternate sides of the designs.
The larger size uses 6 by 6 inch paper. Punch and score at 2 5/8. This will fit a 3 by 4 inch card.
The smaller size uses 5 by 5 inch paper. Punch and score at 2 3/8. This will fit a 3 by 2 1/2 inch card, or a gift card.
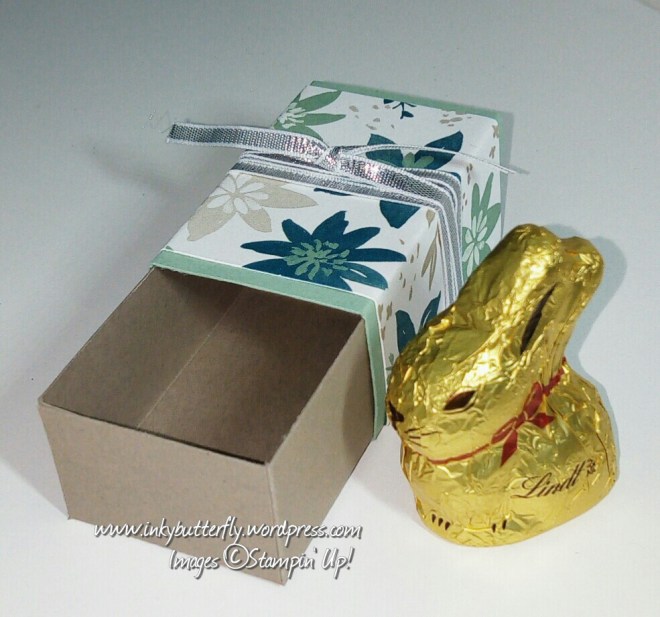
There are many different sizes of envelope that can be created with this tool…but it is also possible to create boxes and other projects. A box example can be viewed in the archive, in the Malteser treat box post.
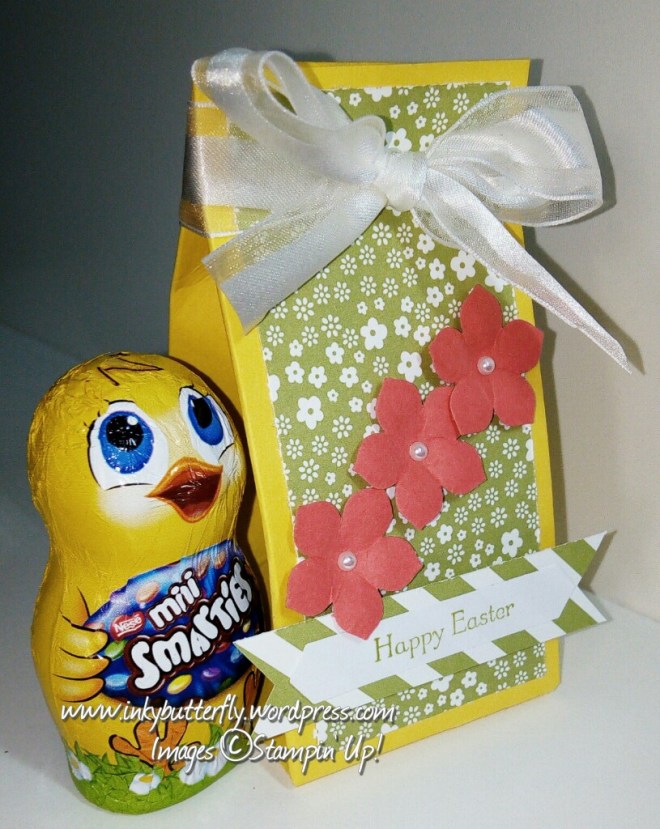
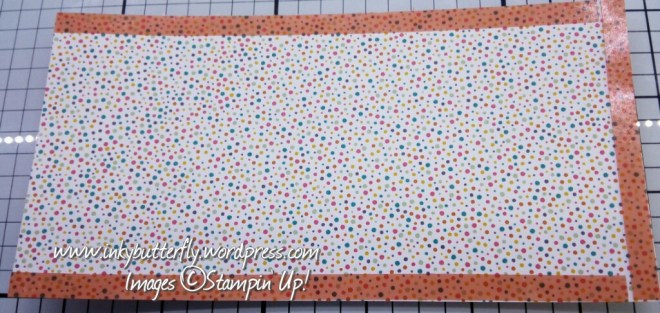
Here are some other treat wrap ideas.
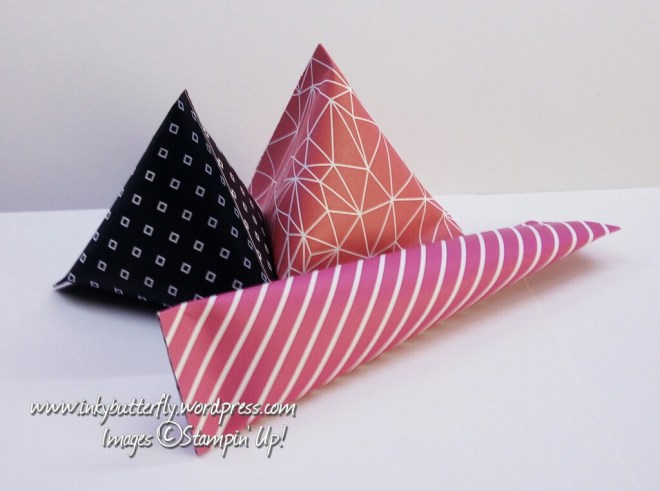
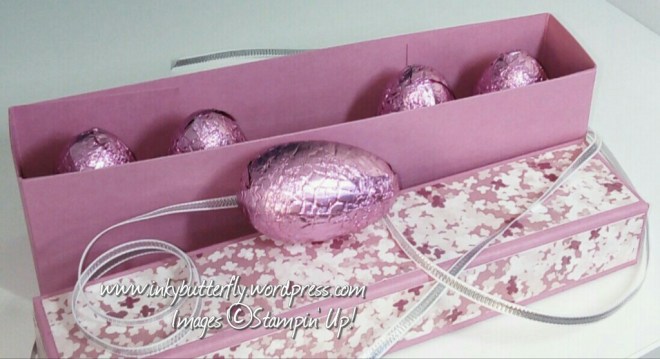
“Sour cream” containers are very easy to make. Both of these styles were made with 6 by 3 inch pieces of paper.
Start by adding some strong adhesive tape to 3 sides of the paper. Here the short side has been skipped. This creates the short fat container. If the long side was skipped, the result is the long skinny container… The choice is yours.
Remove the tape backing from the side opposite the skipped side only. Wrap the paper in to a tube.

Next remove backing from one end od the tube and press together and add your goodies! I had chocolate eggs lying around.

Close the open end in the opposing direction to finish the container. Of course these could be decorated with a tag or ribbon if desired.
Using 6 by 2 scraps I made these wraps.
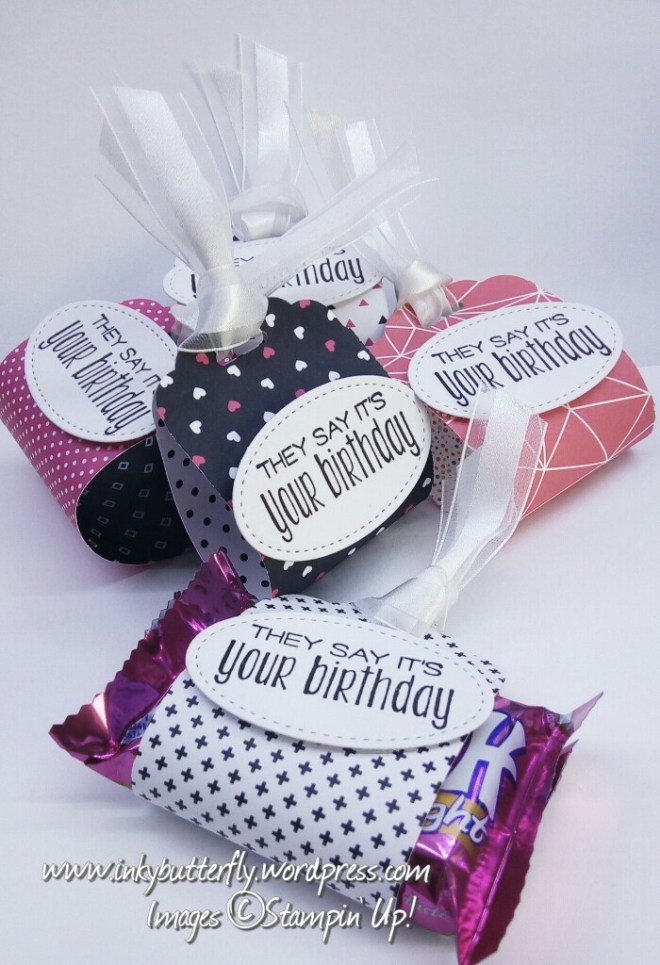
By punching both ends with the Scalloped Tag Topper punch, it was easy to thread ribbon through to make these. I added a sentiment from Suite Sayings.
I was able to fit all sorts of things inside them.

I hope this has been helpful. Tomorrow I will be showing boxes and gift bags.
As always supplies listed and linked below. Please note: some items are retiring and may already be sold out. You can see the retiring products here.
Want to see the new catalogue? You can if you join Stampin’ Up! More information can be found under “links” in the menu.
Product List
|
Pop Of Pink Specialty Designer Series Paper [141648] £11.75 |
[133774] £18.00 |
|
[133324] £21.00 |
Whisper White 5/8″ Organza Ribbon [114319] £5.50 |
|
Suite Sayings Clear-Mount Stamp Set [140712] £19.00 |
Stitched Shapes Framelits Dies [145372] £27.00 |
|
[138995] £6.25 |