Hello again,
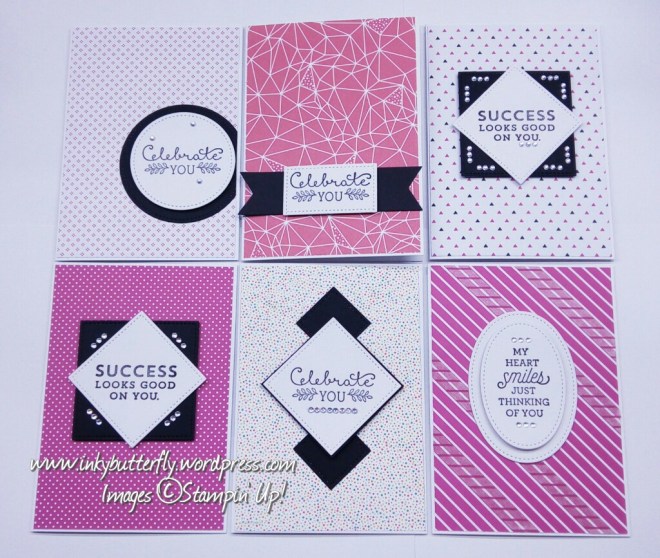
Now is the time to use up retiring designer paper, but what can you make? Using a single pack of 12 by 12 paper and matching washi tape…. I am using Pop of Pink, black and white card stock, a stamp set, a black ink pad, a set of framelits, ribbon and gems there is plenty to create.
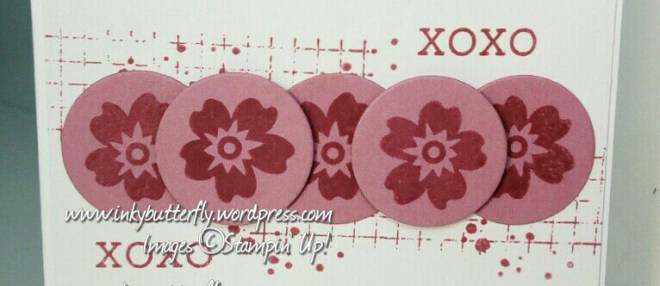
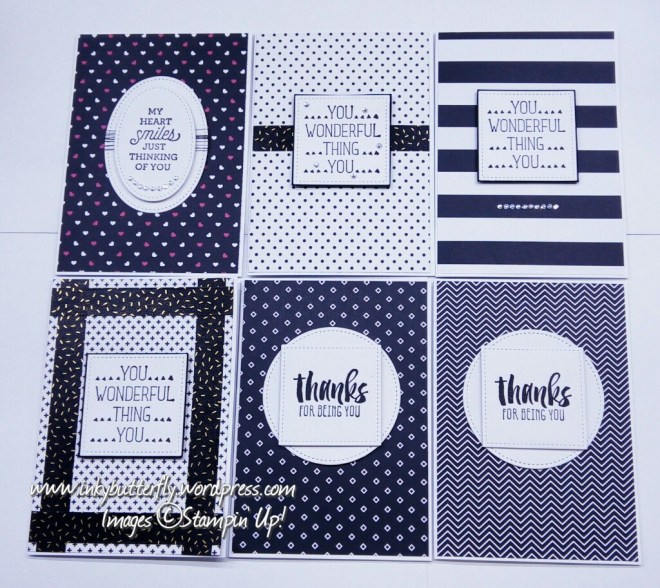
Today it is cards. These are all A6 in size.
Cut paper panels to 4 by 5 3/4. There a 6 double sided patterns, to make 12 different card fronts.
The sentiments all come from Suite Sayings and were stamped in black ink. All were cut out using an appropriate Stitched Shape framelit.
Add some bling and these are finished. Super quick and easy.
This method applied to all the designer paper would create 36 cards! But I will show some other things to make tomorrow.
Supplies used are listed and linked below. Please note: Designer paper is retiring and may no longer be available.
Product List
|
Pop Of Pink Specialty Designer Series Paper [141648] £11.75 |
Pop Of Pink Designer Washi Tape [141649] £7.25 |
|
[121688] £7.25 |
[106549] £8.25 |
|
Basic Black Archival Stampin’ Pad [140931] £6.50 |
Stitched Shapes Framelits Dies [145372] £27.00 |
|
Rhinestone Basic Jewels Embellishments [119246] £4.50 |
Whisper White 5/8″ Organza Ribbon [114319] £5.50 |
|
[129722] £27.00 |
Suite Sayings Clear-Mount Stamp Set [140712] £19.00 |