Hi Crafters,
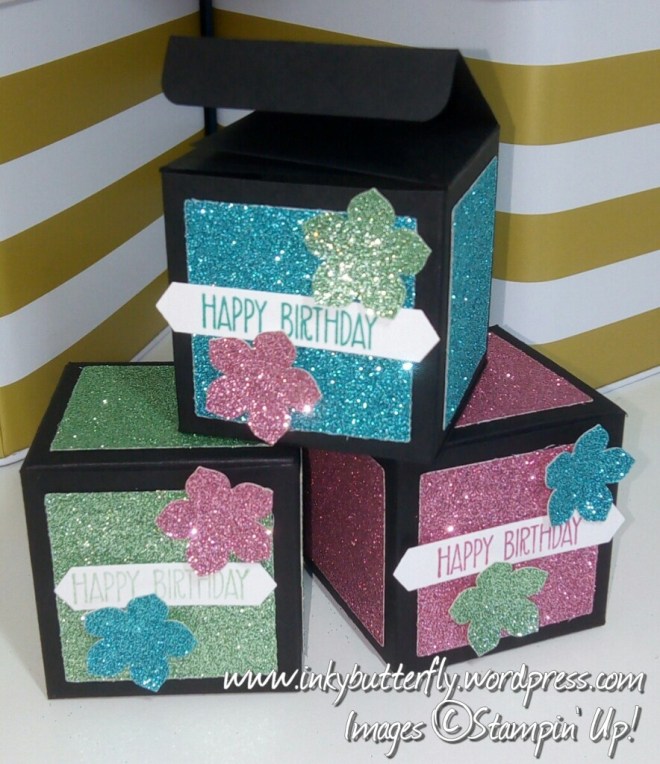
I have a 3D project for you today. Aren’t these SO cute!
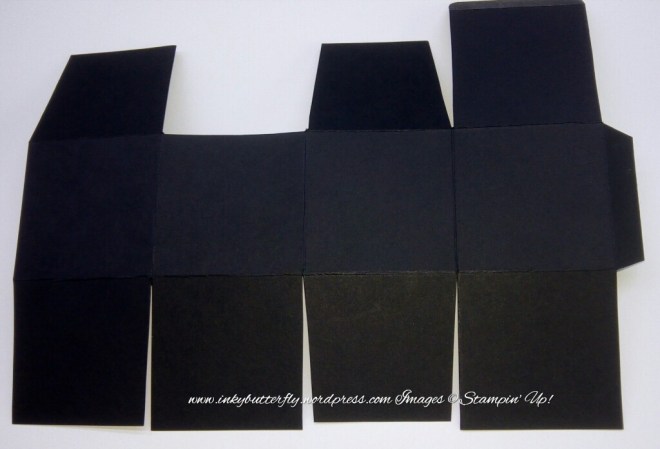
To make the box, start with a piece of Basic Black card cut to 8 1/2 by 6 1/2 inches.
Score the long side at 2, 4, 6 and 8 inches.
Score the short side at 2, 4 and 6 inches.
Cut away card stock as illustrated in the photo below. Note that at the bottom only the 1st and 3rd sections have been wedged so that the base remains neat and completely square when completed.
Using the Layering Square framelit #7, (counting in from the largest), cut 5 glimmer squares. Add these onto the 4 sides and lid of the box.
Add fast fuse to the tab, (right most on the photo), and wrap around to form the box. Fold in the side flaps, rear flap and then secure using the front flap in place with fast fuse.
Stamp the sentiment with coordinating ink and punch out using the Classic Label punch. Adhere to the box with glue dots.
Finally, punch out 3 glimmer flowers with the Petite Petal punch and adhere with glue dots.
Here are some of my other projects made using glimmer paper. Some of these have featured on my blog over the last few days.


Product List

|

|

|
|

|
|

|

|

|
 Glimmer Paper Assortment Pack")


