Good Morning Crafters,
I am excited to be introducing NEW products coming your way from 1st June.
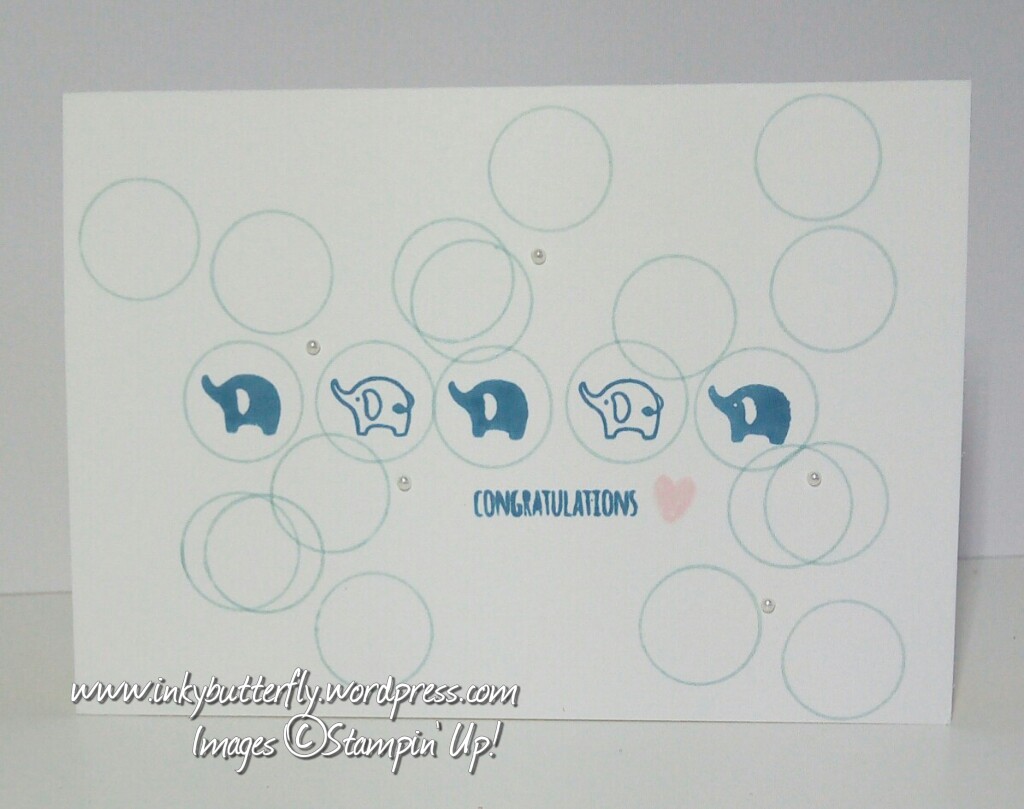
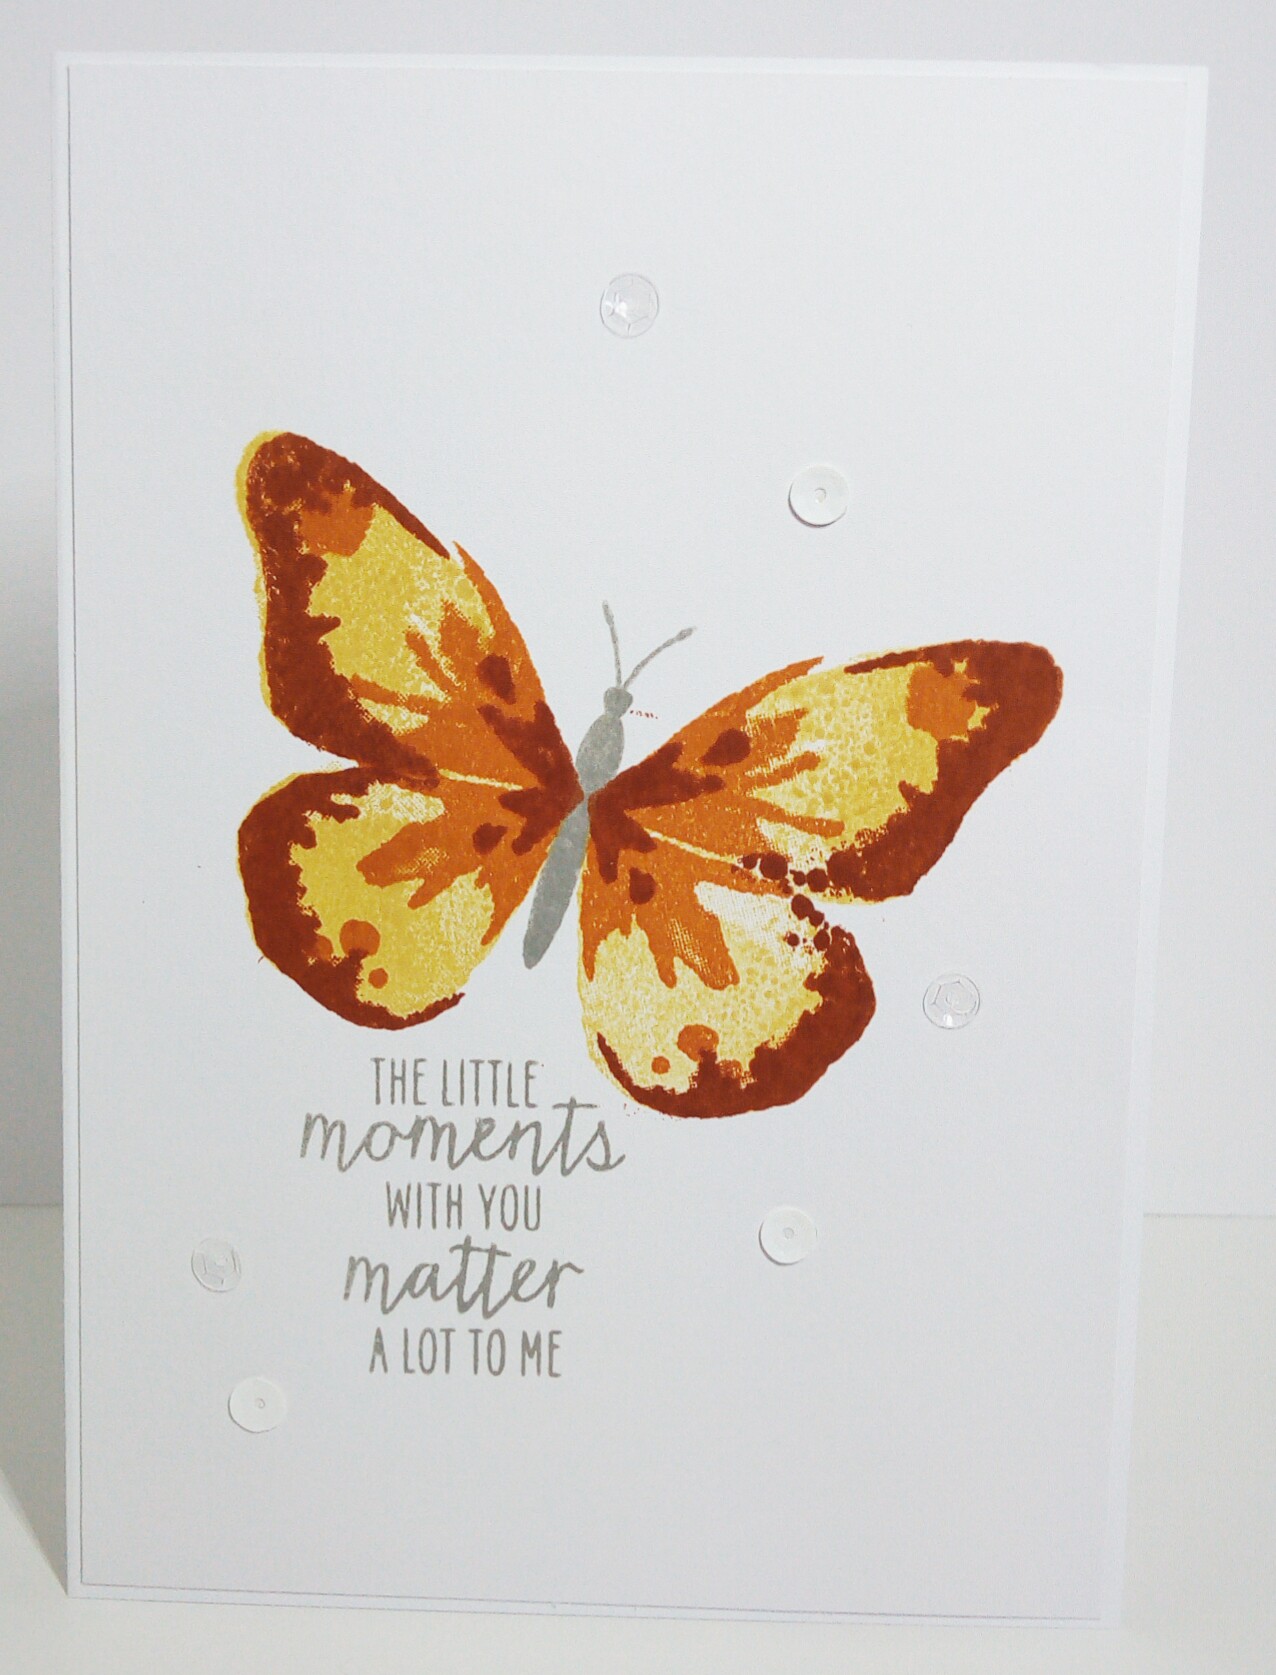
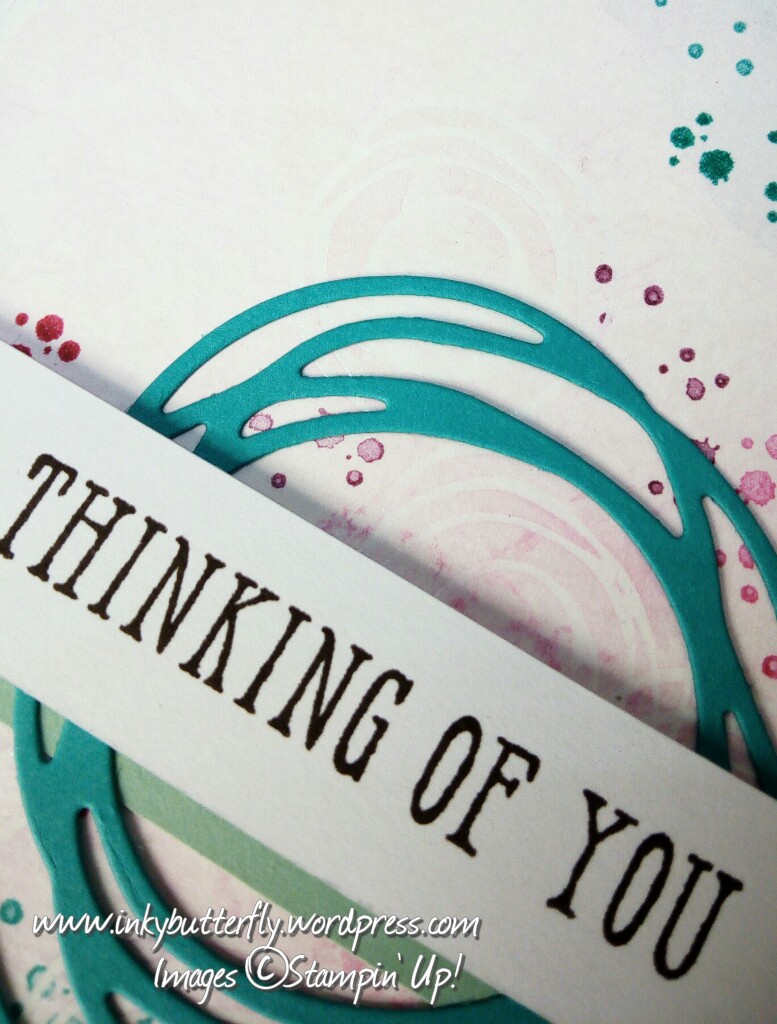
There are 5 fantastic new In-Colours; you have already seen Fresh Fig and Tranquil Tide, (shown above), but now I can show you Lemon Lime Twist, Berry Burst and Powder Pink. All truly stunning colours.
There is a new Designer Paper stack in the new colours, called Fresh Florals, which I have use to make the samples you see here.
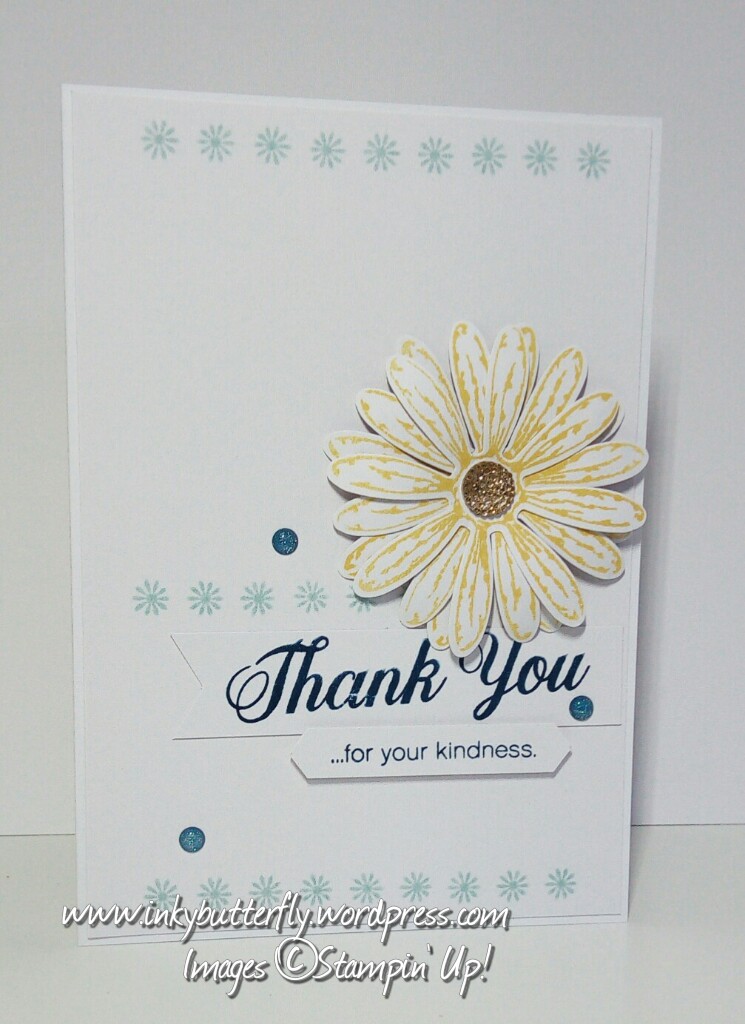
The eagle-eyed among you will also see that there is also a sneak peek at a new punch and sentiment set.
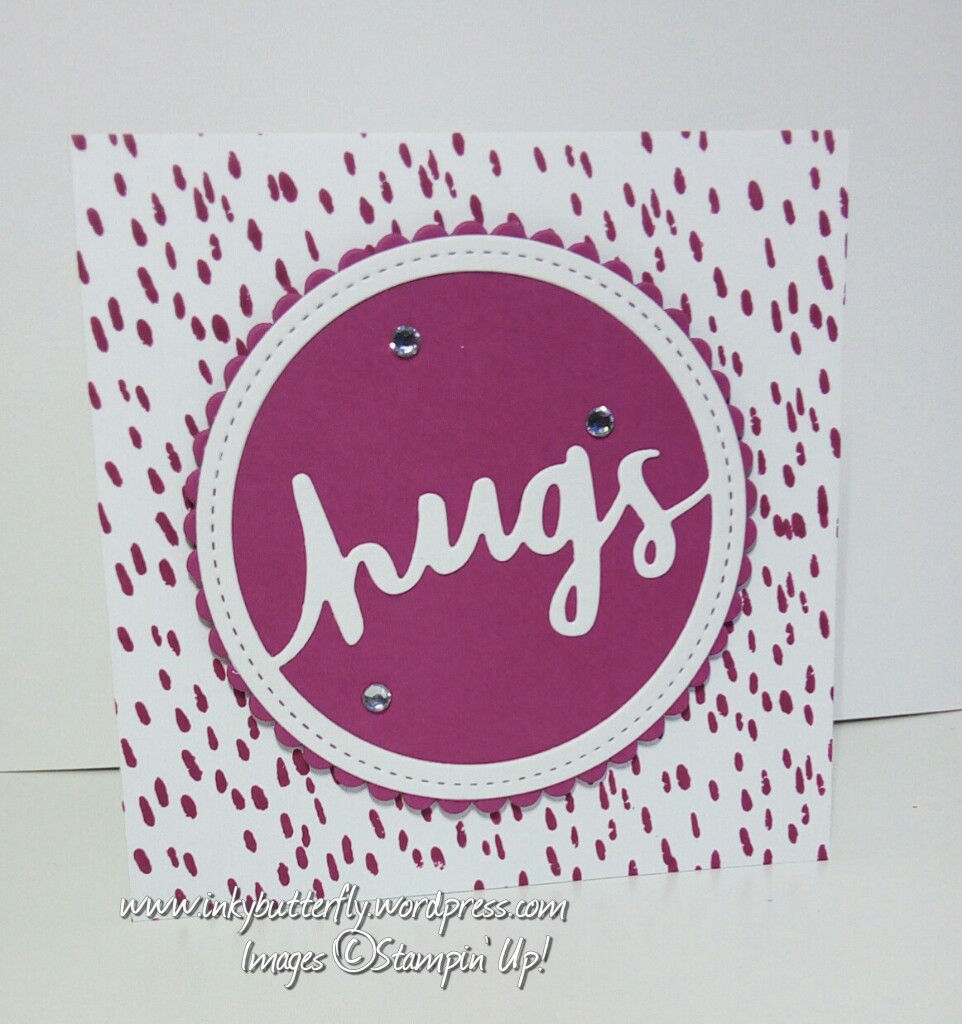
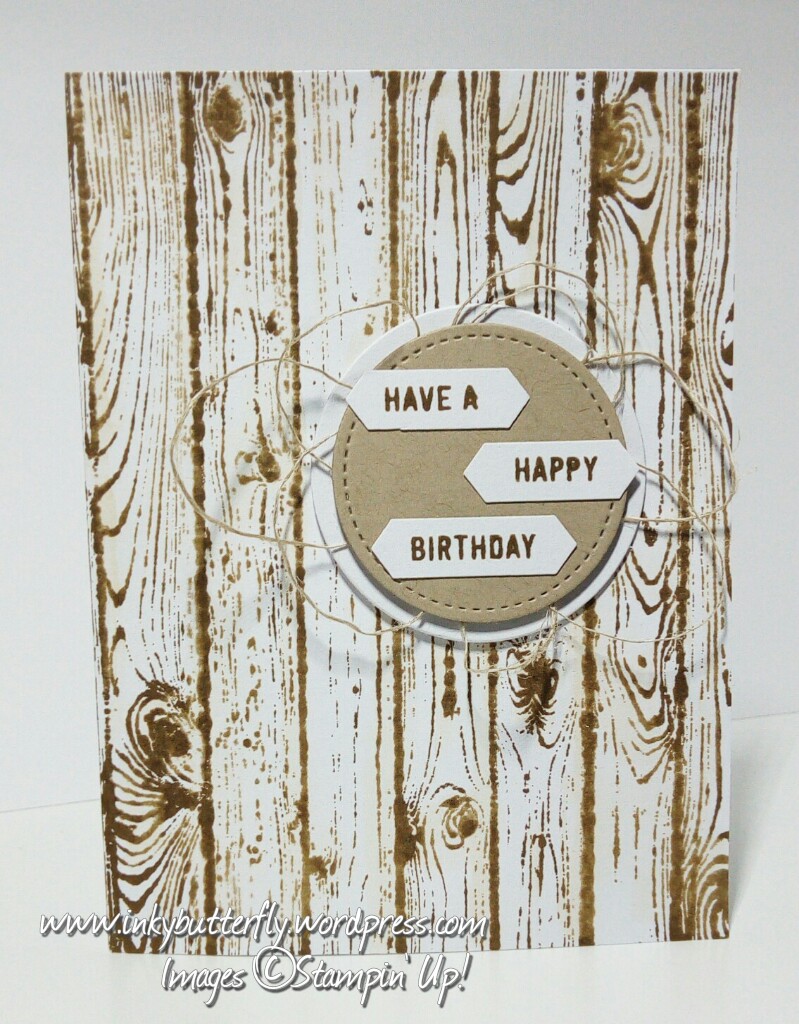
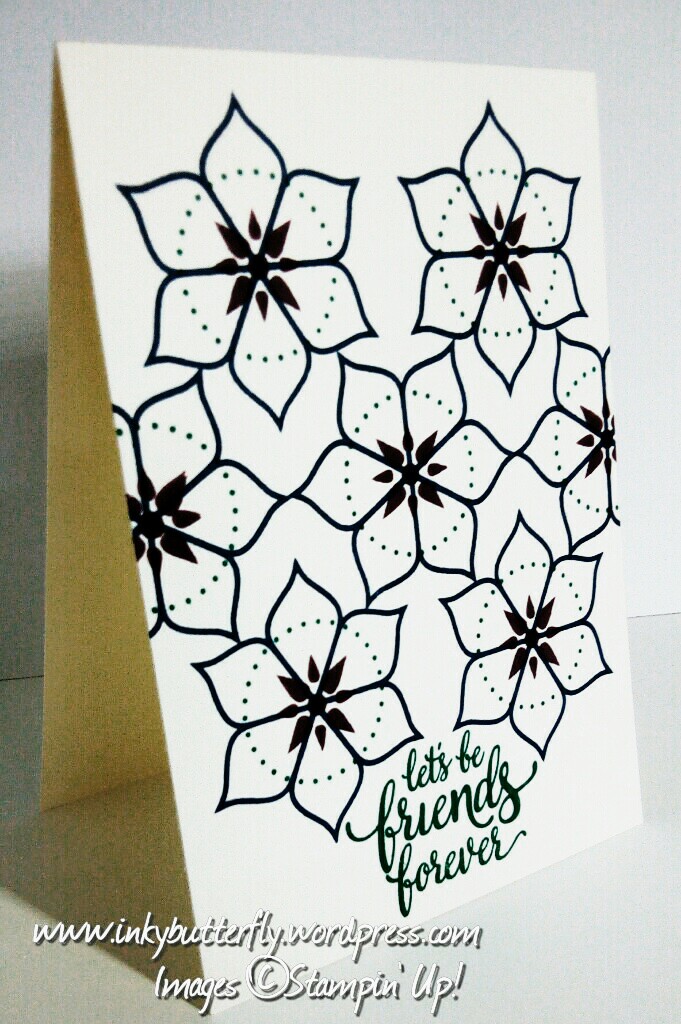
For these cards, I have cut a 4 inch strip of designer paper and cut this in to two 5 3/4 inch lengths. One piece will make this card; the other is for later. A sentiment was stamped in matching ink and punched out. I layered this on to a Stitched Oval and a Stitched square as shown. Very simple design to show off the colours.

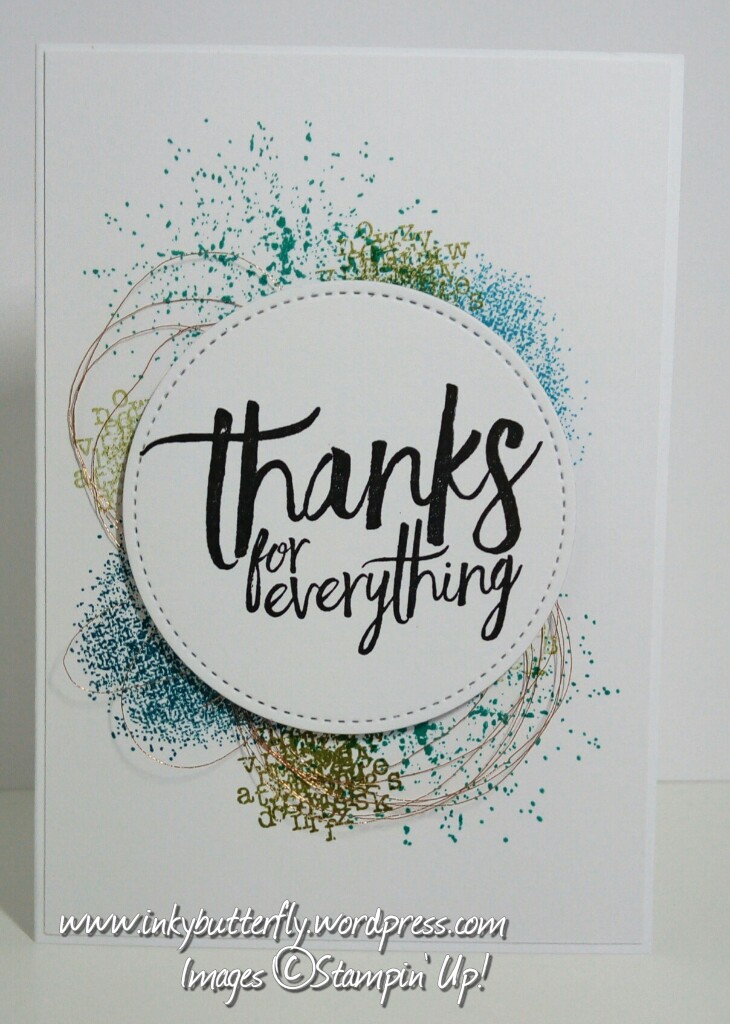
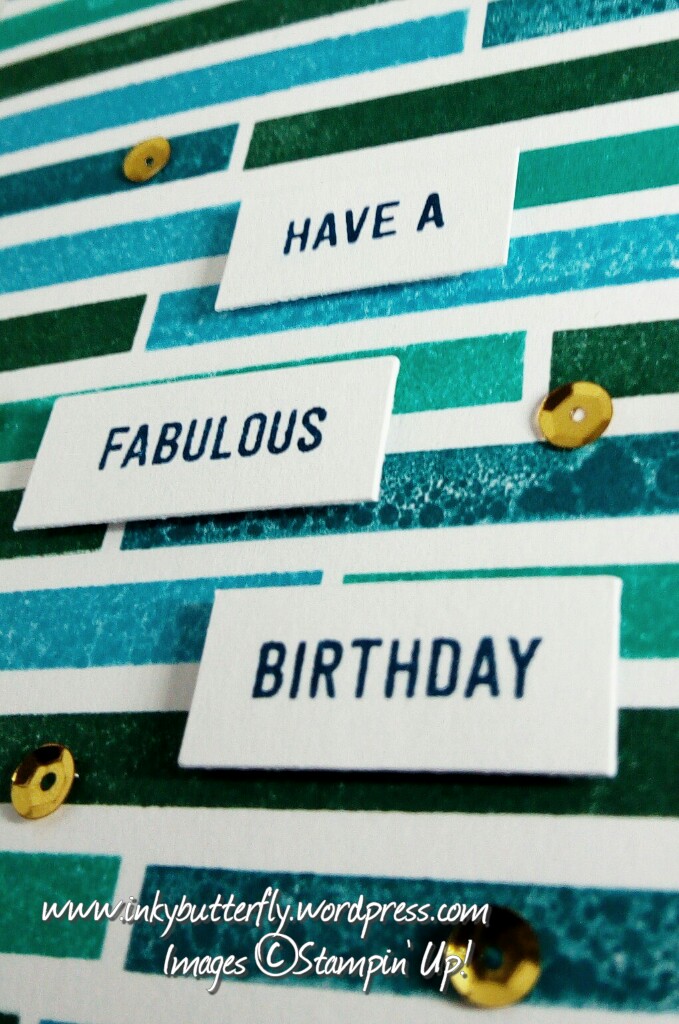
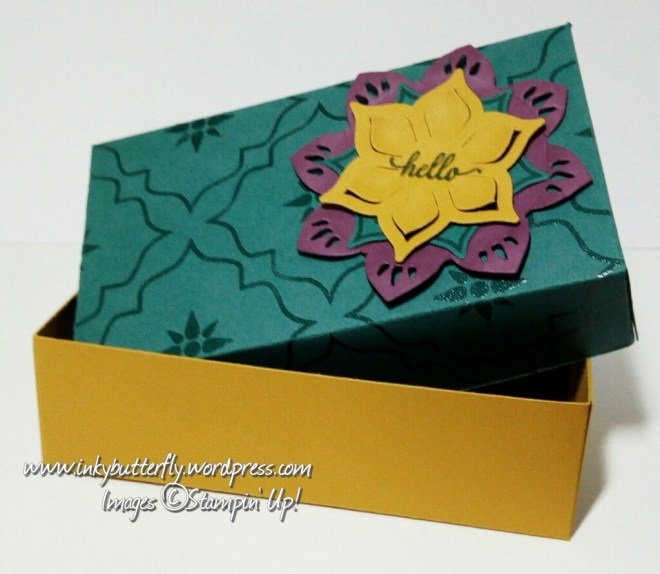
For the second sample, I have used the opposite side of the designer paper.
The layers are cut as follows:
Coloured Card – 4 1/8 by 5 7/8
Whisper White – 4 1/2 by 6 1/4
Coloured Card – 4 5/8 by 6 3/8
Layer these together as shown, the design fits a 5 by 7 card base.
Stamp a sentiment on to a 7/8 inch strip of Whisper White card stock and cut in to a flag end banner. Adhere this with Stampin’ Dimensionals. Finish with rhinestones.

This design is easy to replicate and batch produce in every colour. Change the designer paper for a completely different look.
If you would like to receive a FREE copy of the new Stampin’ Up ! catalogue please contact me, details are in the menu.
The supplies used are listed below – available from 1st June. If you can’t wait that long, you can join my team, become a demonstrator and enjoy all the perks of being part of Stampin’ Up! More information can be found in the menu.
Happy Stampin’!
Product List