Hi there,
Ready for more things to make with your pack of designer paper?

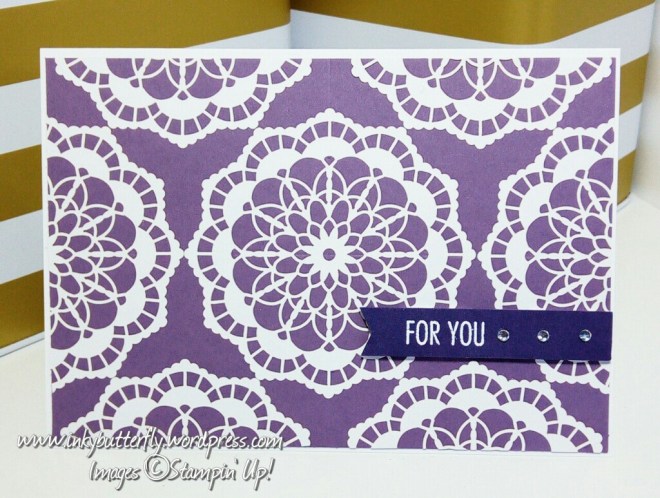
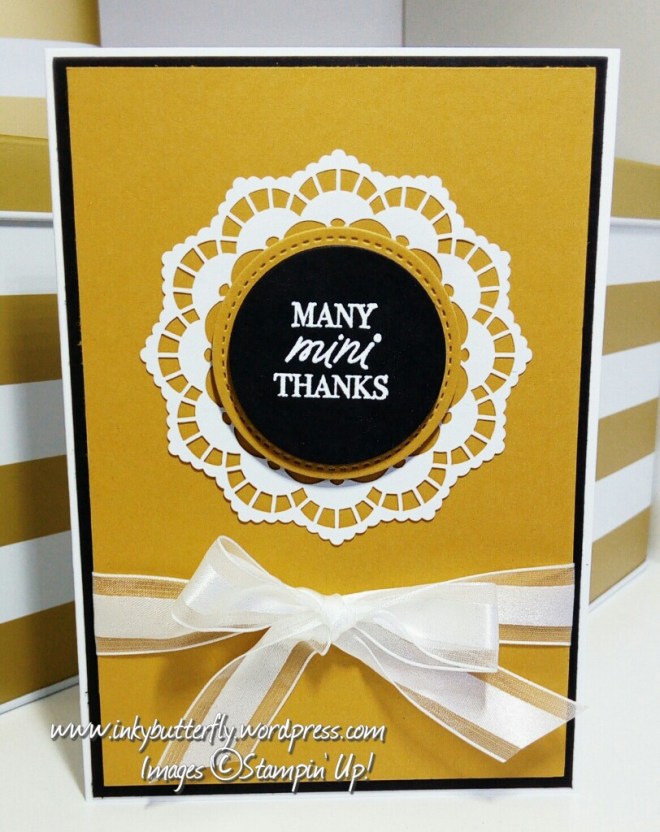
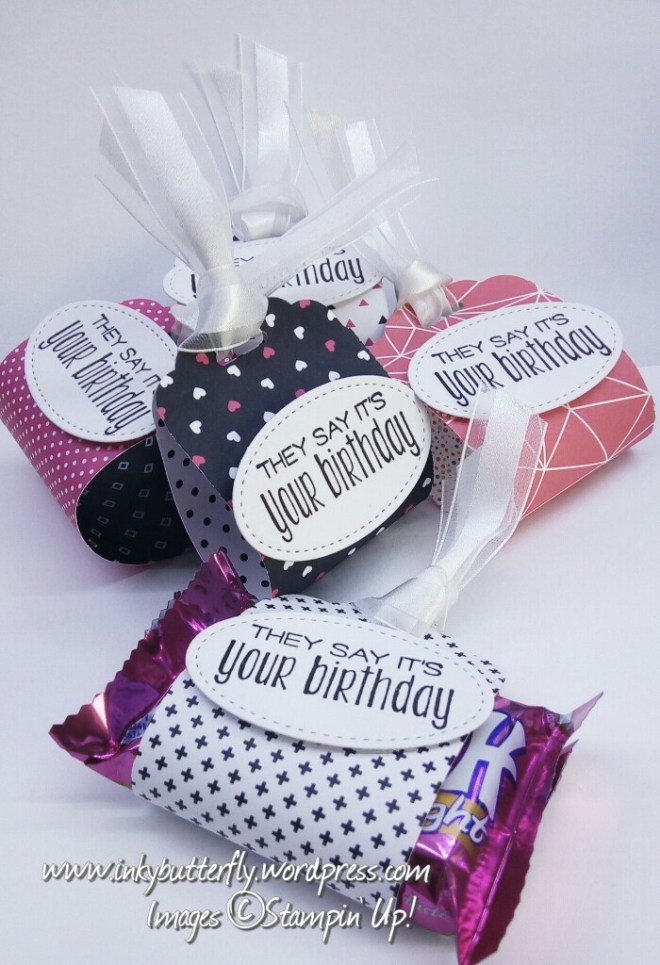
These 2 boxes use 6 by 3 pieces of paper to make the lid.
Score paper at 3/4 inches, cut and fold into the box shape. The bases are made with plain black and white card stock cut to 8 3/8 by 5 3/8 and score at 2 inches. I have added some ribbon to decorate.

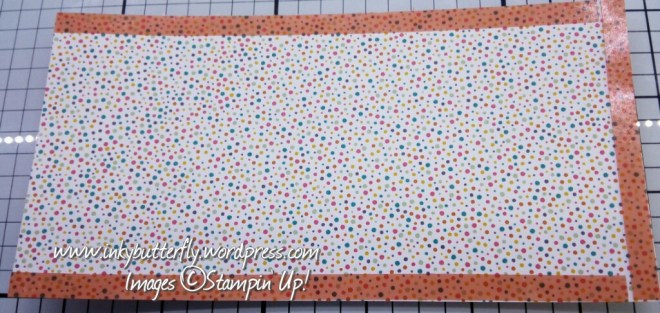
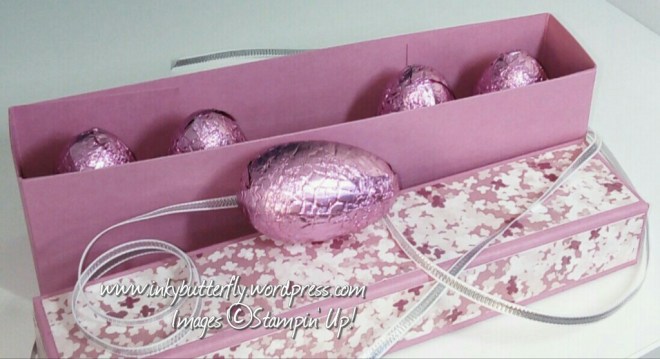
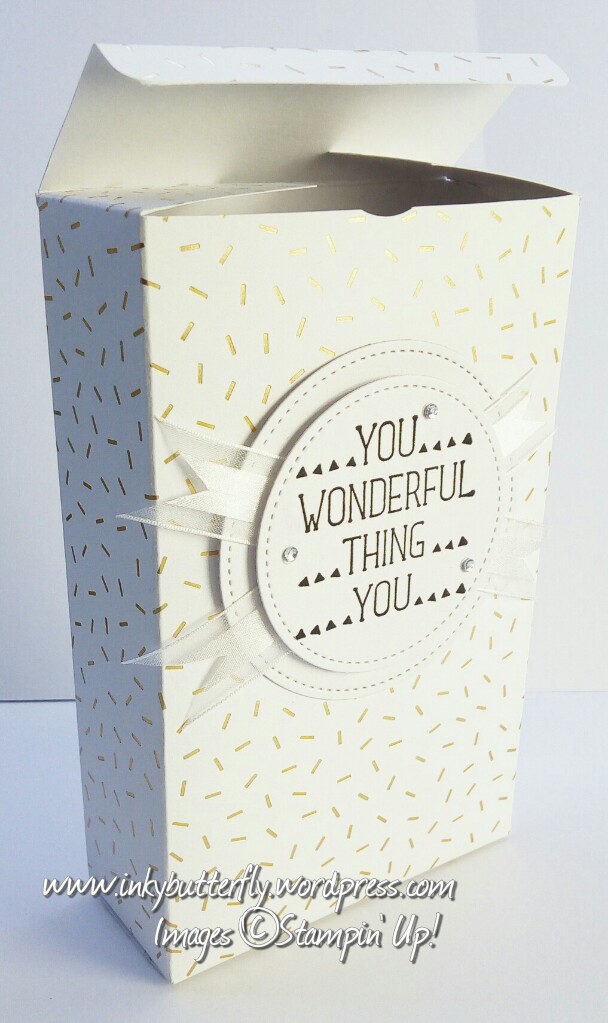
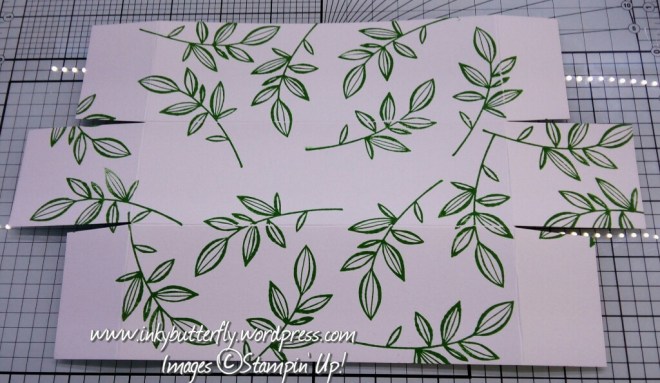
This “pizza box” uses the foiled paper in the pack. Cut to 12 by 4 inches. Score the long side at 1 1/2, 5 1/4, 6 3/4 and 10 1/2 inches. Score the short side at 1 1/2, 7 1/2 and 9 inches. Cut and notch out flaps as below:

The centre flaps are used to form the base. Some ribbon finishes this off beautifully.
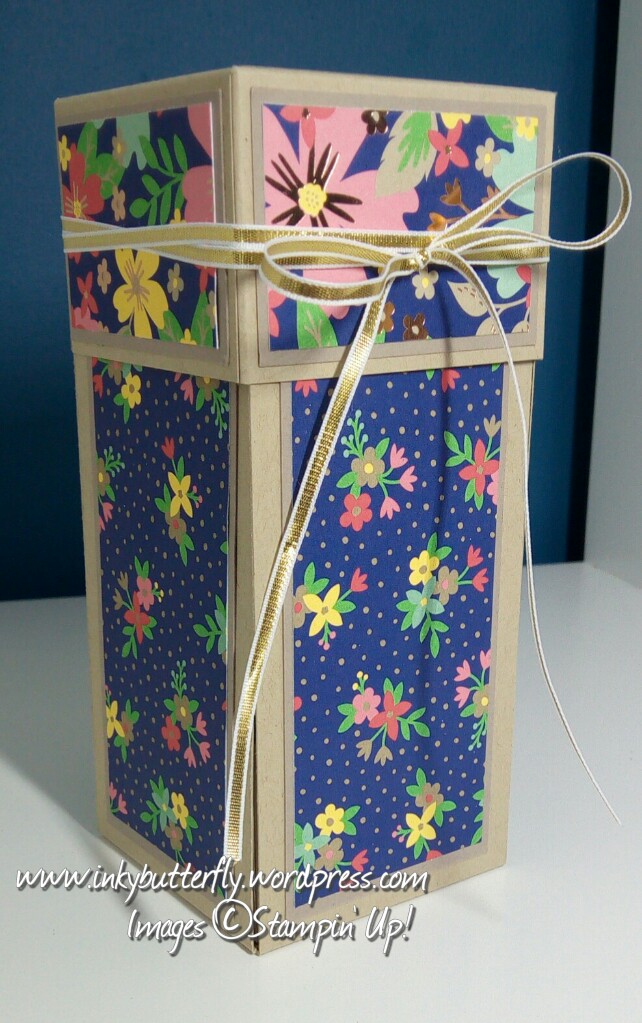
I also wanted to make a “drawer style” box.

For the wrap, cut the paper to 7 by 4 inches, score at 1 3/4 inch intervals. The base is made from plain white card stock cut to 7 3/8 by 5 1/8, scored at 1 3/4.
Now for something bigger.
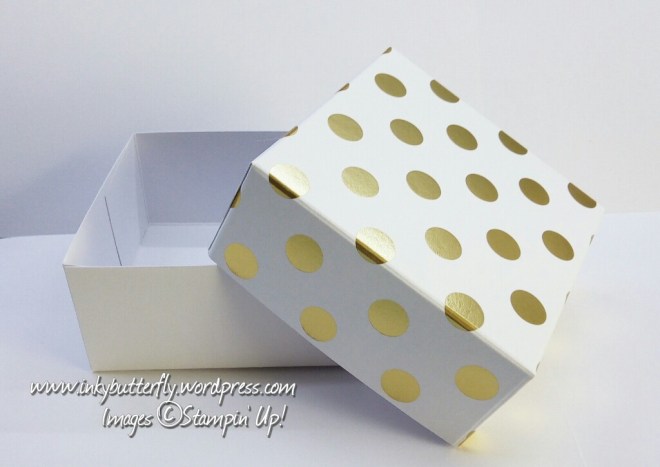
For the lid you will need an 8 by 8 piece of paper and score at 2 inches. Cut the base slightly smaller (7 7/8 square).
Need a traditional box?
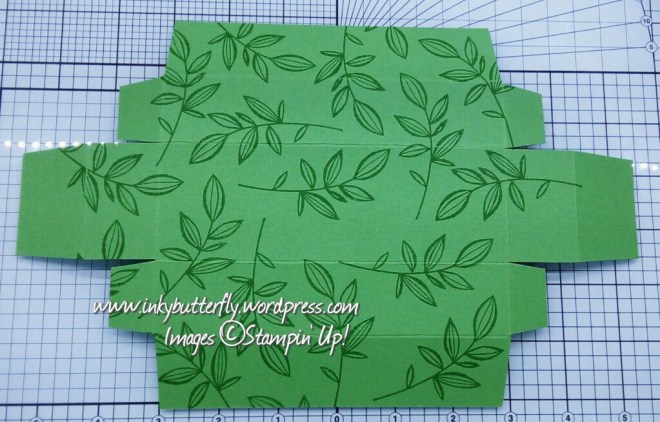
This is a large box, finished size 6 by 3 1/2 by 1 1/2.
Start with a 12 by 9 1/2 piece of card.
On the long side score at 1 1/2, 5 1/4, 6 3/4 and 10 1/2 inches.
On the short side score at 1 1/2, 7 1/2 and 9 inches.
Cut away pieces as shown below.

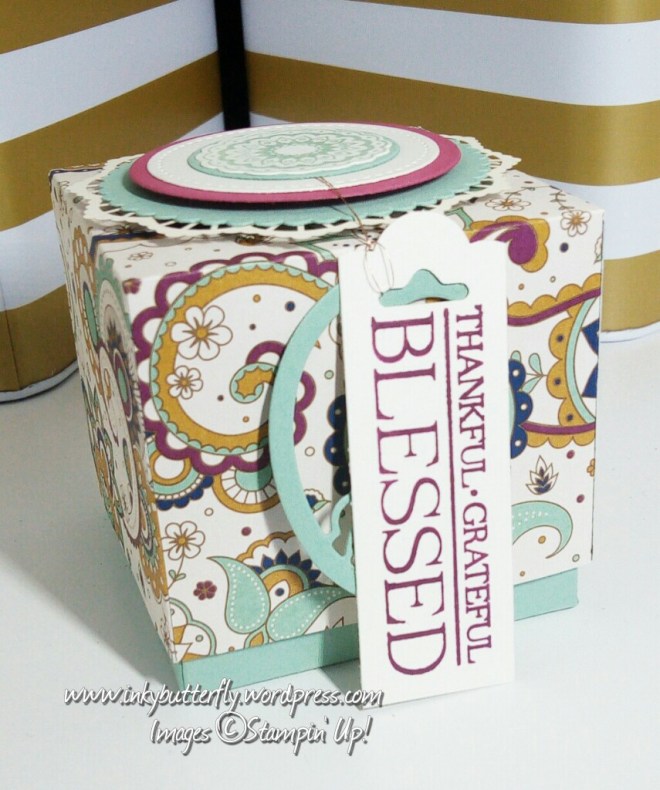
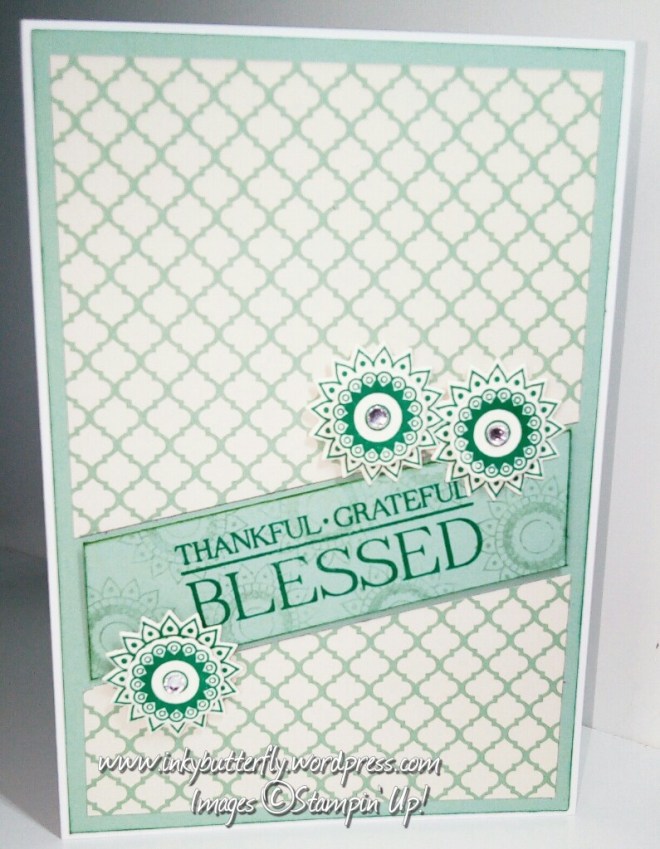
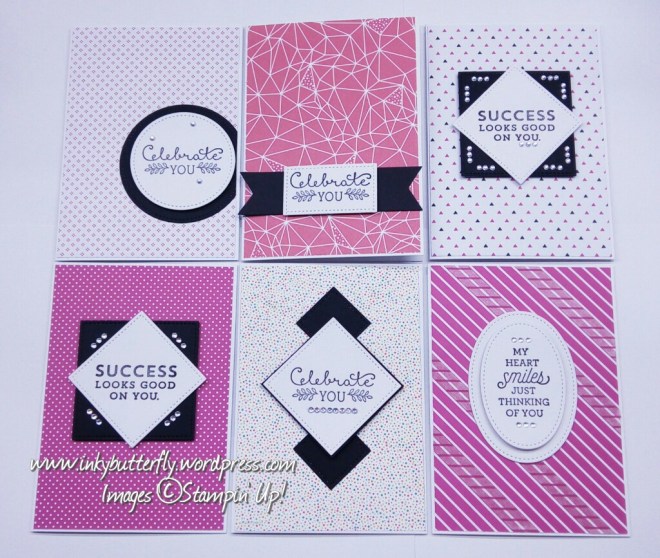
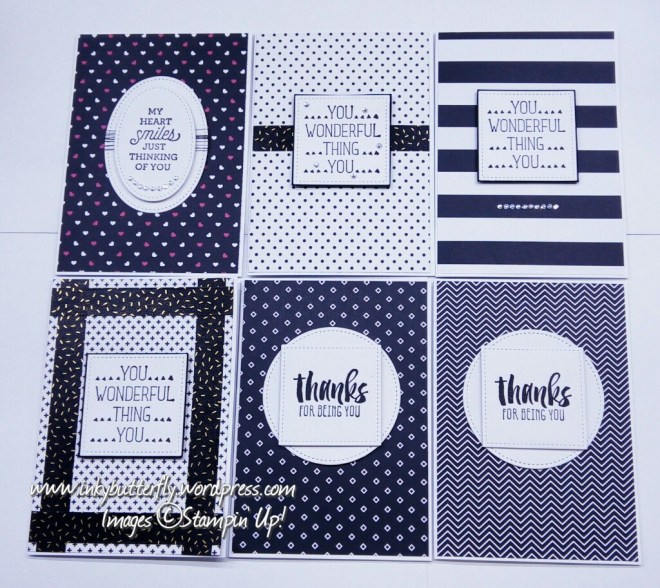
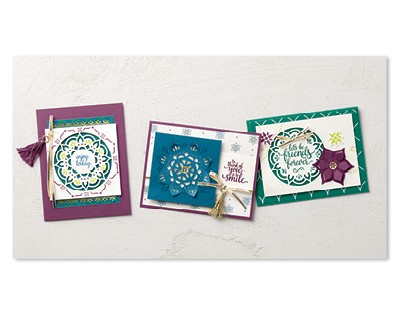
Again this is finished off with Suite Sayings and the Stitched Shape framelits.
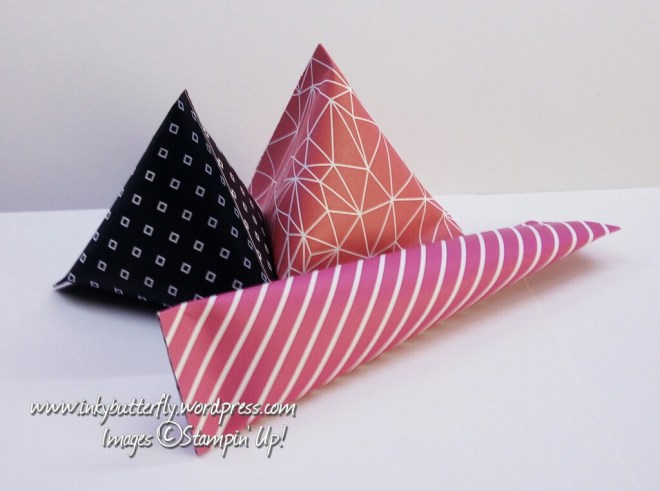
Gift bags are really easy to make too. In the photos below, the same size paper, 6 by 12, was used, but scored differently.
The first example is wider across the front but not very deep.
Score the long side, score at 1, 5 1/4, 6 1/4, 10 1/2 inches, then trim off 3/4 inch. On the short side, score at 1 inch.

For a narrower but deeper bag, score the long side at 2, 5 3/4, 7 3/4 and 11 1/2 inches.score the short side at 2 inches.
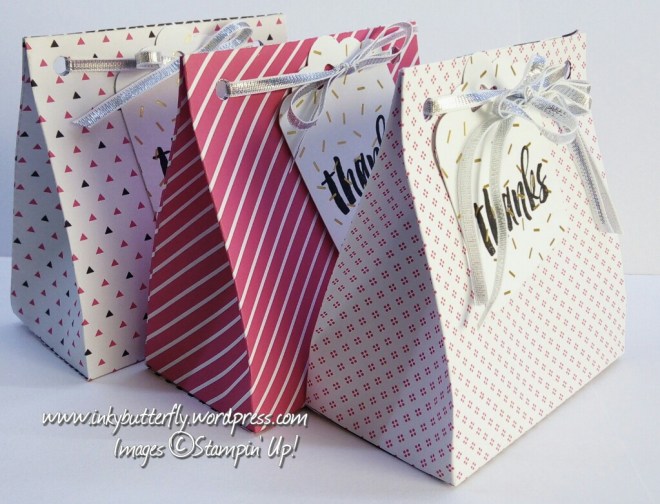
The tags were made from the scrap left over from the traditional box, 12 by 2 1/2. I cut the strip in to 2 inch sections then used the Scalloped Tag Topper punch.
Finally, punch some holes for some ribbon and tie in to a bow.
I was left wuth one sheet of paper, so I made one last large bag.
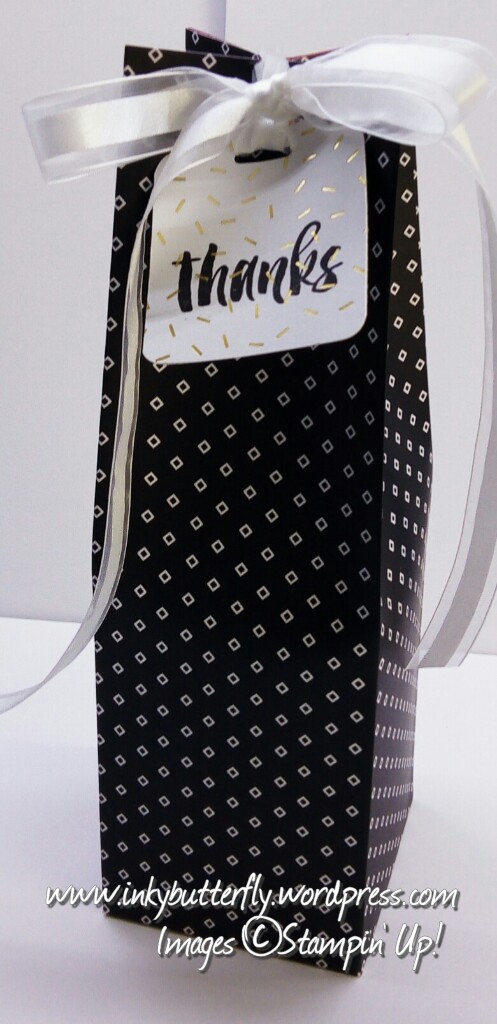
This is just over 9 inches tall, 2 7/8 inch deep and wide.
Score at 2 7/8, 5 3/4, 8 5/8 and 11 1/2. Rotate and score at 2 7/8.
So that’s it. All the paper has been used up, and I have lots of fantastic items.
I hope this has demonstrated just how far your products can stretch, offering great value for money.
Supplies used are listed and linked below. Please note that some items are retiring and may no longer be available. Once they are gone, they are gone! Browse the retiring products here.
Product List


 Hi there,